Monday, March 22, 2021

Happy Birthday Upgrade

 Happy Monday My Blogger Friends! 
Today is Mix-It-UP! Monday, and I have an upgraded version of the card I shared with you yesterday.  I used the exact same product that was used to create yesterday's card ..... But I added a couple additional products found in the 2020-2021 Stampin' UP! Annual Catalog to bring this card up to the next stamping level.
Here's my Spot Light Sunday card from yesterday on the TOP.....
And my Mix-It-UP! Monday upgraded card for today on the BOTTOM.....
My upgraded card was kicked up a couple levels for today.  I created a Gate Fold style card.  My card base is a 5-1/2" x 8-1/2" Bermuda Bay card.  It is scored at 2-1/8 on both ends to create the gate fold.
I added 'Ice Cream Corner Designer Series Paper to the top and bottom flap.  Those pieces measure 1-7/8" x 5-1/4".
My sentiment was stamped from the 'Sweet Ice Cream' set and I created two additional layering pieces for my sentiment.
Here is what the card looks like when the gate fold is open.
My finishing touch was adding some 'Ice Cream Corner Sprinkles' around my sentiment piece ....... And topping it off with a pretty bow using the 'Bumblebee 1/4" Ribbon'.
So there you have it friends ...... 2-pretty cards.
Do you have a favorite????

Thanks for joining me today!  I'll be back tomorrow to share a 3-D Tuesday creation with you ...... Hope you can make plans to stop back and join me for that share.  Keep Living Your Dream!

Sunday, March 21, 2021

Happy Birthday

 Happy Sunday My Blogger Friends
Today is Spotlight Sunday ....... And I have a card I created using product from the 2021 Stampin' UP! Mini Catalog.  This card uses several products from that new catalog ........ And I'm thrilled with the way it turned out.  Let's jump right in with my card share for today..........
Looking for a QUICK & EASY birthday card........I have on in store for you.
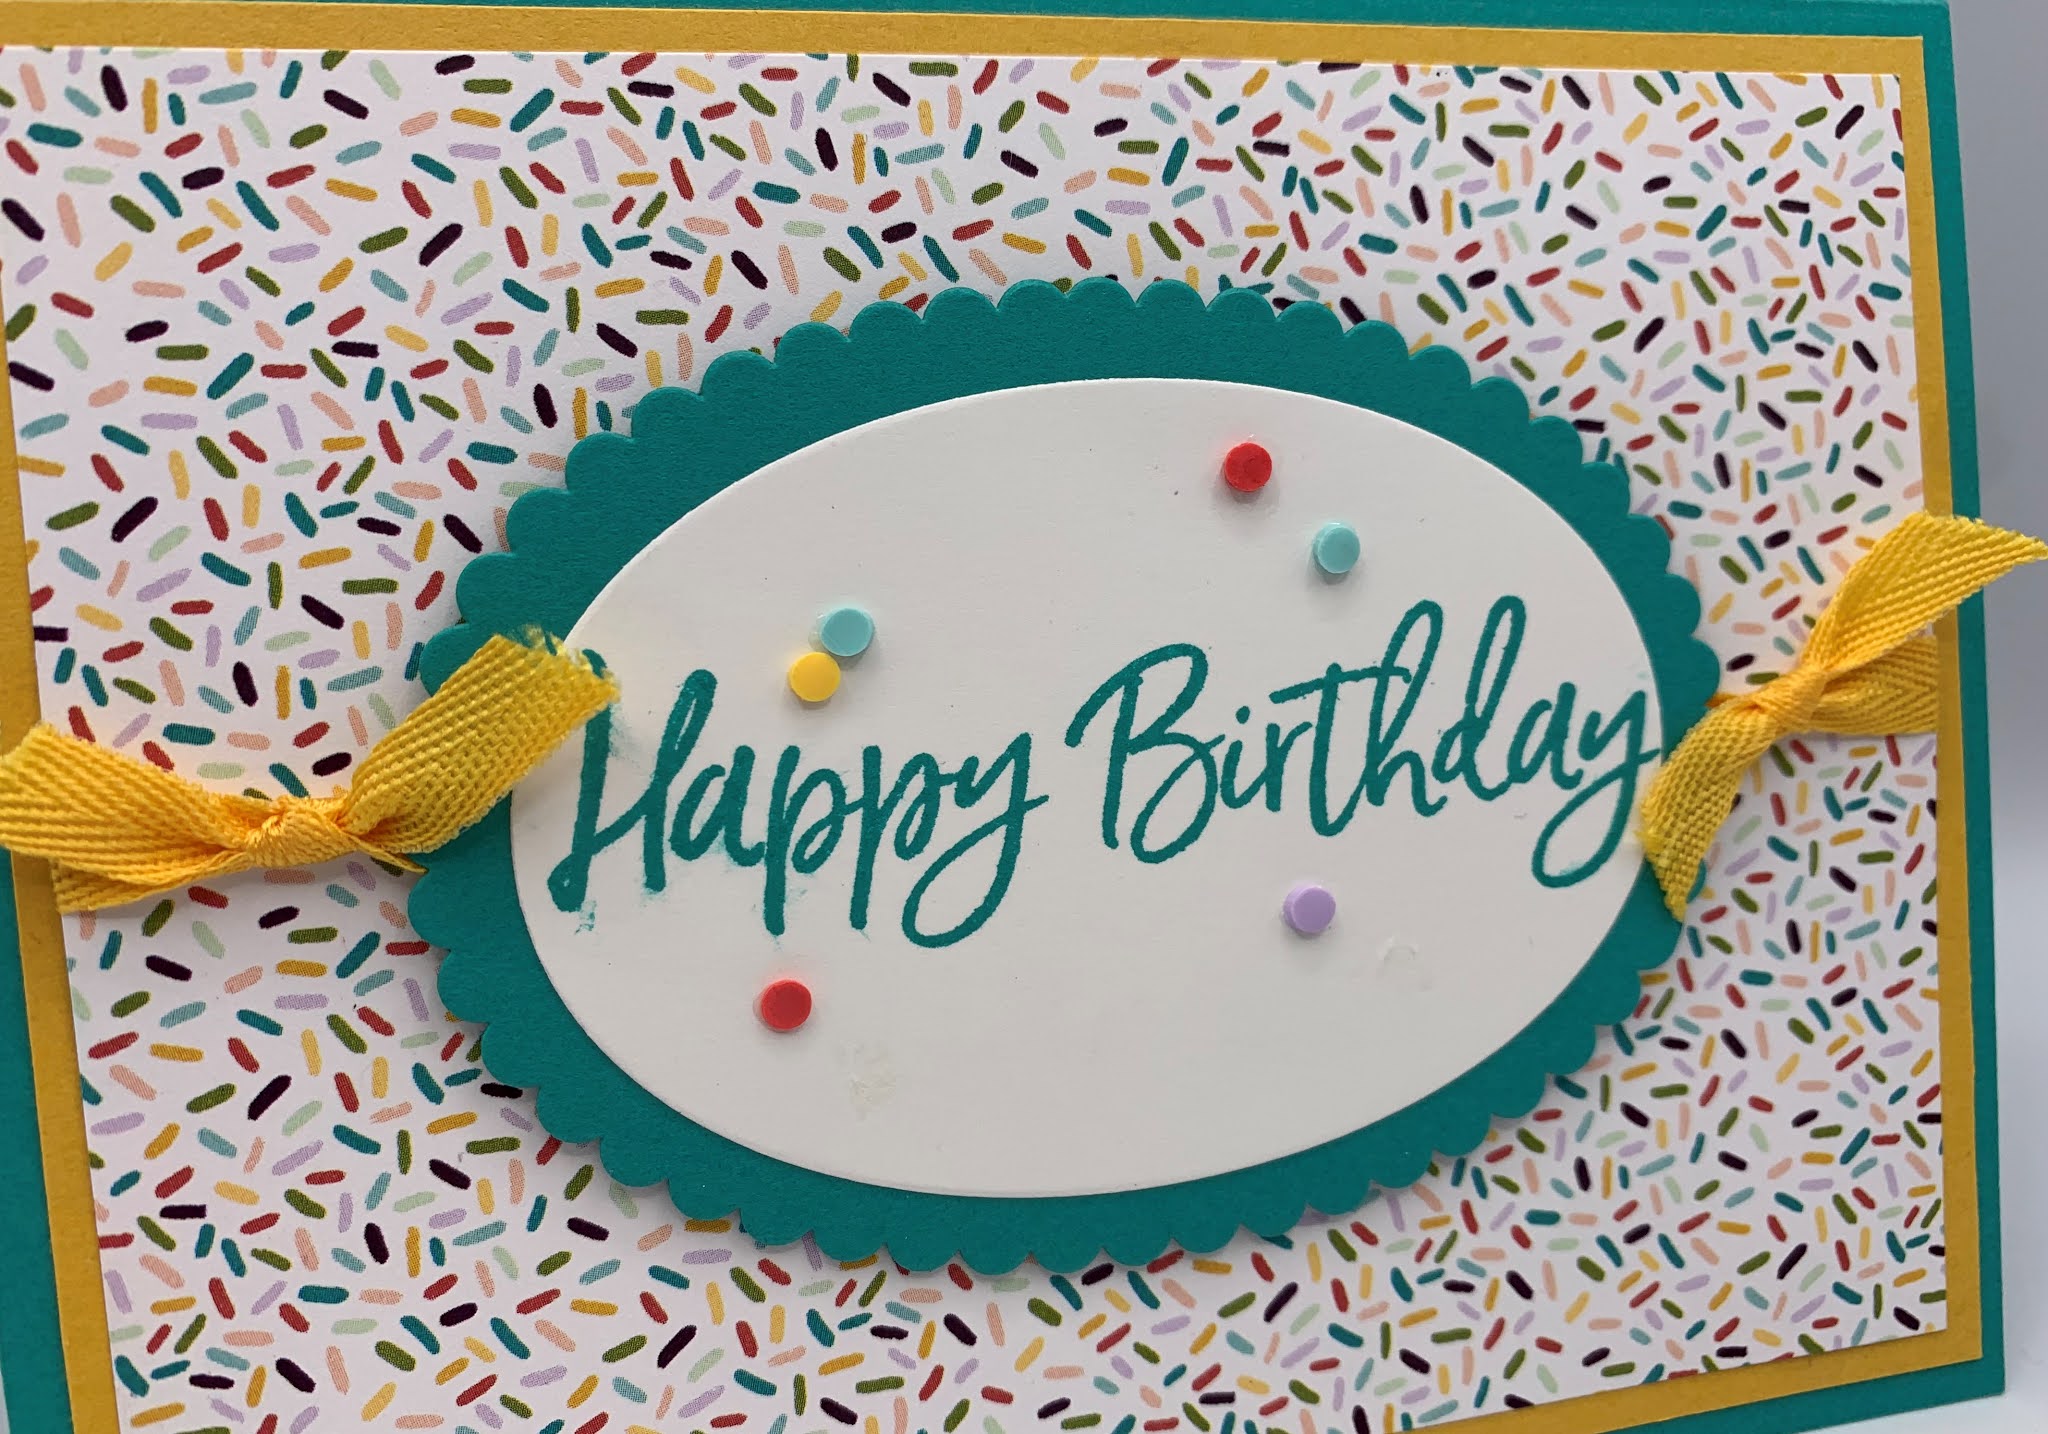
I started off with a Bermuda Bay base card and added a layer of Bumblebee card stock to the top.  
Next I added a panel of 'Ice Cream Corner Designer Series Paper' to the top of that Bumblebee panel ....... But before I adhered it down, I wrapped some 'Bumblebee 1/4" ribbon around the center and moved on to my sentiment piece.
My sentiment was stamped from the 'Sweet Ice Cream' set and I stamped that onto a White 'Layering Ovals' piece with Bermuda Bay ink.  I layered that sentiment to a Bermuda Bay scallop 'Layering Ovals' piece.  The sentiment was adhered to the center of my card with Stampin' Dimensionals.  
Then I went back in and tied up two little knots with a small piece of the 'Bumblebee 1/4" Ribbon.  The finishing touch was adding a few 'Ice Cream Corner Sprinkles' around my sentiment piece ....... And this card was done in no time flat.

Thanks for joining me today!  I'll be back tomorrow to share an upgraded version of this very card with you ...... Hope you can make plans to stop back and join me for that share.  Keep Living Your Dream!

Saturday, March 20, 2021

Sharing In Your Sorrow

 Happy Saturday My Blogger Friends!
My blog post for today is Paper Pumpkin Saturday ........... And I would like to share with you another alternate card project I created using the February Bouquet of Hope Paper Pumpkin kit.   Here's that project.......
I am IN LOVE with how this card turned out.
I started out by adhering one of the gold vellum panels to the front of a Bumblebee base card.  Next, I stamped the floral bouquet image directly onto a large 'Stitched Circle Shape'.  I used my Stampin' Blends to color in that BEAUTIFUL image.
I wanted to duplicate the gold from the vellum piece.......So I stamped my sentiment (from the kit) onto a panel of Bumblebee Designer Series Paper with VersaMark and then sprinkled 'Gold Embossing Powder' over it before heat setting.
Talk about instant WOW FACTOR!!!!!
And wanting to complete the look of this card on the inside ....... I simply added a panel of White card stock and added a small panel of the Bumblebee Designer Series Paper to the bottom.  All that was left to do was adhere one of hte pretty floral stickers (that came with the kit) to the upper right hand corner.......
And this card was called DONE!!!

Thanks for joining me today!  I'll be back tomorrow to share a Spot Light Sunday creation with you ........ Hope you can make plans to stop back and join me for that share.  Keep Living Your Dream!

Friday, March 19, 2021

Friends Friday Pics

                  Happy Friday My Blogger Friends!
My blog post for today is Friends Friday.  On Friday's, I have the honor of spot-lighting some of the fabulous cards and projects that I received from Friends ....... Fellow Demonstrators ........ and Family.  Each of these creations are works of art........and it is with great pleasure that I share with you today some AMAZING projects that three very special friends made for me.
First up is this PRETTY card made by my InkBig friend Susan Wormley.
My dear friend Cheri Utsler made this BEAUTY........
That has a gate fold opening.
And my sweet friend Judy McMullen create this GORGEOUS card.

Thanks for joining me today!  I'll be back tomorrow to share a special Paper Pumpkin Saturday creation with you ........ Hope you can make plans to stop back and join me for that share.  Keep Living Your Dream!

Thursday, March 18, 2021

3-Little Chicks

 Happy Thursday My Blogger Friends!
My blog post for today is Tag Thursday.  Today, I will feature a tag I created and show you how easy it is to use minimal supplies to create a SUPER PRETTY TAG.  Now that you have the details for my Tag Thursday creation for this week ........ Let's jump right in with my tag share for today........
Talk about a tag that is.......
JUST TOO CUTE FOR WORDS!!!!
I started out with a 2-1/2" x 4-1/2" Coastal Cabana base tag.
I added three pieces of 3/4" x 2-1/2" panels of 'Playing With Patterns Designer Series Paper' across the front of my tag .........
And then stamped three little chicks from the 'Springtime Joy' set and added those to the front of my tag.
My tag was topped off with some 'Bumblebee 1/4" Gingham Ribbon'........And this tag was done in no time flat.
So what do you think my friends????

Thanks for joining me today!  I'll be back tomorrow to share some Friends Friday creations with you ........ Hope you can make plans to stop back and join me for that share.  Keep Living Your Dream!

Wednesday, March 17, 2021

Happy Thoughts Your Way

 Happy Wednesday My Blogger Friends!
My blog post for today is Wine-Down Wednesday.  My middle of the week card feature for today will hopefully offer you some inspiration and provide you with some motivation to keep you moving through your busy week.  Let's jump right in with my card share for today........
Check out this SUPER FUN card we made during my Mystery Stamping yesterday.
This card starts off with a Real Red base card ...... And I added a panel of Blushing Bride to the top of that.
Next, I cut a White panel of card stock that measures 5" x 3-3/4".  Then, I cut five panels of the 'Snail Mail Designer Series Paper' that measured 3/4" x 3-1/2" each.  I arranged those onto the front of that White panel.
I adhered that White panel with the DSP pieces attached to it directly down onto the Blushing Bride panel.  My next step was to add a 3/4" x 5-1/4" panel of Real Red and 1/2" x 5-1/4" panel of Blushing Bride together and positioned those directly down to the center of my card........And then got busy creating my sentiment piece.
For my sentiment piece......I cropped out a large white 'Layering Ovals Die' piece and stamped my sentiment from the 'Happy Thoughts' set with Real Red ink.  Then, I added a Blushing Bride large scallop oval piece behind it.  For a tiny bit of FUN.......I used my Dark Real Red Stampin' Blends and colored in some Baker's Twine and added it behind my sentiment piece.
And that's all it took to create this FUN & HAPPY card.

Thanks for joining me today!  I'll be back tomorrow with a Tag Thursday creation to share with you ........ Hope you can make plans to stop back and join me for that share.  Keep Living Your Dream!
Tuesday, March 16, 2021

Gift Card Holders

 Happy Tuesday My Blogger Friends!
My blog post for today is 'CASE IT TUESDAY'.  That means today I have a fun little 3-D project that I found on the internet ....... And I created a CASE of that project to share with you today.  This project was SUPER FUN to create and I want to jump right in and share that project with you now.
The DARLING gift card holders that I'm sharing today was inspired by fellow Stampin' UP! Demonstrator Glenda Calkins.  She shared this holder back on December 14, 2020 and even has a step-by-step Utube video on how to create them.  Here's the link to her Utube video:  (179) Make It Monday - The Quickest and Easiest Gift Card Holder EVER! - YouTube
These gift card holders are SO STINKIN' easy to make ....... And come together in a HOT NEW YORK minute.  The holder is 4" x 9" and fits any gift card inside.
I used the 'Ice Cream Corner Designer Series Paper' to create all of mine.  And my sentiment is from the 'Vine Design' set.
Start with a 4" x 9" piece of Designer Series Paper and score on the 9" side at 2", 3-1/4", 4-1/2" and 7-1/4".
To create the inside gift card holder slot ...... Gather the folds at the 2" score line and 4-1/2" score line so the 3-1/4" score line is up.  Take the 'Classic Label Punch' and punch across the top leaving about 1/8" on each end.  Your gift card will slip right into that slot.
I added a panel of white card stock to the bottom.......And added one of the printed ice cream cones to the far left hand edge of that card stock.  This is the perfect spot to write your message.  
So there you have it friends.
MANY THANKS to Glenda Calkins 
for sharing how to create this FUN little holder.

Thanks for joining me today!  I'll be back tomorrow to share a Wine Down Wednesday card with you ........ Hope you can make plans to stop back and join me for that share.  Keep Living Your Dream!