Tuesday, August 31, 2021

Kraft Gift Card Box

 Happy Tuesday My Blogger Friends!
My blog post for today is '3D TUESDAY'.  That means today I have a fun little 3-D project that I created and will share share with you today.  This project was SUPER FUN to create and I want to jump right in and share that project with you now.
I must admit ....... This just might be my GO TO hostess gift for this upcoming holiday season.
It's a DARLING little 'Kraft Gift Box' that I've filled with 4-ADORABLE Santa cards and coordinating envelopes.
The packaging is one of the new 'Kraft Gift Boxes' that I've decorated with the 'HeartWarming Hugs Designer Series Paper'.
And when you open the box up ........ I have created 4-Santa cards with coordinating envelopes.  These cards were SO MUCH FUN to create.
I used a White card base and added a panel of White cardstock to the top that was embossed with the 'TimeWorn Type 3D Embossing Folder'. 
I added a panel of 'HeartWarming Hugs Designer Series Paper' to the front of my card and then got busy creating a OH SO FUN sentiment.  The sentiment is stamped onto a White 'Painted Label Die' with Real Red ink and I used the 'Frosted Gingerbread' set to stamp that sentiment.
The STAR OF THE SHOW is the ADORABLE little Santa from the 'Be Jolly' set.  I colored him in with my Stampin' Blends and then fussy cut him out.
I used more 'HeartWarming Hugs Designer Series Paper' to decorate the flap of each envelope ...... And then stamped another Santa right in the corner of each envelope.
This little gift comes together fairly quickly......
And will be a DELIGHTFUL gift for someone this holiday season.

Thanks for joining me today!  I'll be back tomorrow to share a Wine Down Wednesday card with you ........ Hope you can make plans to stop back and join me for that share.  Keep Living Your Dream!

Monday, August 30, 2021

3-Holly Greetings Upgrade

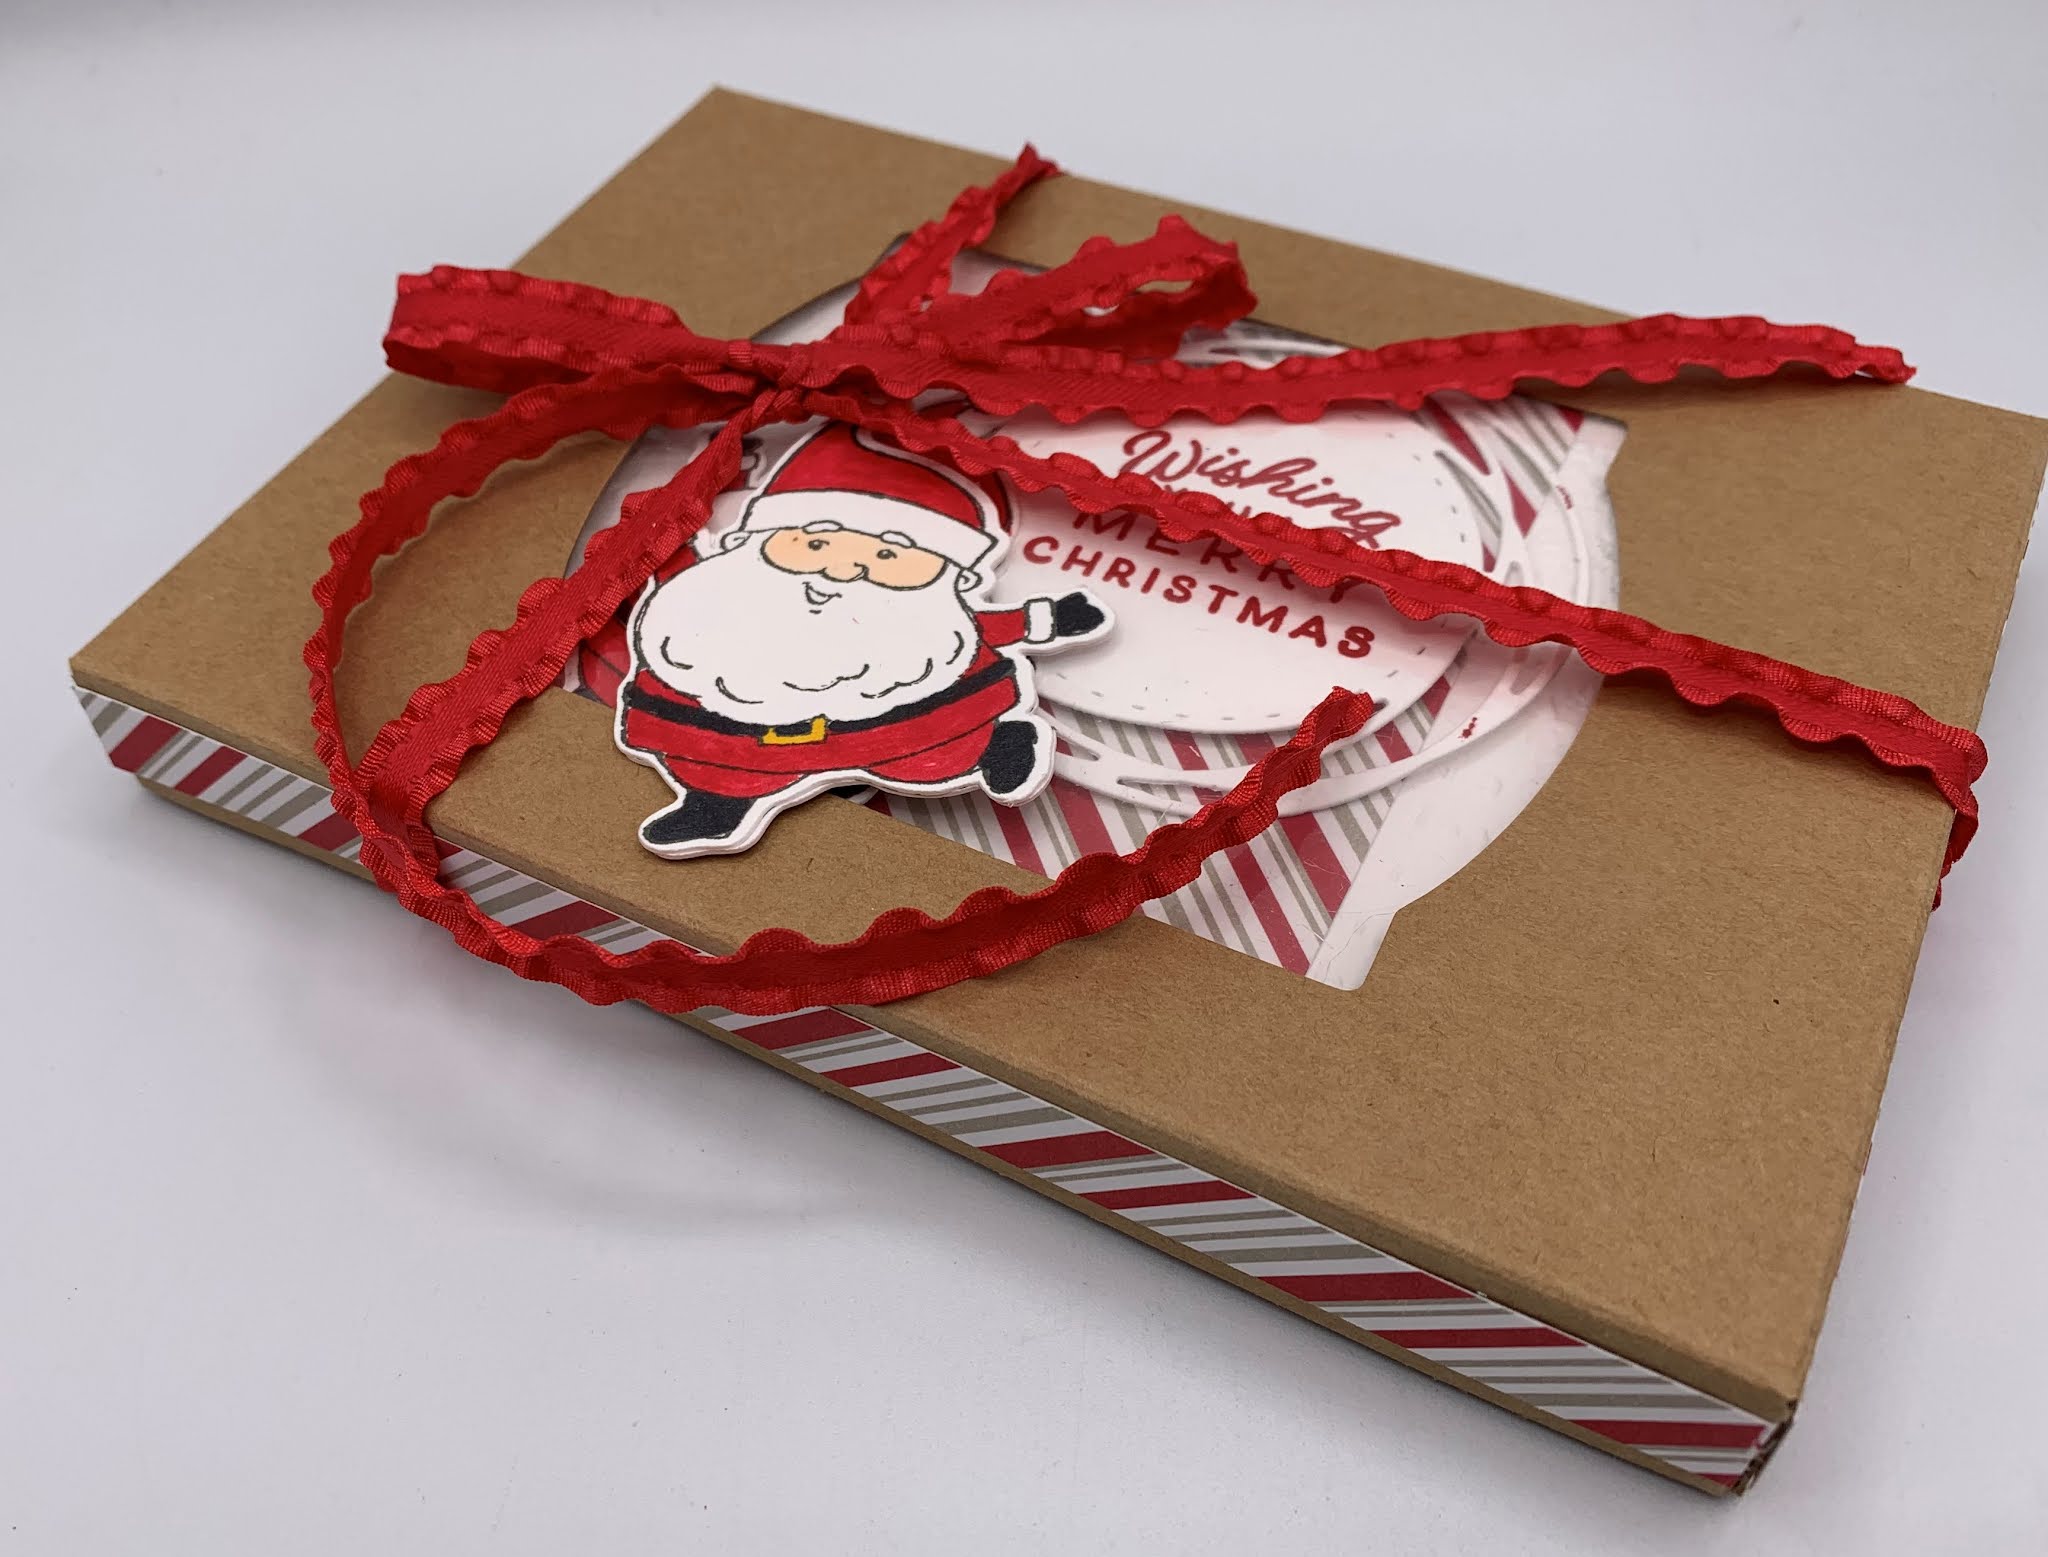
 Happy Monday My Blogger Friends! 
Today is Mix-It-UP! Monday, and I have an upgraded version of the card I shared with you yesterday.  I used the exact same product that was used to create yesterday's card ..... But I changed a few things up to bring this card up to the next stamping level.
Here's my Spot Light Sunday card from yesterday on the TOP....
And my Mix-It-UP! Monday upgraded card for today on the BOTTOM....
The first upgrade I made to my card for today was change the orientation from a landscape style card to a portrait style card.
I kept the base card White ..... But I did add two addtional layers to the top.  I added a Real Red and Old Olive layer and then positioned the 'Heartwarming Hugs Designer Series Paper' panel to the top of those.
I also upgraded the circles on this card.  Each stamped Holly Berry (from the 'Happy Holly Days' set) was postioned onto a Real Red Scallop and Old Olive Circle from the 'Layering Circles Dies'.
I also stamped my sentiment three times onto a 'Seasonal Labels Dies' and attached those sentiments to each layering holly circle.
So what do you think my friends.......
I'm finding it hard to pick a favorite.
Will probably make a few more of both for the holidays.

Thanks for joining me today!  I'll be back tomorrow to share a 3-D Tuesday creation with you ...... Hope you can make plans to stop back and join me for that share.  Keep Living Your Dream!

Sunday, August 29, 2021

3 Holly Greetings

 Happy Sunday My Blogger Friends
Today is Spotlight Sunday ....... And I have a card I created using product from the 2021 Stampin' UP! Holiday Catalog.  This card uses several products from that new catalog ........ And I'm thrilled with the way it turned out.  Let's jump right in with my card share for today..........
I'm just CRAZY about the way this card turned out!!!
I started off with a White base card and added a panel of the 'Heartwarming Hugs Designer Series Paper' to the center.  
Next, I added a panel of Old Olive and White cardstock to the top portion of my card and positioned three Real Red circle onto that panel.  Then I got busy and stamped three Holly Berries from the 'Happy Holly Days' set and fussy cut those three pieces out.  
My sentiment was stamped onto a White 'Seasonal Labels Dies' and then matted on top of a Real Red 'Layering Circle'.  The finishing touch was adding two 'Wonderful Gems' to both sides of the stamped sentiment.
Couldn't be HAPPIER with the way this card turned out.
What do you think????

Thanks for joining me today!  I'll be back tomorrow to share an upgraded version of this very card with you ...... Hope you can make plans to stop back and join me for that share.  Keep Living Your Dream!

Saturday, August 28, 2021

The World Awaits You

 Happy Saturday My Blogger Friends!
My blog post for today is Paper Pumpkin Saturday ........... And I would like to share with you the project I created using the July 'The Adventure Begins' Paper Pumpkin kit.   Here's that project.......
For my final alternate card made with the July Paper Pumpkin kit ....... I created this FUN little camper card for a friend who LOVES to get in her RV and EXPLORE the world.
I didn't add any addtional product for my card today.  I simply stamped my sentiment onto one of the banner tags that came with this kit.......
Added the DARLING little camper........
And tore the green paper that came with this kit to create a fun little ground for the camper to sit on.
And there you have it friends......
A card that I know my girlfriend will ENJOY!!!

Thanks for joining me today!  I'll be back tomorrow to share a Spot Light Sunday creation with you ........ Hope you can make plans to stop back and join me for that share.  Keep Living Your Dream!

Friday, August 27, 2021

Friends Friday Pics

 Happy Friday My Blogger Friends!
My blog post for today is Friends Friday.  On Friday's, I have the honor of spot-lighting some of the fabulous cards and projects that I received from Friends ....... Fellow Demonstrators ........ and Family.  Each of these creations are works of art........and it is with great pleasure that I share with you today some AMAZING projects that five very special friends made for me.
First up for today is this OVER-THE-TOP card made by Judy McMullen.  Here is the front of her stand-up card.........
And here is the backside of that card.  These pictures do not even begin to show how BEAUTIFUL this card is.
Next up.......This OH SO FUN card made by Gus Berry.
This next interactive card was made by Betty Pearce.  
OH MY GOSH.....HOW FUN.
This card is a Slide and Lock Fun Fold card ....... And I'm telling you ...... Once you get started playing with it.....It's almost impossible to STOP!!!!
This GORGEOUS card was made by Jan Gore.
And this BUNDLE of FUN was made by Cheri Utsler.
She created these four FABULOUS recipe cards ....... And decorated each with some SUPER FUN die-cut pieces.

Thanks for joining me today!  I'll be back tomorrow to share a special Paper Pumpkin Saturday creation with you ........ Hope you can make plans to stop back and join me for that share.  Keep Living Your Dream!

Thursday, August 26, 2021

Evergreen Tag

 Happy Thursday My Blogger Friends!
My blog post for today is Tag Thursday.  Today, I will feature a tag I created and show you how easy it is to use minimal supplies to create a SUPER PRETTY TAG.  Now that you have the details for my Tag Thursday creation for this week ........ Let's jump right in with my tag share for today........
My tag for today is a tiny little 3" x 3-1/2" tag.  It's the perfect size to attach to a bottle of wine or a small little hostess gift.
I started out with an Evening Everygreen base tag and stamped my To/From from the 'Be Jolly' set and my snowflakes from the 'Penquin Place' set onto my tag.  I used Versamark ink and White Embossing Powder to give those a real POP!!!
Next, I grabbed my 'Evergreen Border Punch' and cropped out two rows of trees.  I used Stampin' Dimensionals to pop those up ....... And then used some 'Fine Tip Glue Pen' to create some frosty texture on each of the trees.
The finishing touch was adding some 'White 3/8" Glittered Organdy Ribbon' to the top of my tag and calling this tag DONE!!!!
So there you have it friends......
Mini little holiday tag to top off your perfect little holiday gift.

Thanks for joining me today!  I'll be back tomorrow to share some Friends Friday creations with you ........ Hope you can make plans to stop back and join me for that share.  Keep Living Your Dream!

Wednesday, August 25, 2021

Cheers To Your Home

 Happy Wednesday My Blogger Friends!
My blog post for today is Wine-Down Wednesday.  My middle of the week card feature for today will hopefully offer you some inspiration and provide you with some motivation to keep you moving through your busy week.  Let's jump right in with my card share for today........
Looking for a holiday card that looks like you spent LOTS OF TIME creating it.  STOP right here ...... This card comes together in a HOT NEW YORK minute.
I started this card off with an Evening Evergreen base card.  Next, I took two panels of the 'Painted Christmas Designer Series Paper' and adhered those to my base card.  Before I adhered those panels down ..... I added some 'Real Red Double Stitched Ribbon' across the seam of the two panels of DSP and tied it up into a pretty knot on the left hand side of my card.
Then I got busy creating my sentiment and stocking piece.  I used the 'Tidings & Trimmings' set to stamp my stockings and used the 'Christmas Trimming Dies' to crop out my two stockings.  My sentiment was stamped onto a 'Rectangle Stitched Dies' and layered with the 'Scalloped Countours Dies'.  DOES IT GET ANY CUTIER????
And there you have it my friends.......
Just CRAZY about the way this card turned out.

Thanks for joining me today!  I'll be back tomorrow with a Tag Thursday creation to share with you ........ Hope you can make plans to stop back and join me for that share.  Keep Living Your Dream! 

Tuesday, August 24, 2021

Mini Hot Cocoa Jar

 Happy Tuesday My Blogger Friends!
My blog post for today is '3D/CASE TUESDAY'.  That means today I have a fun little 3-D project that I found on the internet and tweaked it a tiny bit to create a SUPER FUN Hot Coccoa Jar Treat share with you today.
Seems every year I make Hot Cocoa Treats to pass out to friends (especially when I go back to Wisconsin in November/December).  This year I'm taking advantage of our new 'Mini Jam Jars' and a DARLING little Mini Jam Jar Box that Sally Stamper created back on June 3, 2021.  Here's a link to her video:  (340) Mini Jam Jar Box - YouTube
I wanted to create mine with a Christmas theme ....... So I used the 'Gingerbread & Peppermint Designer Series Paper' to cover my box.  This box starts out with a 7-3/4" x 7-3/4" Real Red base.  It's scored at 2-3/4" on all four sides.
The box lid is a 4-1/4" x 4-1/4" piece of White cardstock and that is scored at 1" on all four sides.
The DSP pieces for the box are Qty 4-pcs that are 2-1/2" x 2" and the lid pieces are Qty 1-pc that is 2" x 2" and Qty 4-pcs 3/4" x 2".
The box opens by removing the lid and the front flap of the box pops open.  
I decorated my Mini Jam Jars with some 'Real Red Ruffled Ribbon'.  I also added some hot cocoa, marshmallows and peppermint chips.
And my sentiment piece is a White label from the 'Pretty Pillow Box Dies' and I used the 'Holly Jolly Wishes' set to decorate the front.
So there you have it friends.
An ADORABLE little Hot Cocoa Treat.

Thanks for joining me today!  I'll be back tomorrow to share a Wine Down Wednesday card with you ........ Hope you can make plans to stop back and join me for that share.  Keep Living Your Dream!