Happy Monday My Blogger Friends!
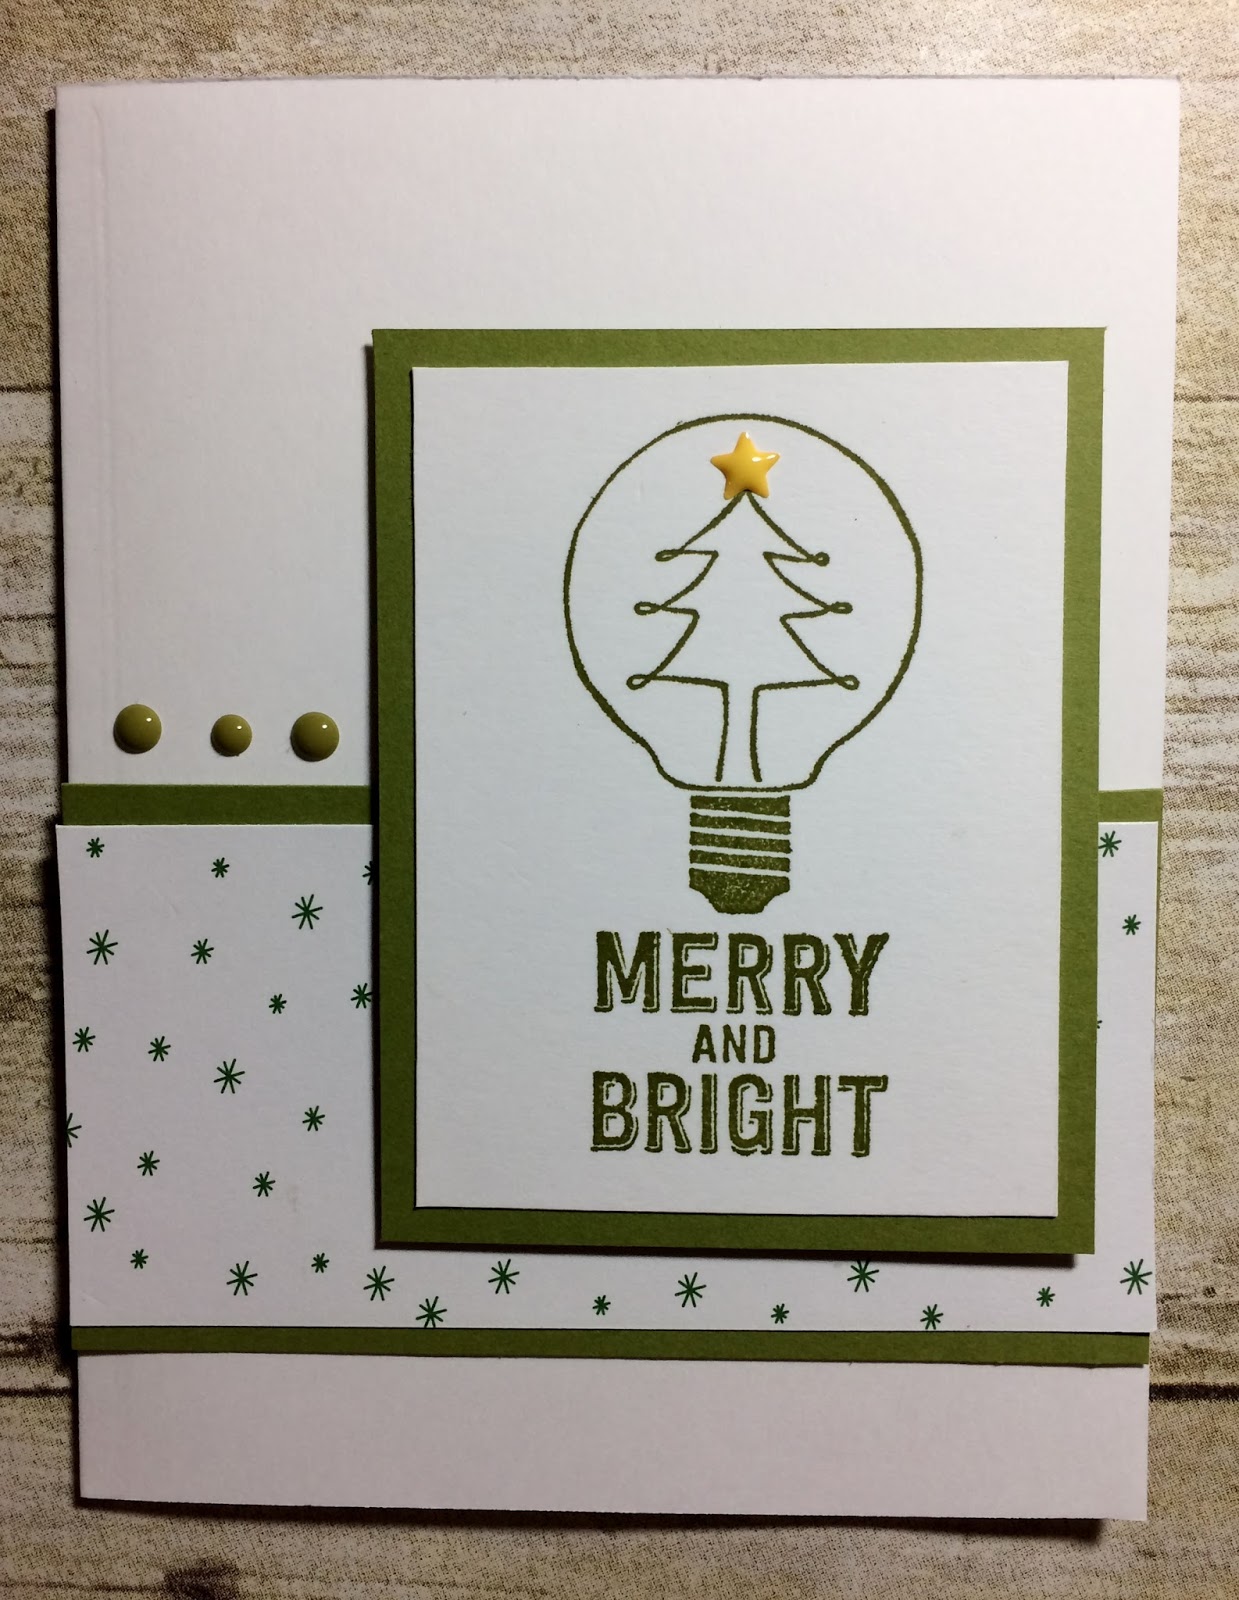
Today is Mix It UP! Monday and I have an upgraded version of the card I shared with you yesterday. I used the exact same product that was used to create yesterday's card ....... but added a couple additional products (found in the 2017-2018 Stampin' UP! Annual Catalog) to bring this card up to the next stamping level.


 Thanks for joining me today! I'll be back tomorrow to share a 3-D Tuesday creation with you ...... Hope you can make plans to stop back and join me for that share. Keep Living Your Dream!

Here is my Spot Light Sunday card on the LEFT.....
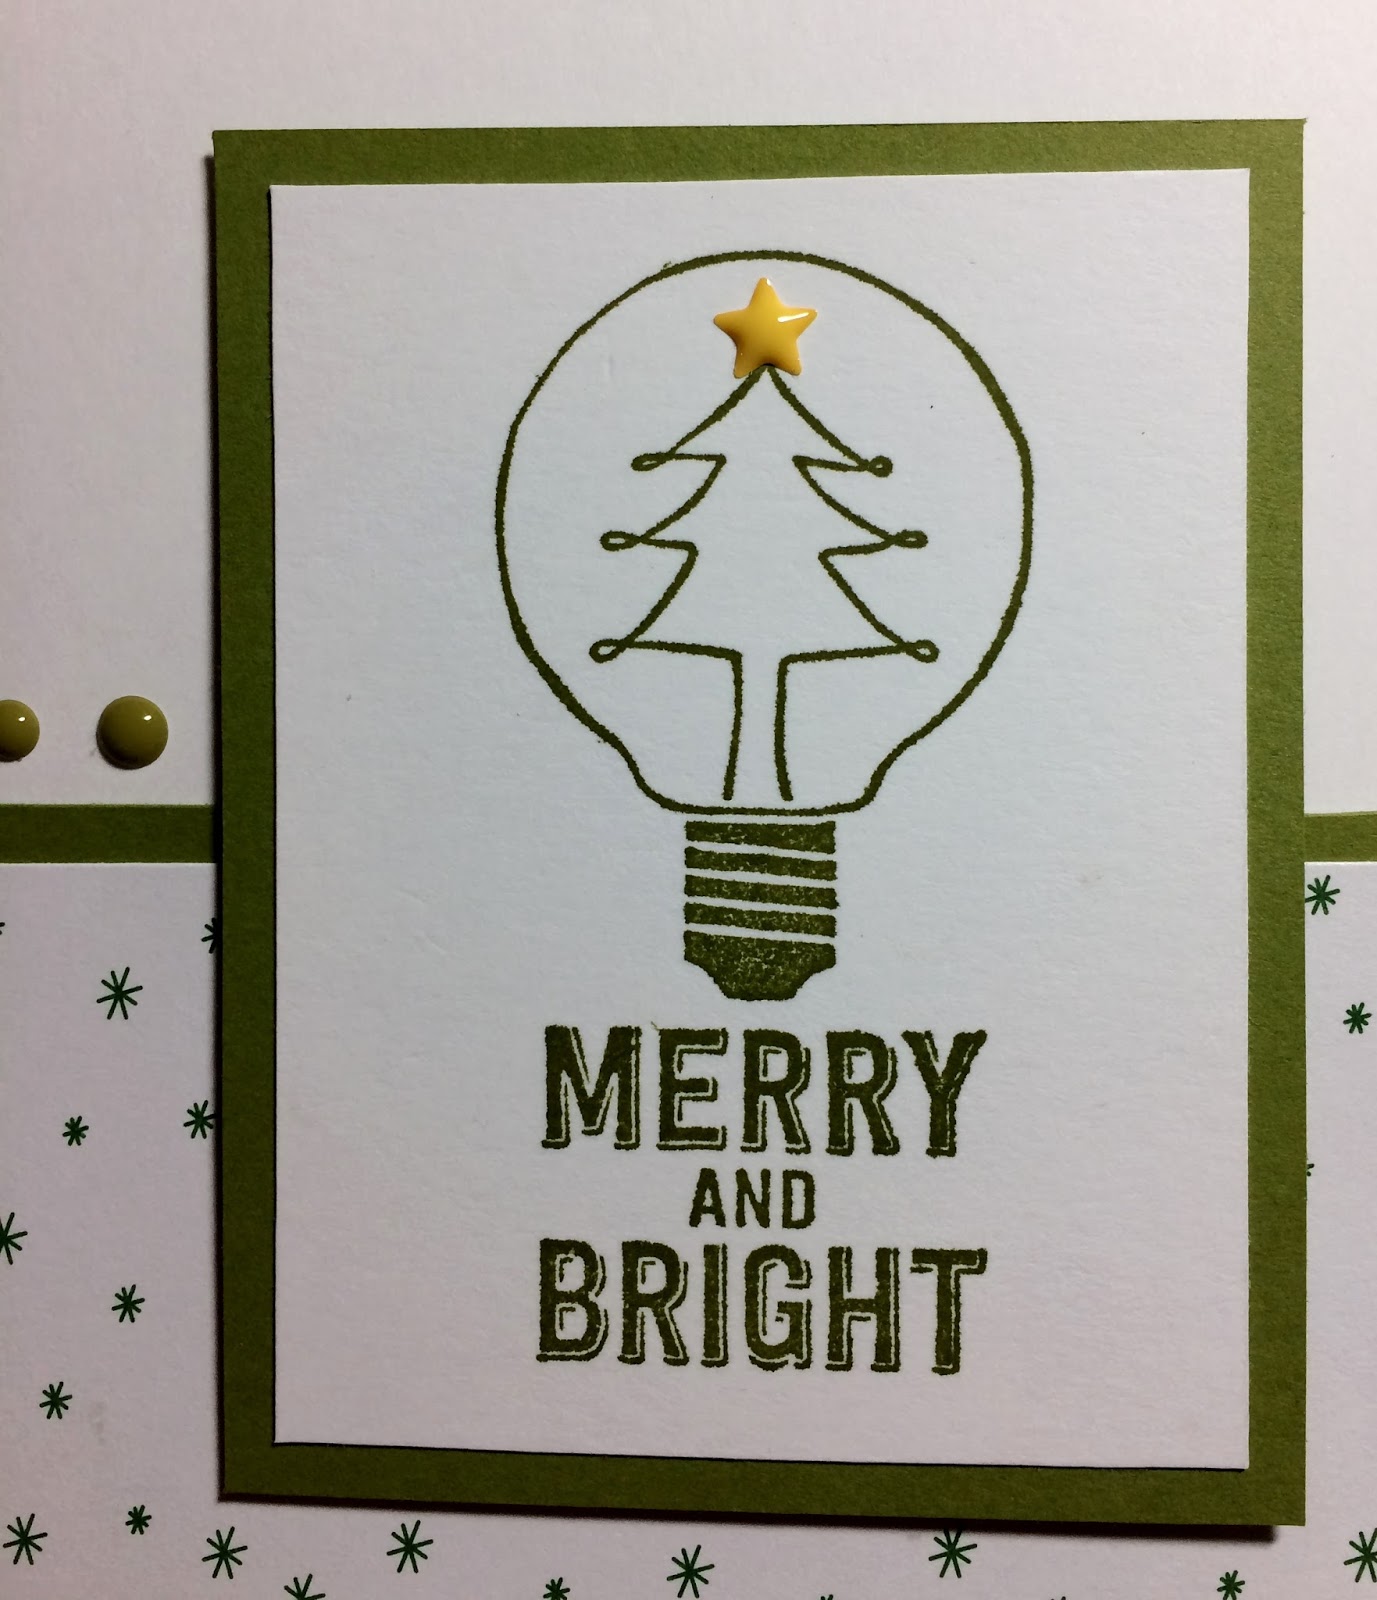
And my Mix-It-UP! Monday card on the RIGHT.....

For my upgraded card ....... I began by changing the orientation.

I then used my 'Simply Score Board' to create a 1/4" score line around all four sides of my Whisper White panel.

To create my focal image ....... I used the 'Watts of Occasions' stamp set with Old Olive ink.

I changed up my center DSP panel a tiny bit.
I used the same 'Be Merry DSP' and wrapped some of the SUPER YUMMY 1/4" Old Olive Stitched-Edge Ribbon around that panel ...... And finished if off with a pretty bow.

So there you have it friends......
DO YOU HAVE A FAVORITE?