Wednesday, September 30, 2015

Wine-Down Wednesday Little Package

Happy Wednesday My Blogger Friends!
My blog post for today is Wine-Down Wednesday.  My middle of the week card feature for today will hopefully offer you some inspiration and provide you with some motivation to keep you moving through your busy week.  Let's jump right in with my card share for today........
This sweet little package card comes together with the help of several new products in the 2015 Holiday Catalog.
First up.......I used the new 'Your Presents' set to stamp my holiday trees across the center of my Mint Macaron base card.  (I used Mint Macaron ink to stamp my trees.)
Next I created a tag for the center of my card.  I used the 'Chalk Talk' framelits for my tag and creating the most darling little package with the help of the 'Holidays Fancy Foil Designer Vellum'. 
Don't you just love how stunning the 'joy' from the 'Your Presents' set stamped onto my Whisper White tag.
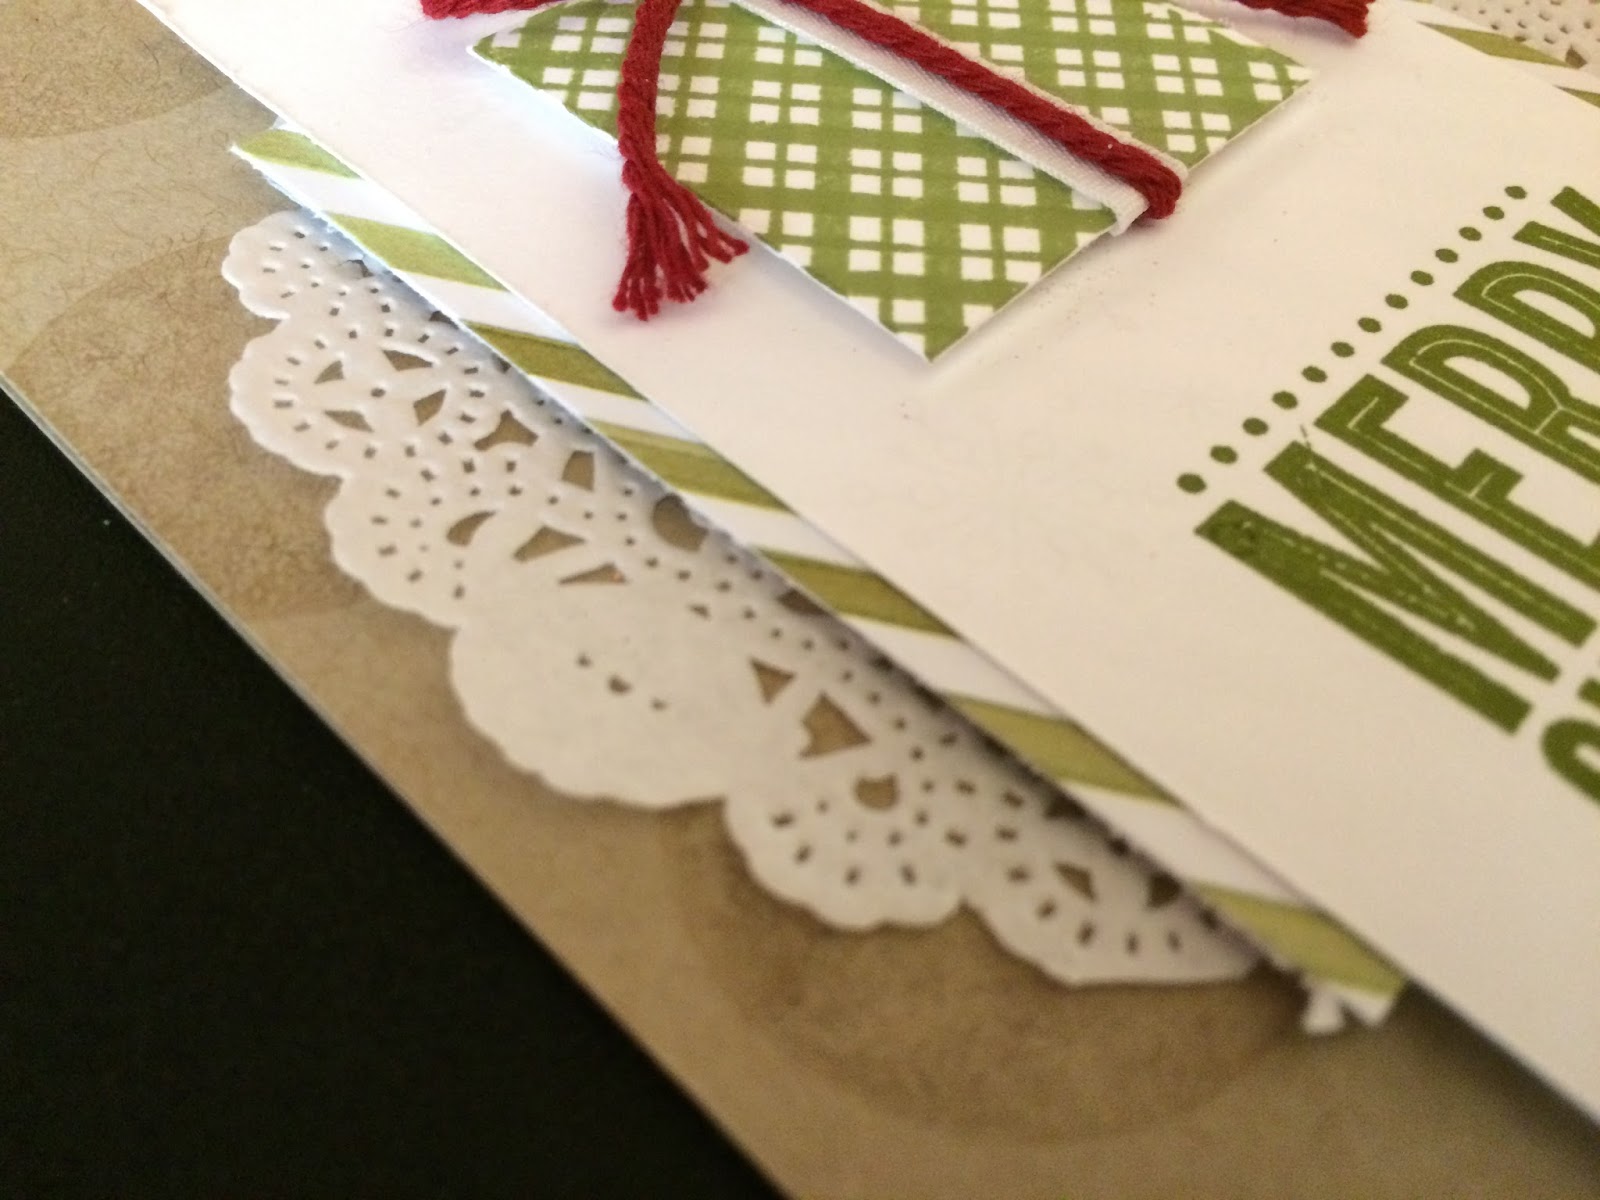
And all that was left to do was add a pretty wrapping to the front of my card.  I just wrapped some Real Red Cotton Ribbon around the center of my card ...... And called this card done! 
 
Thanks for joining me today!  I'll be back tomorrow to share with you a fun Tag Thursday creation ........ Hope you can make plans to stop back and join me for that share.  Keep Living Your Dream!

Tuesday, September 29, 2015

3-D Tuesday 8x8 Gift Box

Happy Tuesday My Blogger Friends!
My blog post for today is 3-D Tuesday.  That means today I have a fun little 3-D project to share with you.  This project is SUPER QUICK and SUPER EASY to create and only requires an 8x8 sheet of Designer Series Paper.  Let's jump right in with my project share for today.
This cute little box comes together with the help of the Stampin' UP! Gift Box Punch Board and a little 8"x8" piece of DSP. 
The 8x8 piece of DSP is scored at the Vertical using the small marking and the Diagonal using the large marking. 
Once you have your vertical and diagonal lines scored....All you need to do is follow the directions on the Gift Box Punch Board and you will have created this charming little box.
To finish off my box ....... I added an Old Olive belly band and some 3/8" Rich Razzleberry Cotton Ribbon.
 A darling little project that perfectly holds SEVERAL Hershey Nuggets.
 
Thanks for joining me today!  I'll be back tomorrow to share a Wine Down Wednesday card with you ........ Hope you can make plans to stop back and join me for that share.  Keep Living Your Dream!

Monday, September 28, 2015

Mix-It-UP! Monday Ice Skates

Happy Monday My Blogger Friends!
Today is Mix It UP! Monday and I have an upgraded version of the card I shared with you yesterday.  I used the exact same product that was used to create yesterday's card ....... but I added a couple additional products (found in the 2015 Stampin' UP! Holiday Catalog) to bring this card up to the next stamping level.
First, I want to share the card I posted yesterday (on the left) ....... and my stepped up version of that card (on the right).  What do you think?
I used the same 'Winter Wishes' stamp set to create this card ....... But check out the fun addition I added to my skates.
By simply adding a single Real Red Pom-Pom Ribbon trim to the toe of each skate, I was TOTALLY able to KICK UP the level of my stamped skates. 
I also used the same 'Merry Moments' DSP stack ........ And added several new layers to that panel.
One other additional product I added to this stepped up version was the Cherry Cobbler Baker's Twine along with more Real Red Pom-Pom Ribbon to my DSP panel.
So there you have it my friends ........ One card layout ....... That yields two fabulous card creations.  Which is your favorite?
 
Thanks for joining me today!  I'll be back tomorrow to share a 3-D Tuesday project with you ........ Hope you can make plans to stop back and join me for that share.  Keep Living Your Dream! 

Sunday, September 27, 2015

Spot Light Sunday Merry Skates

Happy Sunday My Blogger Friends!
Today is Spotlight Sunday ....... And I have a wonderful new product card to share with you.  It's product that is featured in the new 2015 Stampin' UP! Holiday Catalog.  This Spotlight Sunday card is the perfect holiday card to create if you are short on time.........and need to make a bunch of cards up in a hurry.  Let's jump right in with my card share for today.
This card was created with the new 'Winter Wishes' set.
I began by stamping my skates with the new Basic Black Archival stamp pad and adding my sentiment below my skates with Real Red ink.
One of my favorite items in the holiday catalog just has to be the 'Merry Moments' DSP stack.
All that was left for me to do was add some Real Red Cotton Ribbon around my DSP panel and this card was DONE!
 
Thanks for joining me today!  I'll be back tomorrow to share a fun Mix-It-UP! Monday card with you ........ Hope you can make plans to stop back and join me for that share.  Keep Living Your Dream!

Saturday, September 26, 2015

Paper Pumpkin

Happy Saturday My Blogger Friends!
My blog post for today is Paper Pumpkin Saturday ........... And do I have some fun cards to share with you!  These are the last four cards I created with my July Paper Pumpkin kit.  I didn't use any additional Stampin' UP! product to create these card .......... Just what came in my Paper Pumpkin Kit.  I'm thrilled with the way they turned out ........ And want to share those cards with you now.
This card idea came from a fellow Stampin' UP! demonstrator ...... Who simply showed how to cut down the Whisper White base card that comes with your kit ........ And you can make two small cards with each Whisper White base card.
All I did for this card was add some of the DSP that comes with the kit to the top and bottom of my cut-down card ...... And then I added one of the Whisper White spiral panels with a coffee cup stamped on the front.
Next up I used another cut-down card and just changed the orientation on this card.
Here's the third card I created ........ I made this card a landscape style card.
And this is the other cut-down portion of my Whisper White base card and I made this card a portrait style card.
The other thing I did for each of these little mini cards was cut down the envelope that comes with this kit ....... And I was able to create a small envelope for each of my mini cards.
So there you have it friends ........ A great way to use up all the pieces to this Paper Pumpkin kit.
 
Thanks for joining me today!  I'll be back tomorrow to share a Spot Light Sunday card with you ........ Hope you can make plans to stop back and join me for that share.  Keep Living Your Dream!

Friday, September 25, 2015

Friends Friday - SW Stampers Swap

Happy Friday My Blogger Friends!
My blog post for today is Friends Friday.  On Friday's, I have the honor of spot-lighting some of the fabulous cards that I have received from Friends.......Fellow Demonstrators........and Family.  Today's cards were all made by the SW Stampers group of Tucson ........ And I will tell you that each card creation is a FABULOUS WORK OF ART.  Let's jump right in with my card share for today.
First up is this fabulous card that was made by my fellow Stampin' UP! demonstrator Annie J.
Here's the fun and festive card that Dianne W made.....
This card was made by the very talented Tricia C.
And here's the card that my sweet friend Edna M. made.  (sorry it's so blurry!)
 
Thanks for joining me today!  I'll be back tomorrow to share a Paper Pumpkin card with you ....... Hope you can make plans to stop back and join me for that share.  Keep Living Your Dream!

Thursday, September 24, 2015

Tag Thursday MERRY Tag

Happy Thursday My Blogger Friends!
My blog post for today is Tag Thursday.  Today, I will feature a tag I created and show you how easy it is to use minimal supplies to create a SUPER FUN HOLIDAY TAG.  Let's jump right in with my tag share for today.
There is something about using Crumb Cake during the holidays that just screams WARM and COZY to me.  This tag was created with a Crumb Cake tag base and then I used the new 'Perfect Pines Framelits Dies' to create my two trees.
I began by die-cutting out my trees with Pear Pizzazz and Very Vanilla cardstock.
Then I used the snowflake stamp from the 'Holly Jolly Greetings' set and stamped snowflakes all over my crumb cake tag.  And to add just a touch of something something.........I added one of the wooden 'Snowflake Elements' to the top of my tag.
A small hole punch was used with some Real Red cardstock to add some color to each of my trees.  And I topped each of the Real Red circle off with some Crystal Effects to give my trees some sparkle and shine.
To finish this tag off ....... I added a tiny piece of 'Season of Cheer' washi tape to the bottom of my tag and wrapped some Gold Baker's Twine around my tag and called this one DONE!
 
Thanks for joining me today!  I'll be back tomorrow to share some Friends Friday cards with you ........ Hope you can make plans to stop back and join me for that share.  Keep Living Your Dream!

Wednesday, September 23, 2015

Wine-Down Wednesday Merry Christmas

Happy Wednesday My Blogger Friends!
My blog post for today is Wine-Down Wednesday.  My middle of the week card feature for today will hopefully offer you some inspiration and provide you with some motivation to keep you moving through your busy week.  Let's jump right in with my card share for today........
How's this for a fun and flirty holiday card.
I wanted to create a Crumb Cake card ....... And use one of the Stampin' UP! Doilies on my card.
So I started out by stamping some large circles on my Crumb Cake base card with VersaMark ink.
I then stamped my package with the new 'Your Presents' stamp set.  I also added some Cherry Cobbler Baker's Twine around my stamped image and the results were INSTANT PRESENT for my card.
And one of my final steps was to stamp my Merry Christmas from the 'Merry Everything' stamp set.
So there you have it ....... A darling little card that just couldn't be any easier to create.
 
Thanks for joining me today!  I'll be back tomorrow to share with you a Tag Thursday project ........ Hope you can make plans to stop back and join me for that share.  Keep Living Your Dream!

Tuesday, September 22, 2015

3-D Tuesday Halloween Banner

Happy Tuesday My Blogger Friends!
My blog post for today is 3-D Tuesday.  That means today I have a fun little 3-D project to share with you.  This project is SUPER QUICK and SUPER EASY to create and it takes minimal supplies from my Stampin' UP! stash.  Let's jump right in with my project share for today.
How this for a fun little Halloween Banner!
Each of the banner flags measure 3-1/2" x 3"....
I used one of the new Spider Web Doilies for each banner......
And the center circles are punched out using the 2-1/2" circle punch.
I used the 'Larger Than Life' Alphabet set to stamp each of my letters......
And I used the new Basic Black Archival stamp pad for each of my letters.
To the top of each circle I added a small piece of 'Sahara Sand 7/8" Lace Trim.......
And knotted it all up with some Linen Thread.
Behind each letter I wrapped some Silver Metallic Thread......
And sponged all the edges of my pieces to help give it a creepy and Halloween kind of feel.
And here is my spooky Halloween banner hanging in my studio.
 
Thanks for joining me today!  I'll be back tomorrow to share with you a Wine-Down Wednesday project ........ Hope you can make plans to stop back and join me for that share.  Keep Living Your Dream!