Sunday, April 30, 2023

No One Like You

Happy Sunday My Blogger Friends
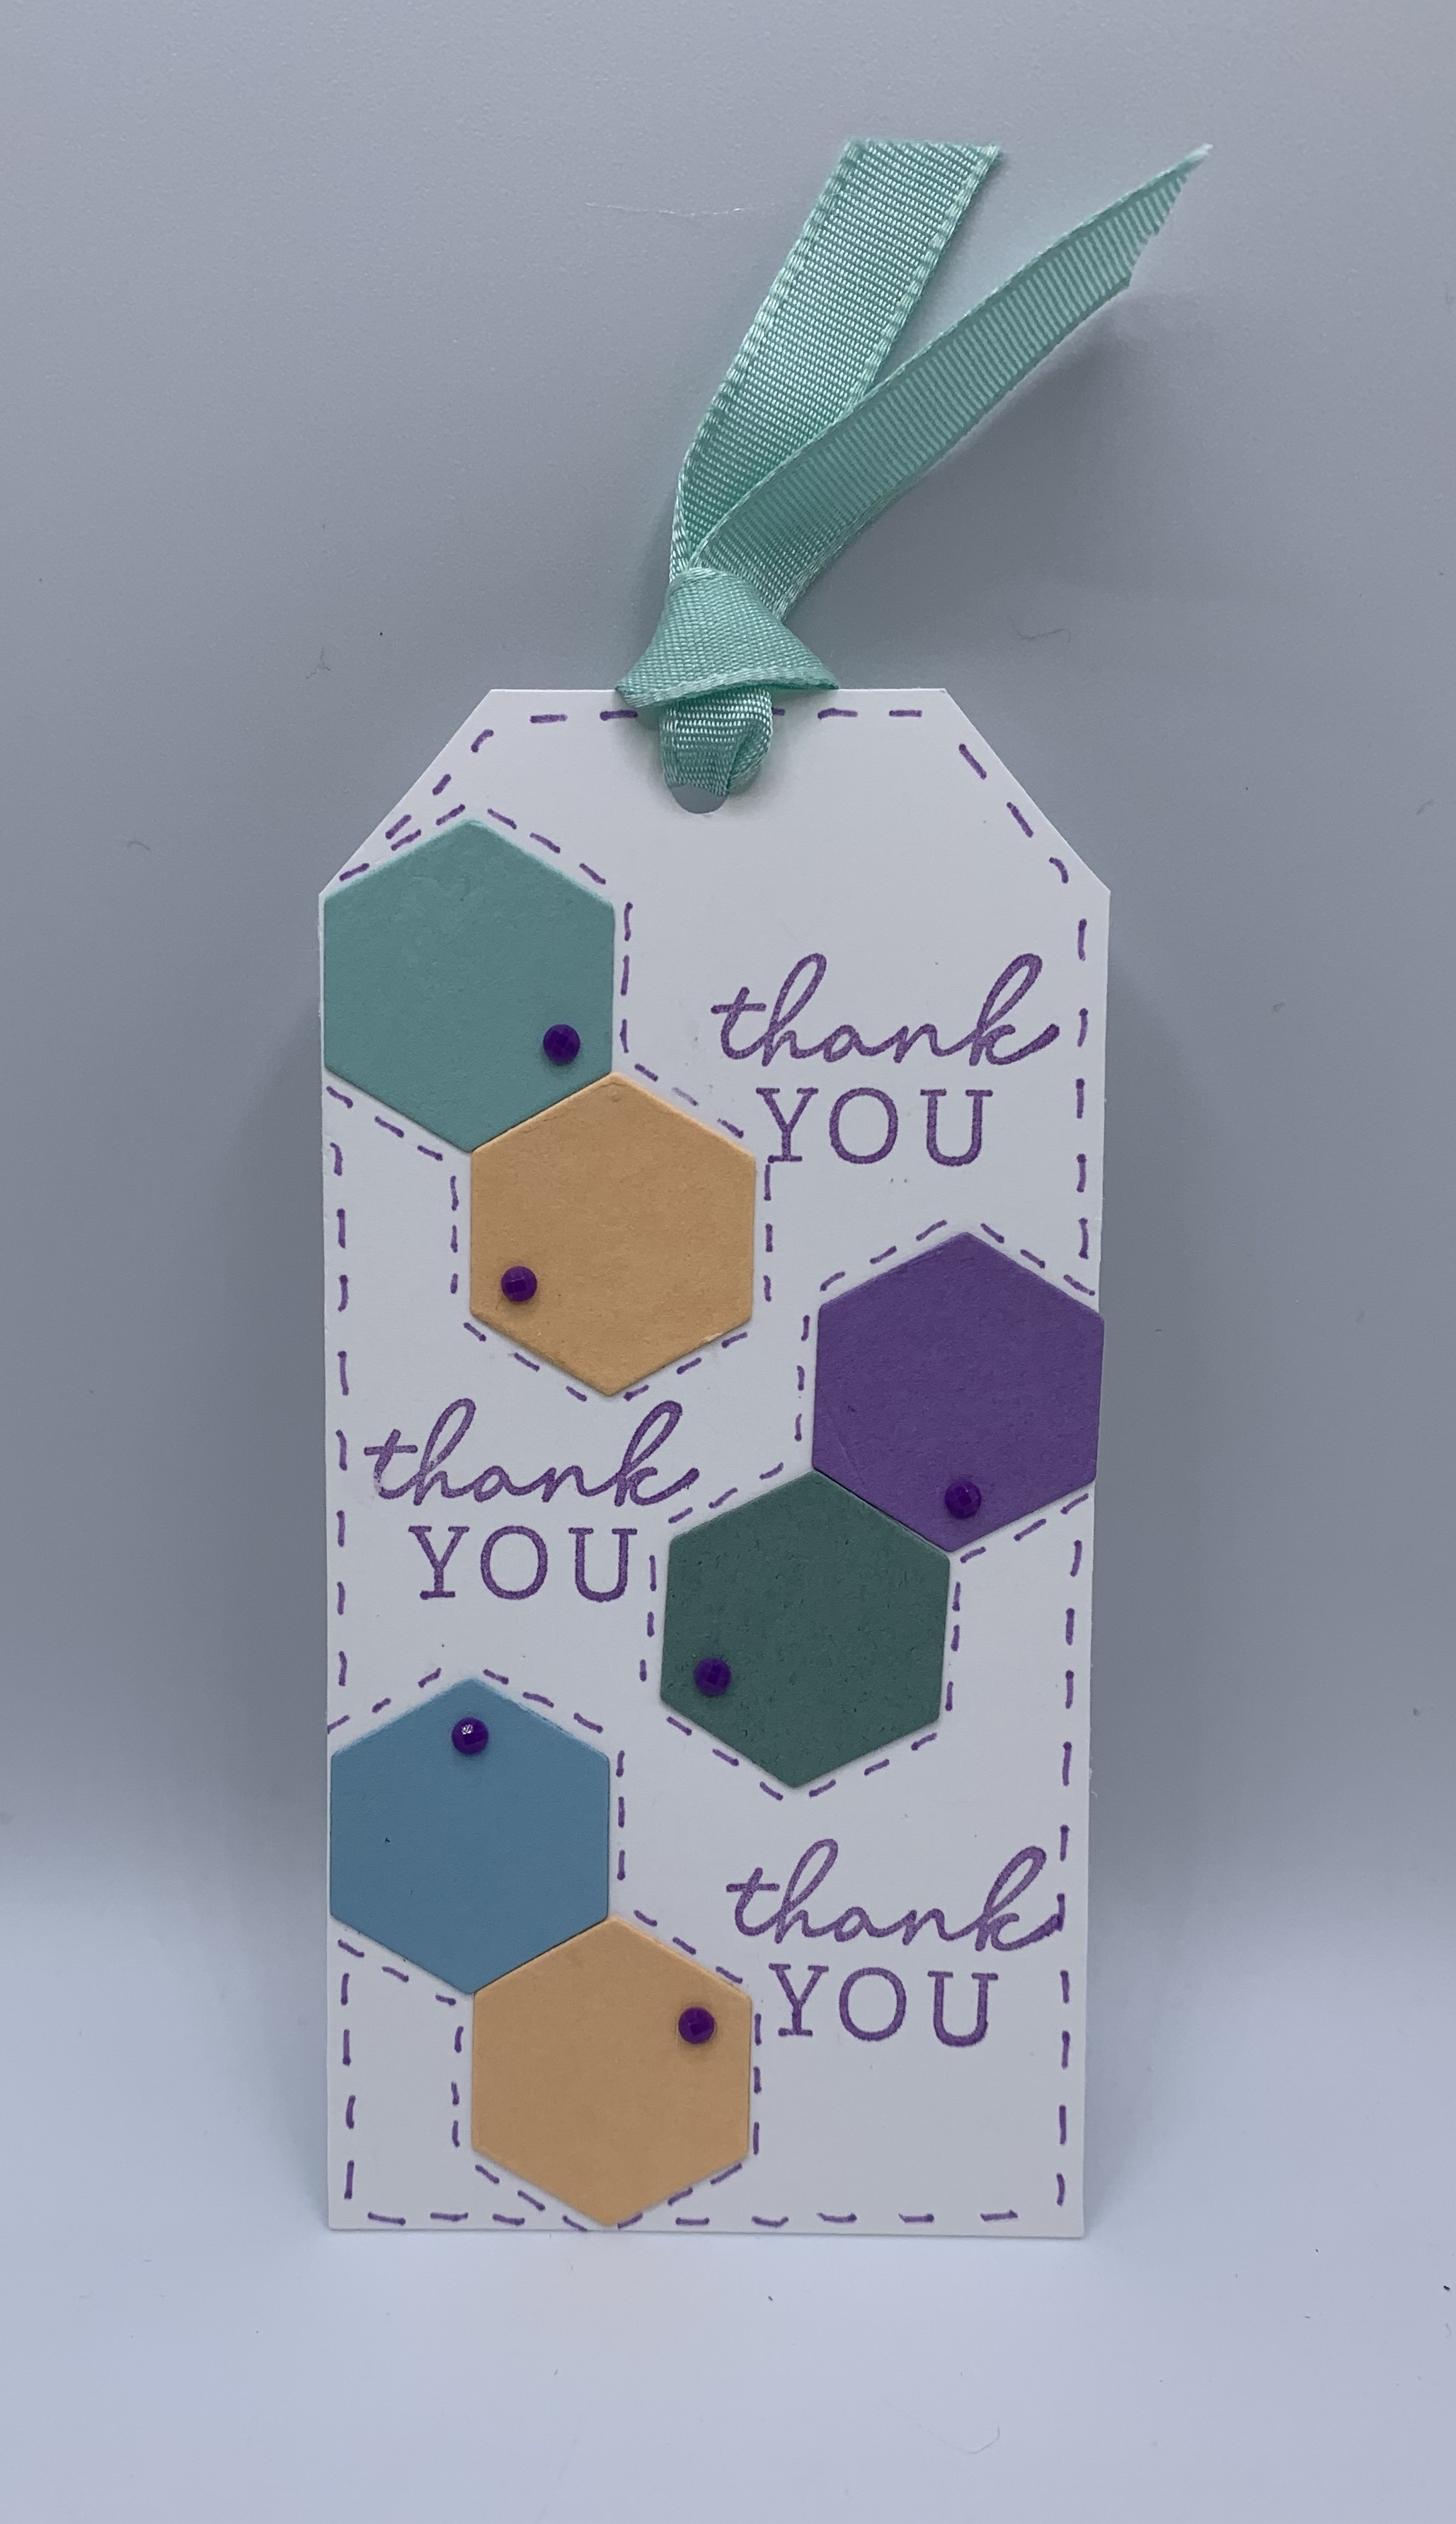
Today is Spotlight Sunday ....... And I have a card I created using product from the 2023 Stampin' UP! Mini Catalog.  This card uses several products from that new catalog ........ And I'm thrilled with the way it turned out.  Let's jump right in with my card share for today..........
My card share for today has LOTS of HAPPY surpises!
I started off with a White base card that measures 4-1/4" x 11".  That piece is scored at 5-1/2.   I used the 'Gingham Embossing Folder' to add texture to the front panel of my base card.
Next, I cropped out SEVERAL 1/4" x 2-1/4" strips of 'Brights Designer Series Paper' and adhere those to a 2-1/4" x 3-7/8" White panel.  All I did was stack each DSP strip above the previous piece.
Then, I got busy and created my sentiment piece.  It was two 'Layering Circle' pieces and topped off with a White 'Stylish Shapes Dies' piece.  My sentiment is from the 'Happy Label set ..... And I added two 'Glossy Dots Assortments' to my sentiment before I adhered it down.
So, there you have it friends.....
What do you think???

Thanks for joining me today!  I'll be back tomorrow to share an upgraded version of this very card with you ...... Hope you can make plans to stop back and join me for that share.  Keep Living Your Dream!

Saturday, April 29, 2023

Ghiradelli Square Holder

Happy Saturday My Blogger Friends!
Today I have another Saturday Sweet Treat packaging idea to share with you.  This project is a SUPER YUMMY, sweet treat packaging.  Let me jump right in with my share.
This little sweet treat holder was SO MUCH FUN to create ..... And the BEST PART ..... It is PERFECT for any occasion.
I started off with a Cajun Craze base.  That piece measures 9-3/4" x 3-1/2" and is scored at 3-1/4" on both ends.
The inside and front flap are embellished with the 'Delecate Desert Designer Series Paper' and uses the 'Framed Occasions' set.
The back section that is scored at 3-1/2" is cut down from the top left-corner to the lower right-corner and that is how your pouch is formed on the inside.
That pouch section will hold a Ghirardelli Chocolate Square PERFECTLY.
I used the 'Rose Gold & White Stripped Ribbon' to secure my holder closed.
So ...... What do you think my friends????
Hope you have FUN making some of these.

Thanks for joining me today!  I'll be back tomorrow to share a Spotlight Sunday creation with you ........ Hope you can make plans to stop back and join me for that share.  Keep Living Your Dream!

Friday, April 28, 2023

Inside Dutch-Door Card

 Happy Friday My Blogger Friends!
Today is Fun Fold Friday and that means I have a special little Fun Fold Gift Card Holder to share with you. Let's kick off this Fun Fold Friday share right now.........
I spotted this fun fold on Pinterest and thought .... YIKES ..... I could make that.  So I'm calling this card my inside the dutch door card.  The dutch doors are revealed when you open up this card.
I started this card off with a 8-1/2" x 11" Night of Navy base card.  It is scored at 5-1/2" and then you will turn your cardstock to the short side and score at 2-1/8" and 6-3/8".  You will end up cutting off the upper two rectangles and will be left with two lower rectangles that will become your dutch-doors.
I covered the front panel of my card with a panel of White cardstock and a panel of 'Sun Prints Designer Series Paper'.
My sentiment is layering pieces of 'Deckled Rectangles' panels and my sentiment is from the 'A Grand Kid' set.  I also added some 'Sun Prints Designer Series Paper' to that sentiment piece.
I wrapped 'Night of Navy Bordered Ribbon' around my card to act as the closure.
So, when you untie that pretty ribbon ........
It reveals the inside dutch doors.  Both of those doors were covered with more of the 'Sun Prints Designer Series Paper'.
And when those dutch doors are opened ..... 
The WOW FACTOR takes place.
I added several more pieces of the 'Sun Prints Designer Series Paper' and added several layering circle pieces for my sentiment.
The sentiment is from the 'A Grand Kid' set ..... And is finished off with three 'Enamel Dot Essentials'.
So, there you have it friends......
Not nearly as difficult as you might think.

Thanks for joining me today!  I'll be back tomorrow to begin sharing a special new Sweet Treat Saturday release with you ........Hope you can make plans to stop back and join me for that share.  Keep Living Your Dream!

Thursday, April 27, 2023

Thank You

Happy Thursday My Blogger Friends!
My blog post for today is Tag Thursday.  Today, I will feature a tag I created and show you how easy it is to use minimal supplies to create a SUPER PRETTY TAG.  Now that you have the details for my Tag Thursday creation for this week ........ Let's jump right in with my tag share for today........
When saying thank you one time isn't enough ..... I find it BEST to say it three times!!!  That's the statement I making with my tag share for today.
I started off with a White base tag that measures 2-1/2" x 5".  I cropped out a total of six heaxagon shapes from the 'Beautiful Shapes Dies'.  I used Balmy Blue, Pale Papaya, Highland Heather and Pool Party for my six hexagon shapes.
After I had sets of two arranged onto the front of my tag ..... I used the 'Happy Labels' set to stamp my sentiment next to each set of hexagons.
And to each hexagon .... I added a 'Opaque Adhesive-Backed Gem'.
I finished my tag off with some pretty 'Pool Party Grosgrain Ribbon' and tied that up into a pretty knot.
So .... Tell me friends ....
Do you love it????

Thanks for joining me today!  I'll be back tomorrow to share a Fun Fold Friday creation with you ........ Hope you can make plans to stop back and join me for that share.  Keep Living Your Dream!

Wednesday, April 26, 2023

Wishes

Happy Wednesday My Blogger Friends!
My blog post for today is Wine-Down Wednesday.  My middle of the week card feature for today will hopefully offer you some inspiration and provide you with some motivation to keep you moving through your busy week.  Let's jump right in with my card share for today........
I started my card for today off with a 4-1/4" x 11" piece of White cardstock.  That piece was scored at 5-1/2".
I added one 1" x 5" panel of the 'Sun Print Designer Series Paper' to the left-hand edge of my card front and then added a 1-3/4" Night of Navy cardstock panel right next to that DSP panel.
I did position some 'White Baker's Twine around the seam of my DSP and cardstock panel before I adhered those pieces down and tied my Baker's Twine up into a pretty bow.
My sentiment piece was created with several layers of the 'Layering Circles Dies' .... And I used the 'Best Day' stamp set to stamp my sentiment onto the top white circle.
The finishing touch for this card was adding several 'Adhesive Backed Milky Dots' to the front of my card ...... And called this card done in a HOT NEW YORK minute.
What do you think my friends.

Thanks for joining me today!  I'll be back tomorrow with a Tag Thursday creation to share with you ........ Hope you can make plans to stop back and join me for that share.  Keep Living Your Dream! 

Tuesday, April 25, 2023

Tissue Box

Happy Tuesday My Blogger Friends!
My blog post for today is '3D TUESDAY'.  That means today I have a fun little 3-D project that I created and want to share with you.   This project was SUPER FUN to create and I want to jump right in and share that project with you now.
Why just toss a package of kleenex into your purse .... When you can create this pretty packaging for your kleenex.
I started with a piece of 6" x 7-1/2" piece of Thick White cardstock.  I scored the 6" side at 1" on both ends and scored the 7-1/2" side at 1-1/2", 2-1/2", 4-3/4" and 5-3/4".  I covered my kleenex box with the 'Design A Daydream Designer Series Paper'.
This is a template of how you will score and tape all the sides of your Tissue Box.
And here is how the Designer Series Paper fits onto my base.
My DSP measurements are for the Front Bottom - 1-1/2" x 3-3/4".  For the Front Top - 1-1/4" x 3-3/4". The two sides measure 3/4" x 2" and the top measurement is 3/4" x 3-3/4". 
My sentiment piece on the front is from the 'Happy Label' set and I layered that with a frame from 'Something Fancy Dies' and the 'Layering Circle Dies'.
My packet of kleenex fit perfectly inside this holder ..... And the BEST PART ..... When I use up all the kleenex I can just pop a new package inside.
 So, there you have it friends.....
What do you think????

Thanks for joining me today!  I'll be back tomorrow to share a Wine Down Wednesday card with you ........ Hope you can make plans to stop back and join me for that share.  Keep Living Your Dream!

Monday, April 24, 2023

Saying Hello Upgrade

Happy Monday My Blogger Friends! 
Today is Mix-It-UP! Monday, and I have an upgraded version of the card I shared with you yesterday.  I used the exact same product that was used to create yesterday's card ..... But I changed things up to bring this card up to the next stamping level.
Here's my Spotlight Sunday card from yesterday on the TOP....
And my Mix-It-UP! Monday upgraded card for today on the BOTTOM....
The first upgrade I made to my card for today was change up the orientation from a Portrait style card to a Landscape style card.
I kept the base card White but added a Basic Gray panel to the front.
Then I added a panel of Smoky Slate to the top of that.  I did use the 'Painted Texture Embossing Folder' to add more texture to that Smoky Slate panel.
To the top of my Smoky Slate panel .... I added three strips of Basic Gray cardstock and 'Like An Animal Designer Series Paper'.  I laced each of those pieces together before I adhered them down.
Then I stamped my sentiment from the 'Simply Fabulous' set onto a large two layers of cardstock and backed it with a LARGE Blackberry Bliss scallop circle piece.  The finishing touch was adding a tiny piece of 'Gray Granite 1/4" Sheer Ribbon' behind my scallop circle piece.
So, what do you think my friends....
Do you have a favorite???

Thanks for joining me today!  I'll be back tomorrow to share a Wine Down Wednesday card with you ........ Hope you can make plans to stop back and join me for that share.  Keep Living Your Dream!