Saturday, December 31, 2022

New Years Sweet Treat Box

Happy Saturday My Blogger Friends!
I'm starting something NEW for my Saturday share and will continue sharing my Saturday Sweet Treat packaging idea with you until the end of the year.  These Saturday projects will be some form of a YUMMY sweet treat packaging.  Here is what I created to share with you today.
This DARLING little Sweet Treat Box is inspired by Sara Wills at Sarah's Ink Spot.  She created this box some time ago.....but it's still as current and fresh as can be today.  Here is a link to her post and instructions on how to create this little CUTIE.  Acetate Treat Holder – Sarahs Ink Spot
I created my treat box with a piece of 8-1/4" x 4" acetate.  It is scored at 1-15/16", 3-7/8", 5-13/16" and 7-3/4".
The top and bottom of my treat box were created using the 'Festive Foils Designer Series Paper'.   Both of those pieces were 3" x 3".  Those are scored at 1/2" on all four sides.
I wrapped my treat box up with some 'Soft Succulent 1/2" Satin Ribbon' ..... and tied it up into a pretty bow at the top.
And my treat box is FILLED with some YUMMY Red and Silver Hershey Kisses.
I did finish my treat box off with a few 'Frosted Flurry Dies' snowflakes and called this project DONE in no time flat.

Thanks for joining me today!  I'll be back tomorrow to share a Spotlight Sunday creation with you ........ Hope you can make plans to stop back and join me for that share.  Keep Living Your Dream!

Friday, December 30, 2022

New Year Gift Card Holder

Happy Friday My Blogger Friends!
Today is Fun Fold Friday and that means I have a special little Fun Fold Gift Card Holder to share with you. Let's kick off this Fun Fold Friday share right now.........
Looking for a last minute gift card holder to ring in the New Year ...... I have the answer for you in this post today.  I started with a 4-1/4" x 8-1/2" piece of White Cardstock ..... And scored that at 5-1/4".  
My gift card holder on the inside uses the 'Storybook Gnomes Designer Series Paper'......
And I used the 'Joyful Flurry' set for the sentiment at the bottom of my Gift Card Holder.....
And the 'Go To Greetings' for my "Thinking of You" message.
And here's a close-up of how I packaged up the gift card.
Just couldn't be HAPPIER with the 
way this gift card holder turned out.

Thanks for joining me today!  I'll be back tomorrow to share a special Sweet Treat Box that I create ...... Hope you can make plans to stop back and join me for that share.  Keep Living Your Dream!

Thursday, December 29, 2022

Happy New Year Tag

Happy Thursday My Blogger Friends!
My blog post for today is Tag Thursday.  Today, I will feature a tag I created and show you how easy it is to use minimal supplies to create a SUPER PRETTY TAG.  Now that you have the details for my Tag Thursday creation for this week ........ Let's jump right in with my tag share for today........
What a GREAT WAY to ring in the New Year!!!!
I started off with a White 2-1/2" x 4-1/4" base tag.  I topped that tag off with some 'Storybook Gnomes Designer Series Paper'.
I stamped my sentiment onto a banner flag that was cropped out with the 'Stylish Shapes Dies' and I used the 'Joyful Flurry' set to stamp that sentiment.
I used the 'Frosted Flurry Dies' to crop out three snowflakes and added those to the front of my tag.
My tag was topped off with some 'Balmy Blue Double-Stitched Ribbon' and I tied it up with some 'White Baker's Twine'.
So ..... There you have it friends.
Happy New Year!!!!

Thanks for joining me today!  I'll be back tomorrow to share some Friends Friday creations with you ........ Hope you can make plans to stop back and join me for that share.  Keep Living Your Dream!

Wednesday, December 28, 2022

Peace & Joy

Happy Wednesday My Blogger Friends!
My blog post for today is Wine-Down Wednesday.  My middle of the week card feature for today will hopefully offer you some inspiration and provide you with some motivation to keep you moving through your busy week.  Let's jump right in with my card share for today........
I just couldn't be HAPPIER with the way this card turned out ..... And I think it makes for the PERFECT "Ringing in the New Year" kind of card.
This FUN pin-wheel style card is SO EASY to create.  I started with a White base card that measures 4-1/4" x 11".  I scored that base card at 5-1/2".
The base panel for my Pin-Wheel to sit on is a Balmy Blue 4" x 4" square and topped off with a White section that measures 3-3/4" x 3-3/4".
The actual Pin-Wheels are made up of a total of EIGHT squares each measuring 1-1/4" x 1-1/4".  I used Qty 4 Balmy Blue squares and Qty 4 'Storybook Gnomes Designer Series Paper' squares.
My sentiment is from the 'Trimming The Tree' set and that is stamped onto a 'Frosted Flurry Dies' piece.
The finishing touch was adding some 'Silver Pearls' around the outside edge of each little square ..... And this card was called DONE!!!!!

Thanks for joining me today!  I'll be back tomorrow with a Tag Thursday creation to share with you ........ Hope you can make plans to stop back and join me for that share.  Keep Living Your Dream! 

Tuesday, December 27, 2022

Just For You 3x3 Holder

Happy Tuesday My Blogger Friends!
My blog post for today is '3D TUESDAY'.  That means today I have a fun little 3-D project that I created and want to share with you.   This project was SUPER FUN to create and I want to jump right in and share that project with you now.
Are you looking for a QUICK & EASY little New Year's Eve Hostess Gift ...... You might consider cracking one of these little CUTIES out.
To create the holder ..... You start with a 7" x 7" piece of Pool Party cardstock.  Score that piece at 3-1/2" on 2-sides.  This will create your center seam and also your bottom pocket section.
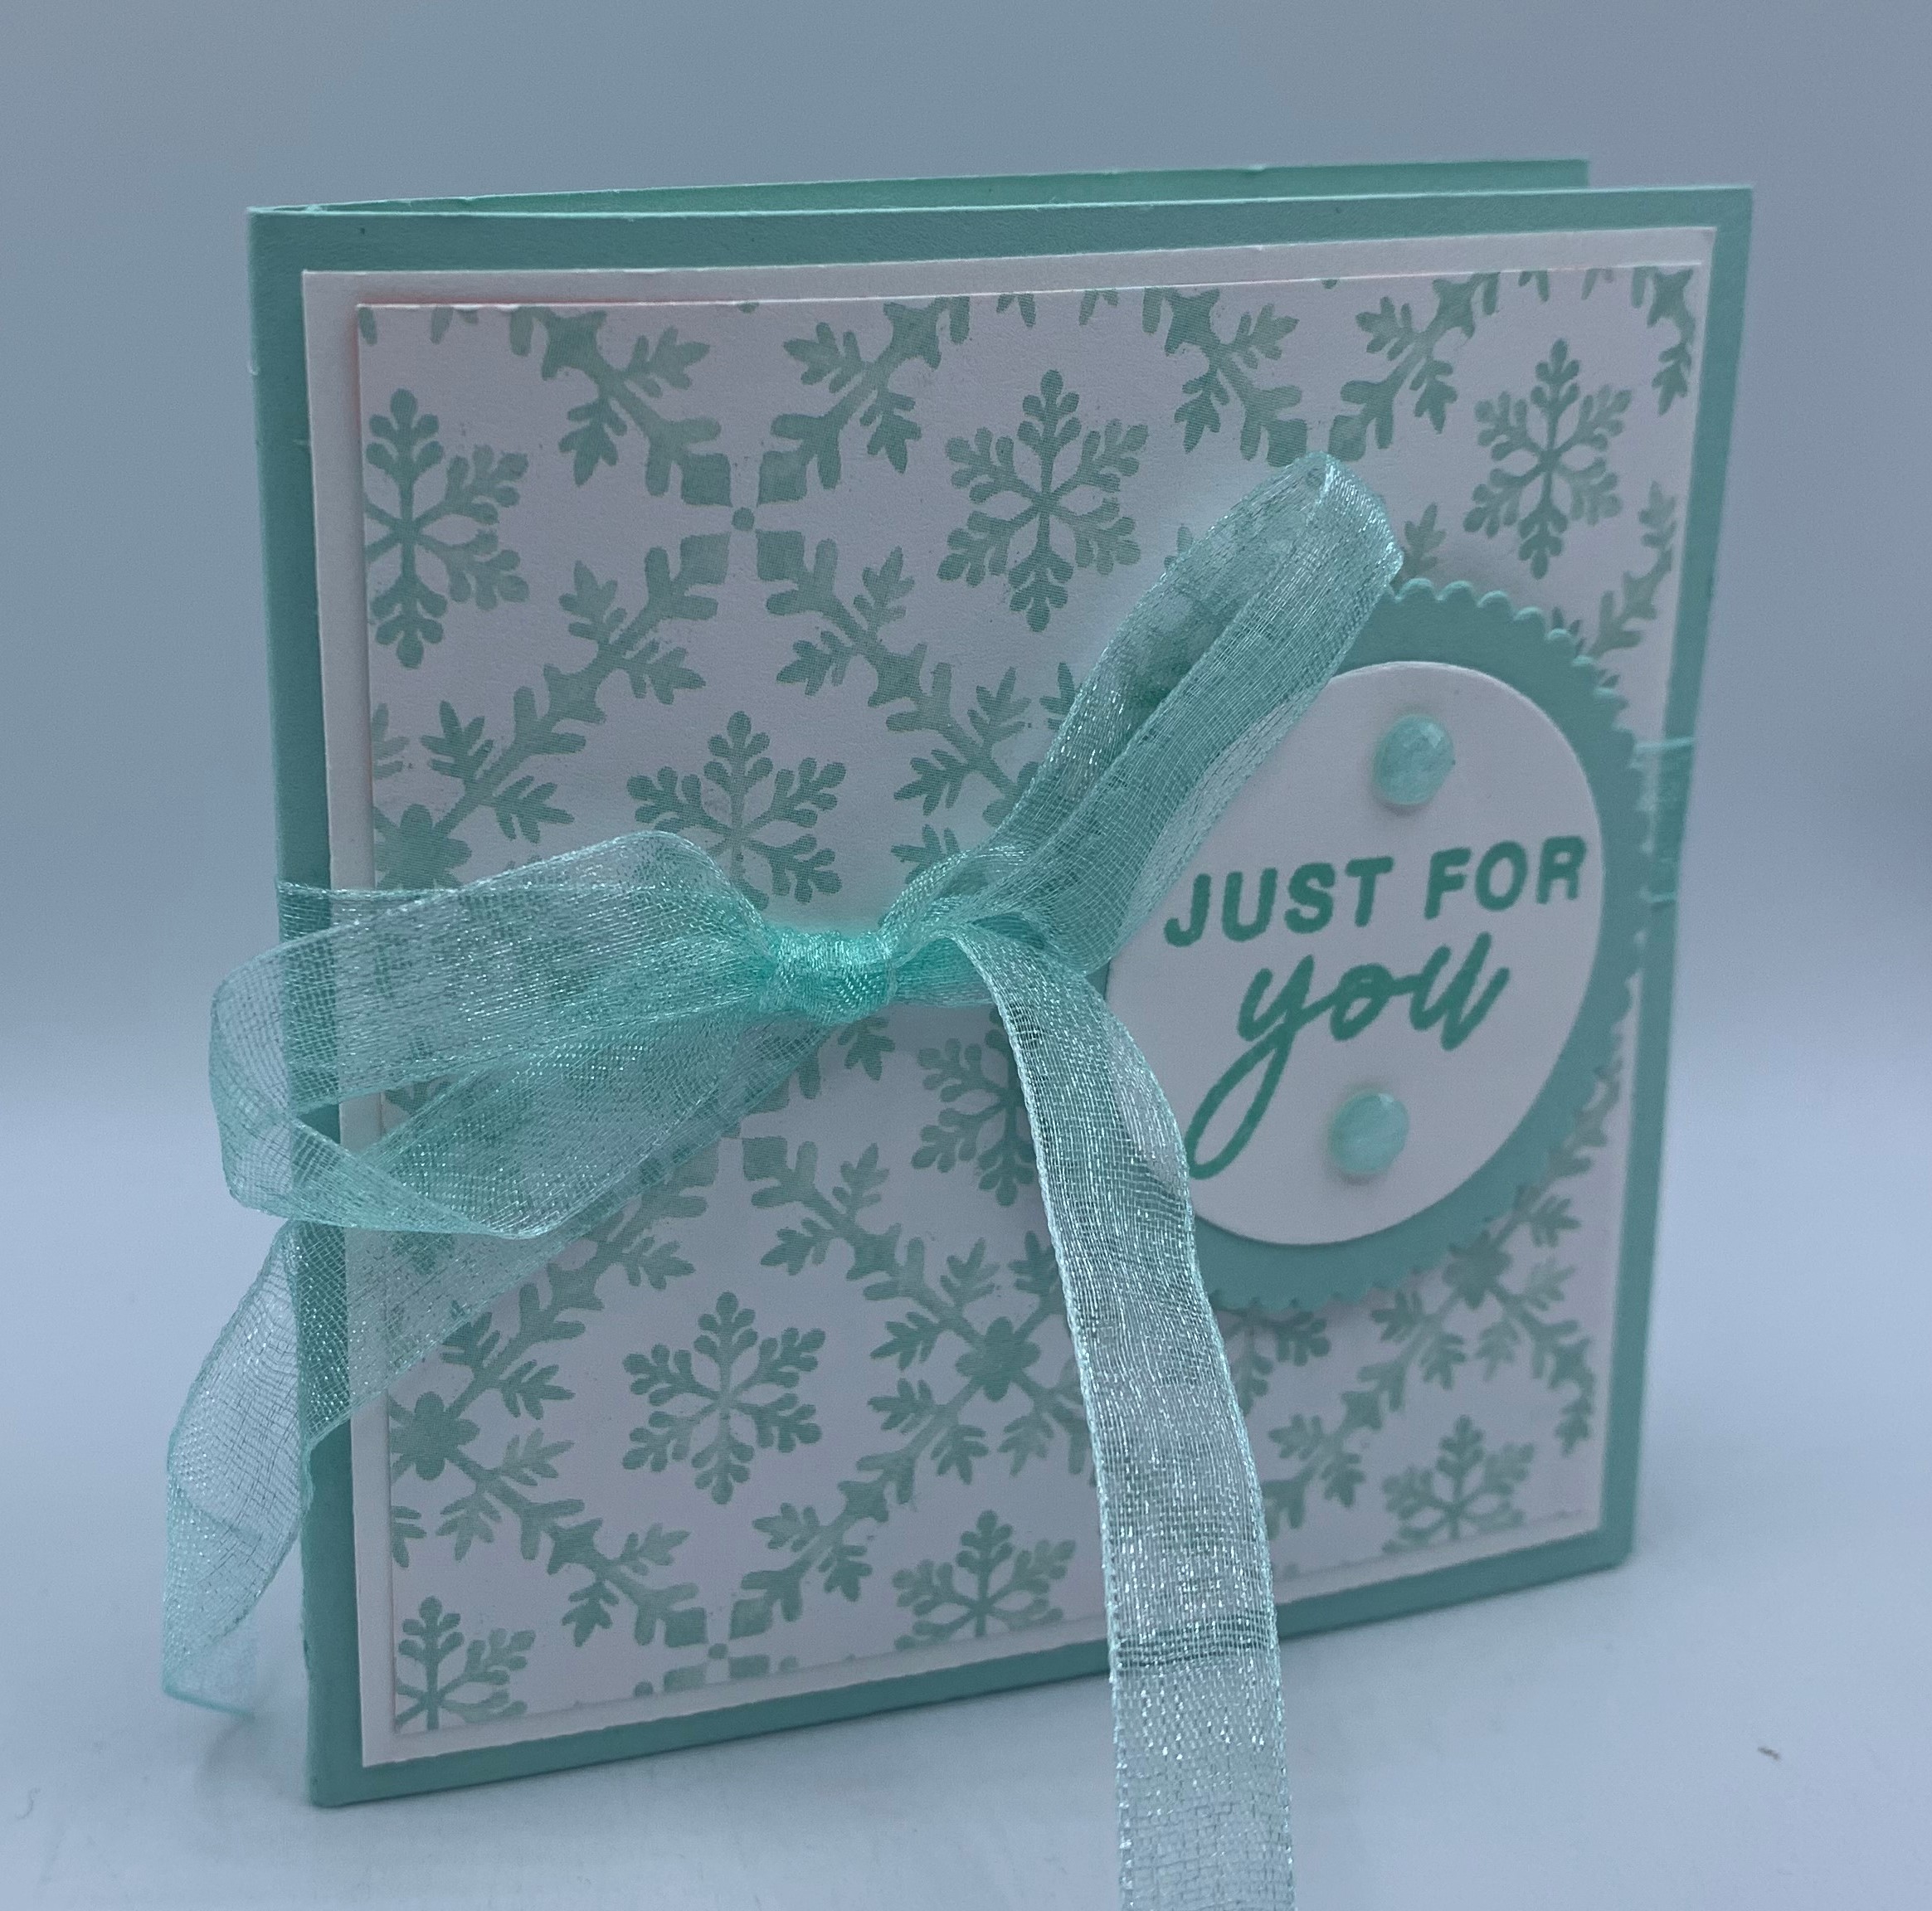
I added a 3-1/4" x 3-1/4" White panel to the front of my holder ..... And I topped that off with a 3-1/8" x 3-1/8" panel of 'Storybook Gnomes Designer Series Paper'.  Before I adhere those pieces to the front of my holder .... I wrapped some 'Pool Party 3/8" Sheer Ribbon' around my holder and tied it up into a pretty bow in the front.
To finish decorating my 3x3 Holder ..... I added a 
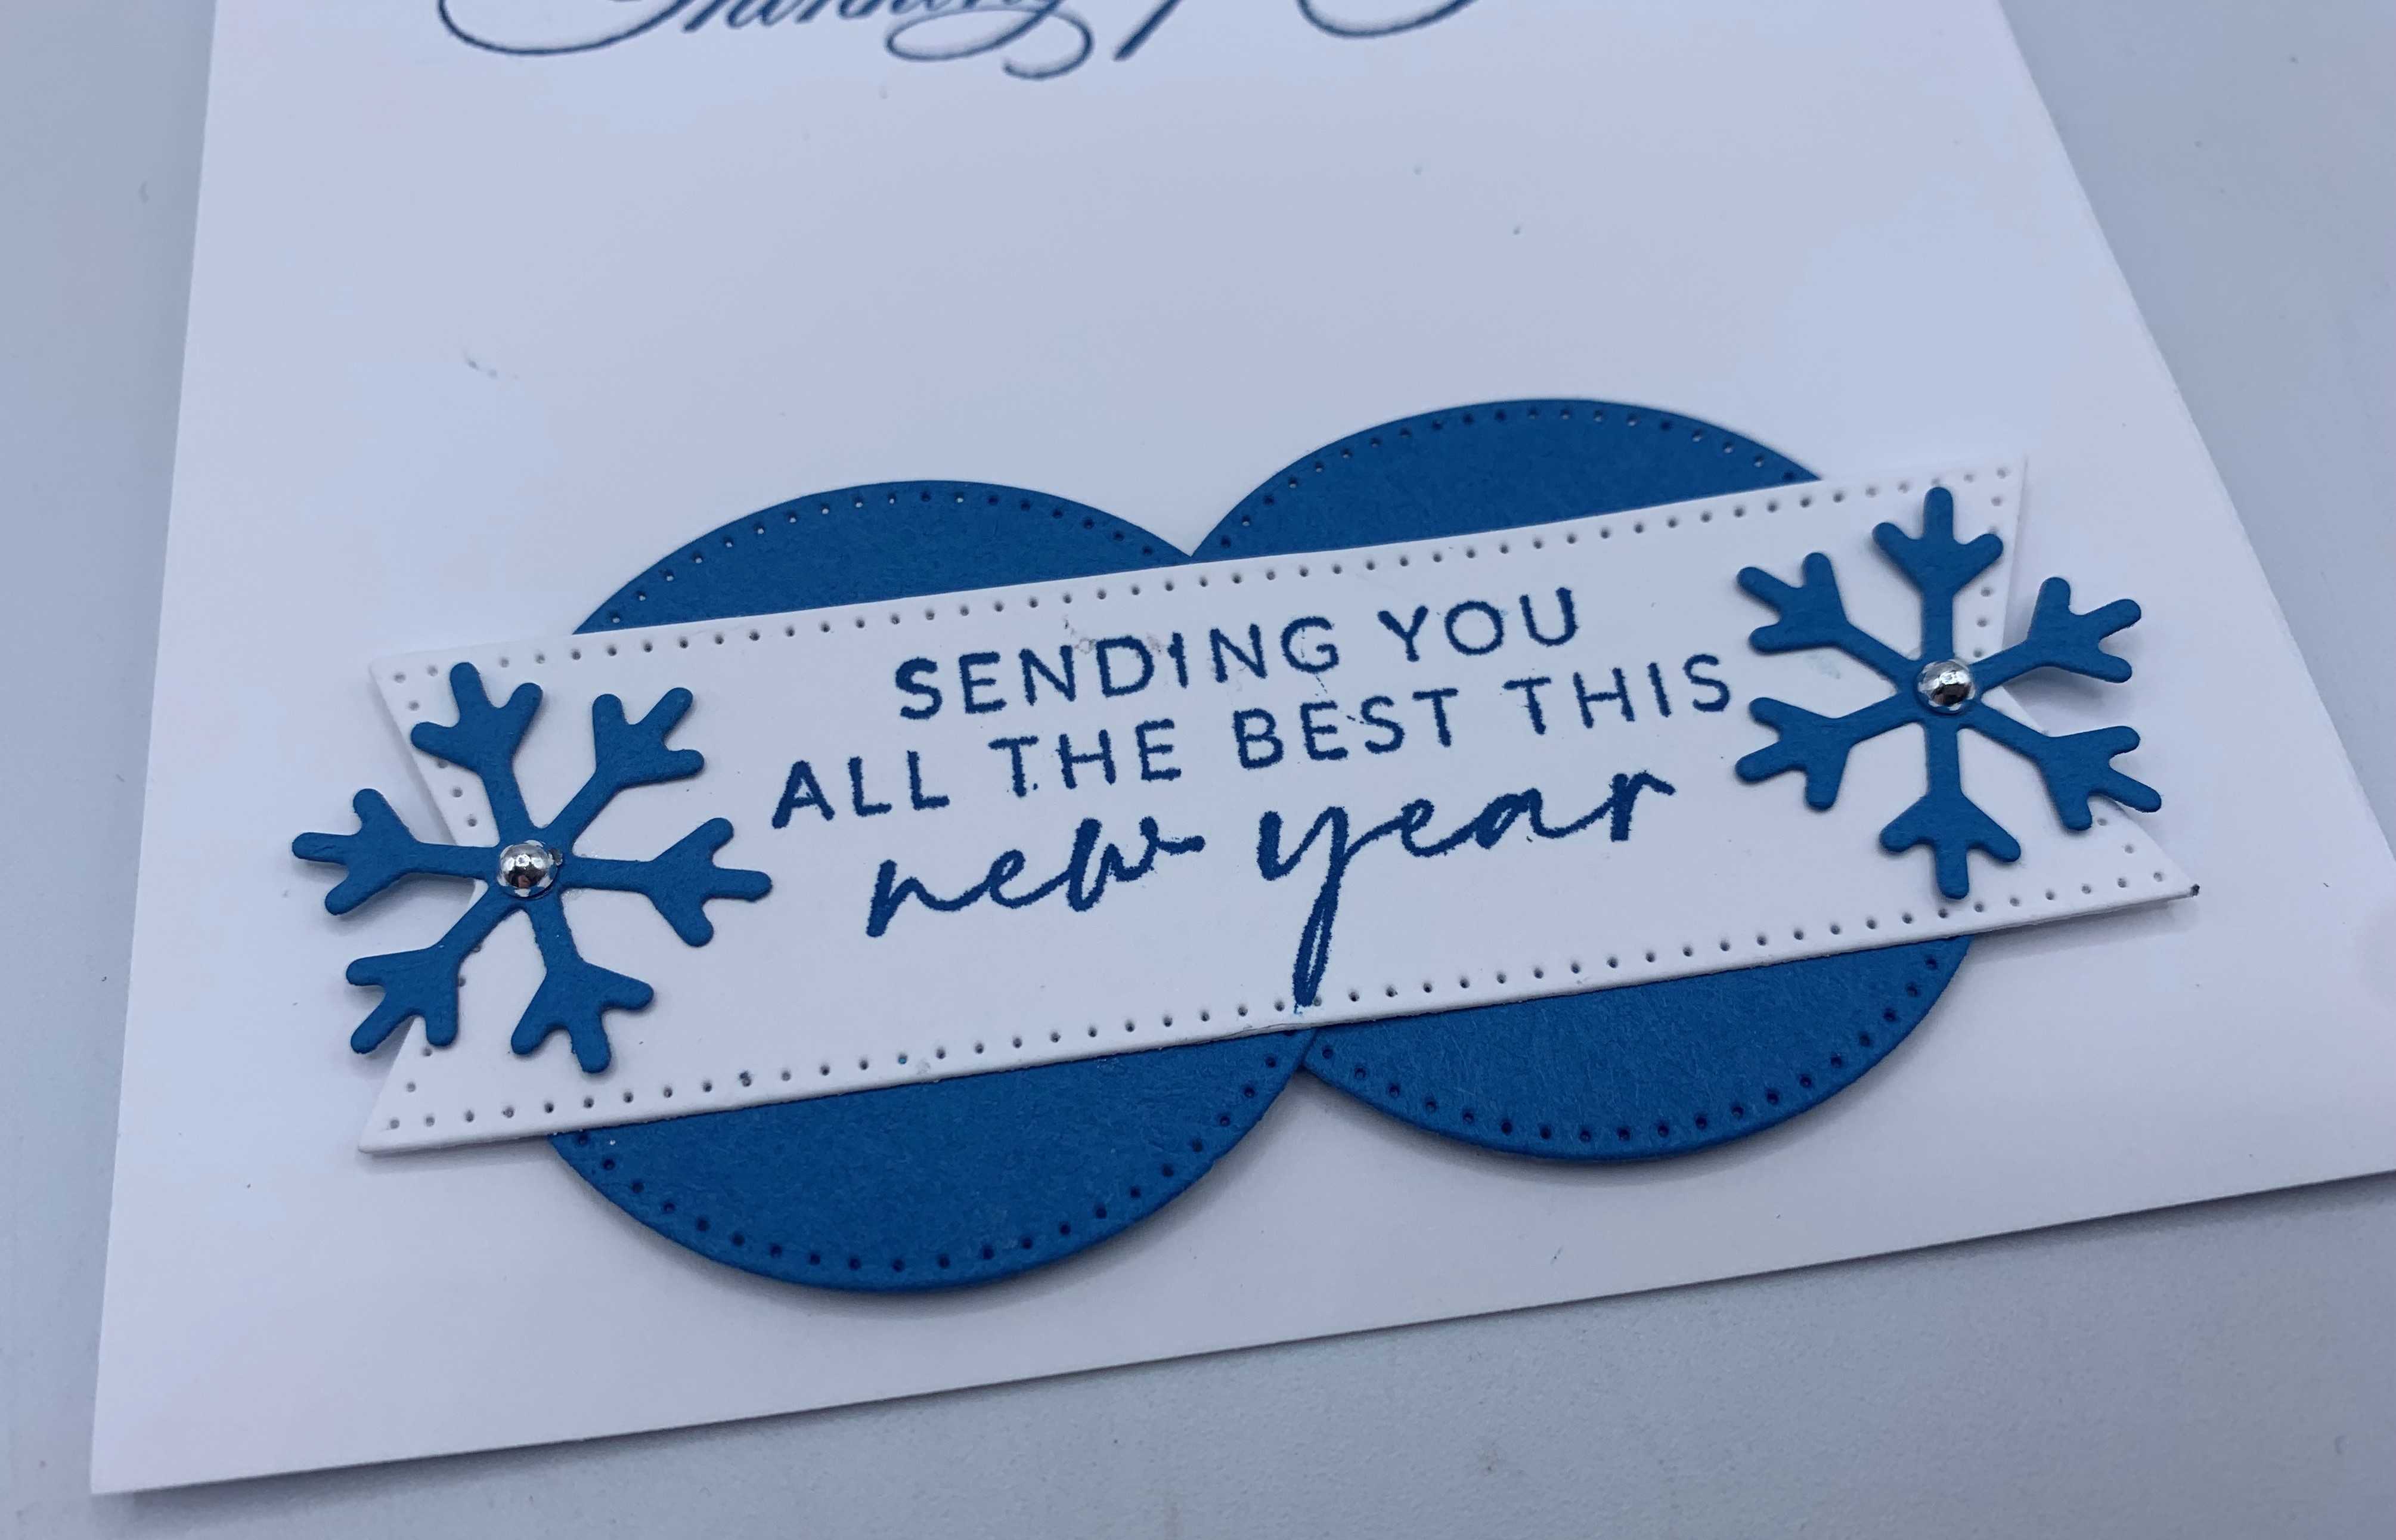
FUN little 'Layering Circles Dies' piece and added my stamped sentiment from the 'Ringed With Nature' set.
Here is how the 'Pool Party Sheer Ribbon' keeps the holder closed.
And the BIG reveal........Both sides on the inside of this holder there are four little 3x3 notecards and coordinating envelopes.
Here's a peek of how the notecards and evelopes look on the inside.
Each notecard is a 3" x 6" piece of White cardstock .... And it's scored at 3".   I decorated the front with a 2-3/4" x 2-3/4" panel of Pool Party ..... And added a 1-3/4" x 2-1/2" panel of 'Storybook Gnomes Desiger Series Paper' to the top.
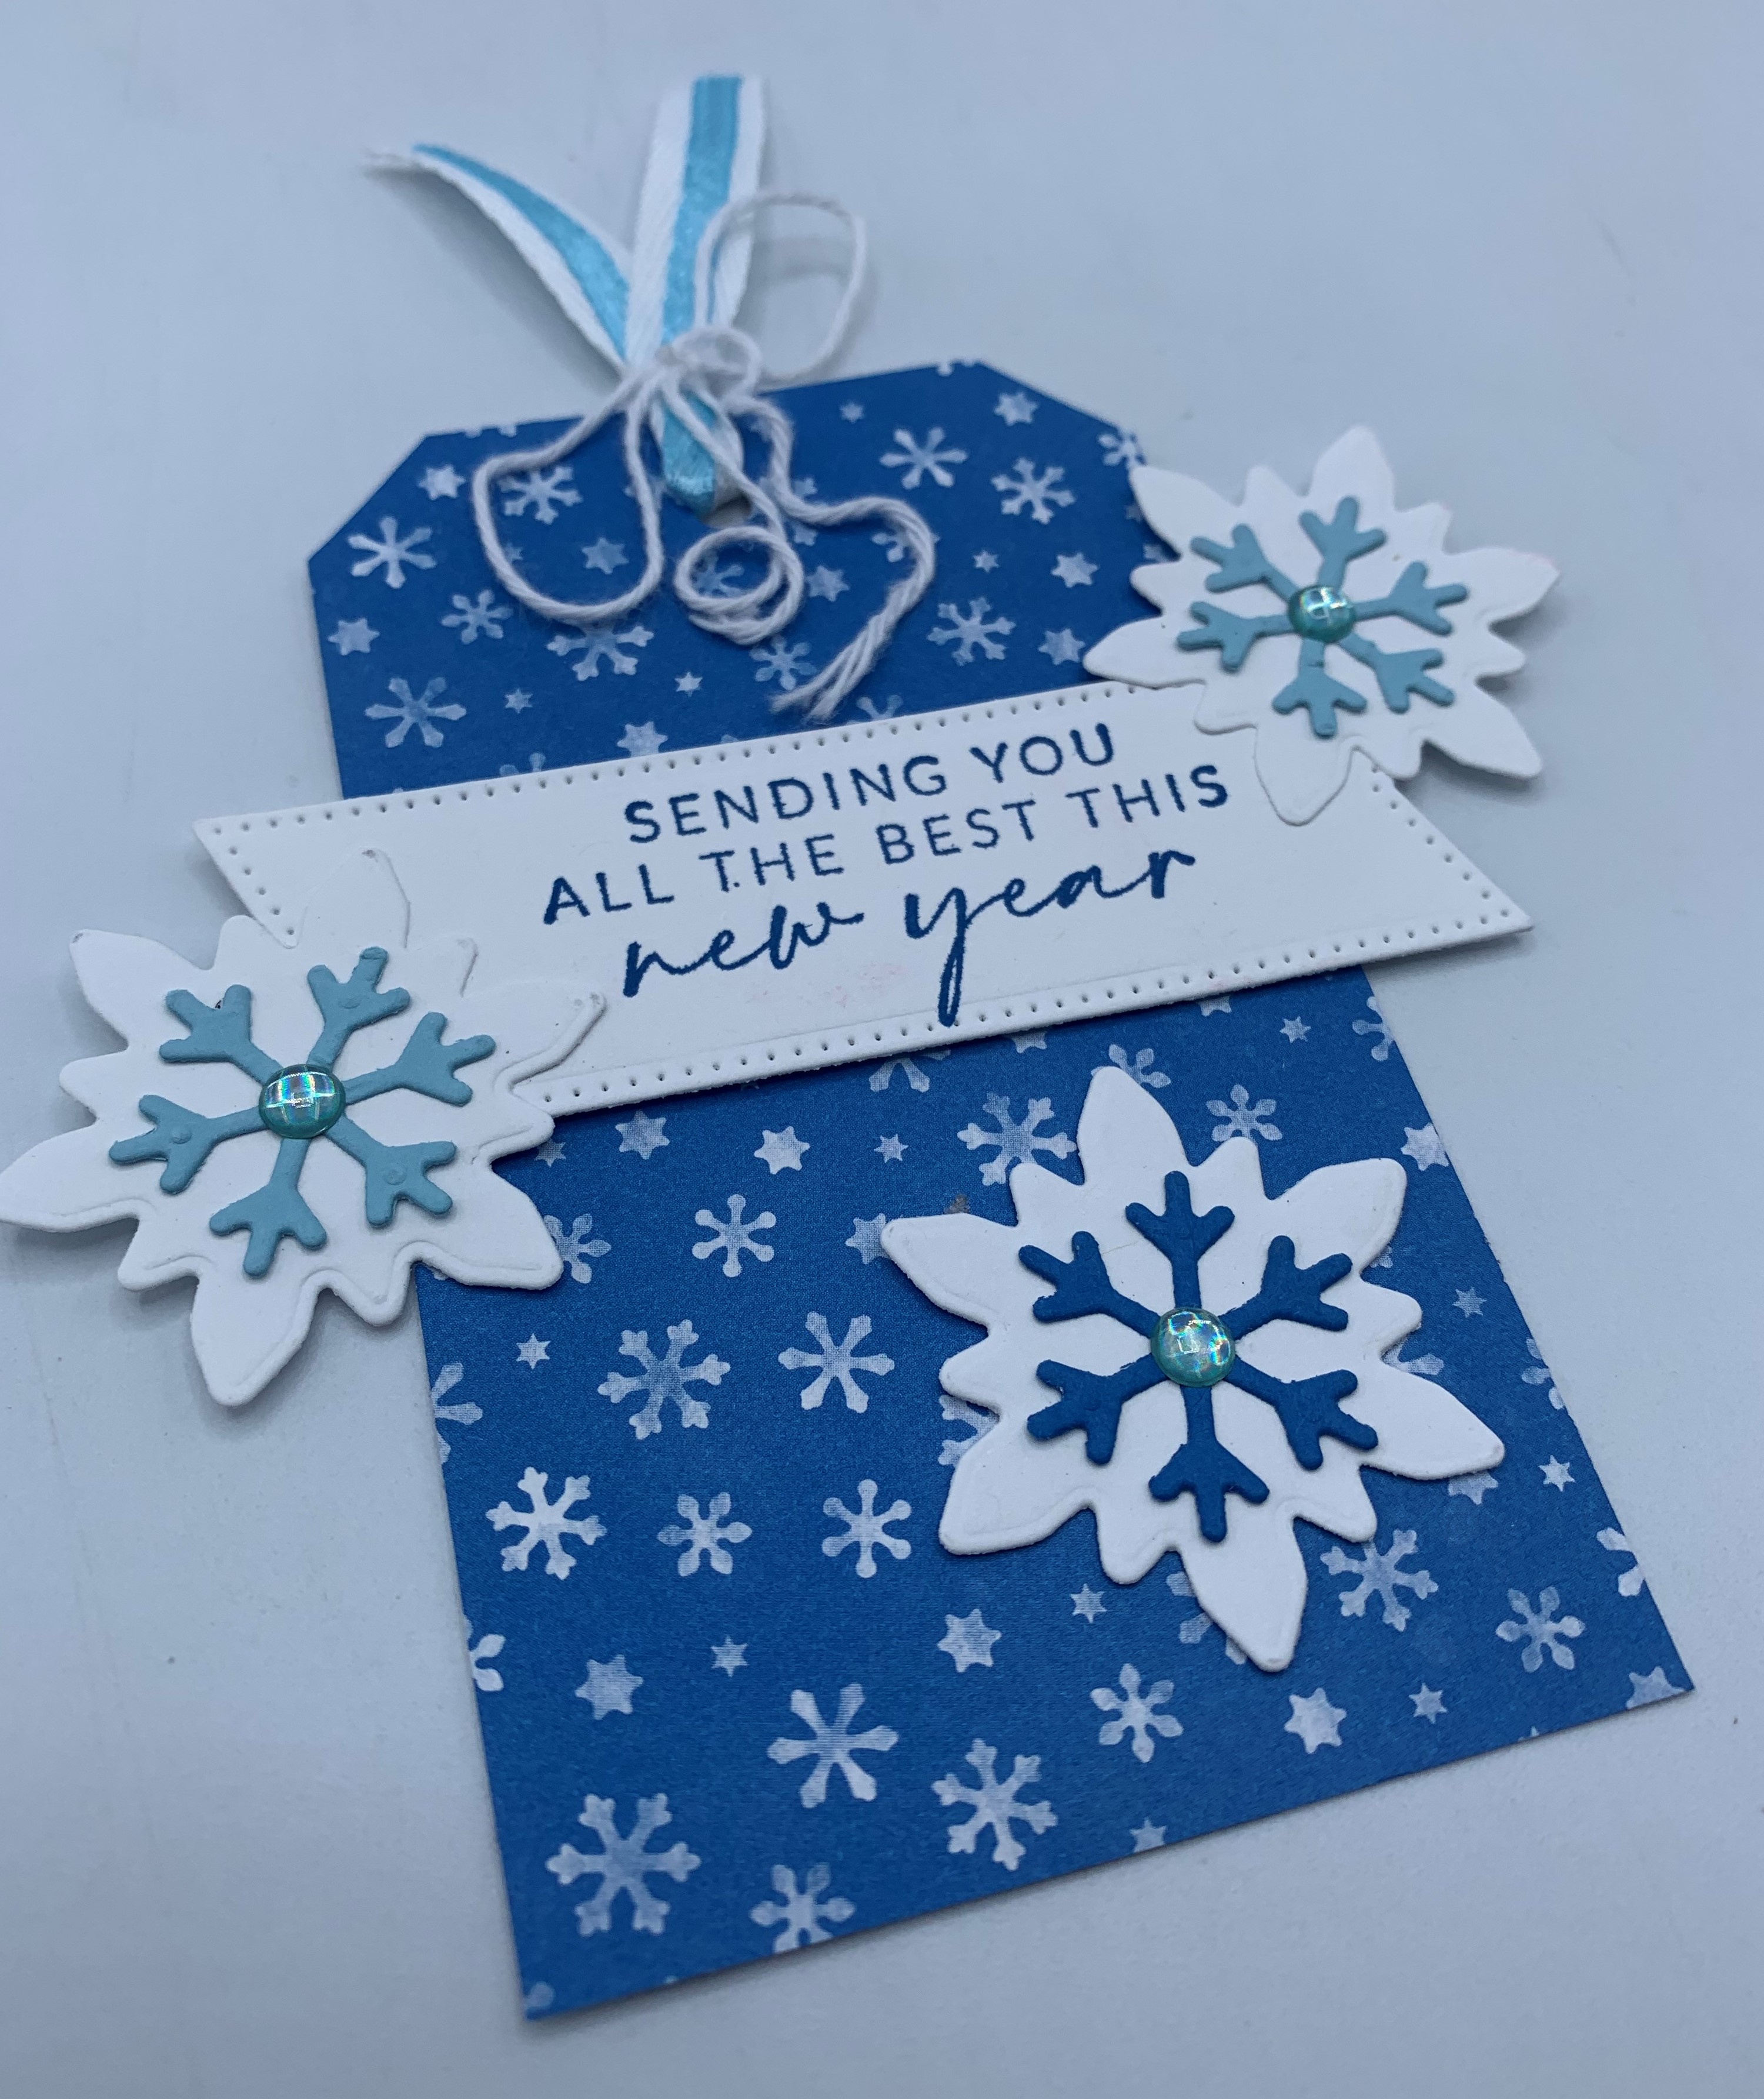
Here's a close-up of the pretty sentiment layering piece.....
And the coordinating envelope.
And I added three 'Fine Sparkle Gems' to the bottom left hand corner of each 3x3 card.
Here is what the outside of the holder looks like when opened.....
And another view of what the inside of the holder looks like when opened.
As you can see......The four little notecards tuck perfectly inside the holder.
So, there you have it friends.......
Don't you just want to stop everything and
create one of these for your upcoming
New Year's Eve Party.

Thanks for joining me today!  I'll be back tomorrow to share a Wine Down Wednesday card with you ........ Hope you can make plans to stop back and join me for that share.  Keep Living Your Dream!

Monday, December 26, 2022

Ho Ho Holidays Upgrade

Happy Monday My Blogger Friends! 
Today is Mix-It-UP! Monday, and I have an upgraded version of the card I shared with you yesterday.  I used the exact same product that was used to create yesterday's card ..... But I added a couple additional products found in the 2022-2023 Stampin' UP! Annual Catalog to bring this card up to the next stamping level.
Here's my Spotlight Sunday card from yesterday on the TOP....
And my Mix-It-UP! Monday upgraded card for today on the BOTTOM....
I started out with the same 'Santa Express' card and added several layers to that card.
The first layer I added was a Real Red panel.  Next, I added a panel of White cardstock ...... But before I adhered that panel down, I ran it through my Embossing Machine using the 'Wintry 3D Embossing Folder'.
The next layer I added was a panel of Shaded Spruce cardstock .... And I positioned that right into the center of my card.
I used another one of the Candy Cane Striped 'Santa Express Memories & More' cards and cut it down to create two small banner flag tails.  I positioned both of those banner flags to the bottom of the Santa 'Memories & More' card.
I used one of the wooden "Ho Ho Ho" pieces and adhered it to the bottom of my Santa card.
And the finishing touch was adding some 'White 3/8" Glittered Organdy Ribbon' around the front of my card and tied it up into a pretty bow.
So, what do you think my friends.....
Do you have a favorite????

Thanks for joining me today!  I'll be back tomorrow to share a 3-D Tuesday creation with you ...... Hope you can make plans to stop back and join me for that share.  Keep Living Your Dream!

Sunday, December 25, 2022

Ho Ho Holidays

Happy Sunday My Blogger Friends
Today is Spotlight Sunday ....... And I have a card I created using product from the 2022 Stampin' UP! Mini Catalog.  This card uses several products from that new catalog ........ And I'm thrilled with the way it turned out.  Let's jump right in with my card share for today..........
This card just makes me HAPPY.
I started off with one of the 'Santa Express' base cards.
To the top of that ..... I added a cut-down 'Santa Express Memories & More Card'.  I used the Candy Cane striped card and created a banner flag edge on both ends.  Then I cut it in half and positioned one portion to the center of my card towards the top and the other poriton to the bottom section.
And then to the top ..... I added the Santa card from the 'Santa Express Memories & More Card Pack'.  And added Stampin' Dimensionals to the back and adhered it to the center of my card.
The finishing touch was adding one of the sentiment stickers in this 'Memories & More' pack and two 'Solid Faceted Gems' embellishments to the striped banner flag.
And that's all it took to create this HAPPY 
kind of Holiday card.

Thanks for joining me today!  I'll be back tomorrow to share an upgraded version of this very card with you ...... Hope you can make plans to stop back and join me for that share.  Keep Living Your Dream!