Wednesday, November 30, 2022

Believe

Happy Wednesday My Blogger Friends!
My blog post for today is Wine-Down Wednesday.  My middle of the week card feature for today will hopefully offer you some inspiration and provide you with some motivation to keep you moving through your busy week.  Let's jump right in with my card share for today........
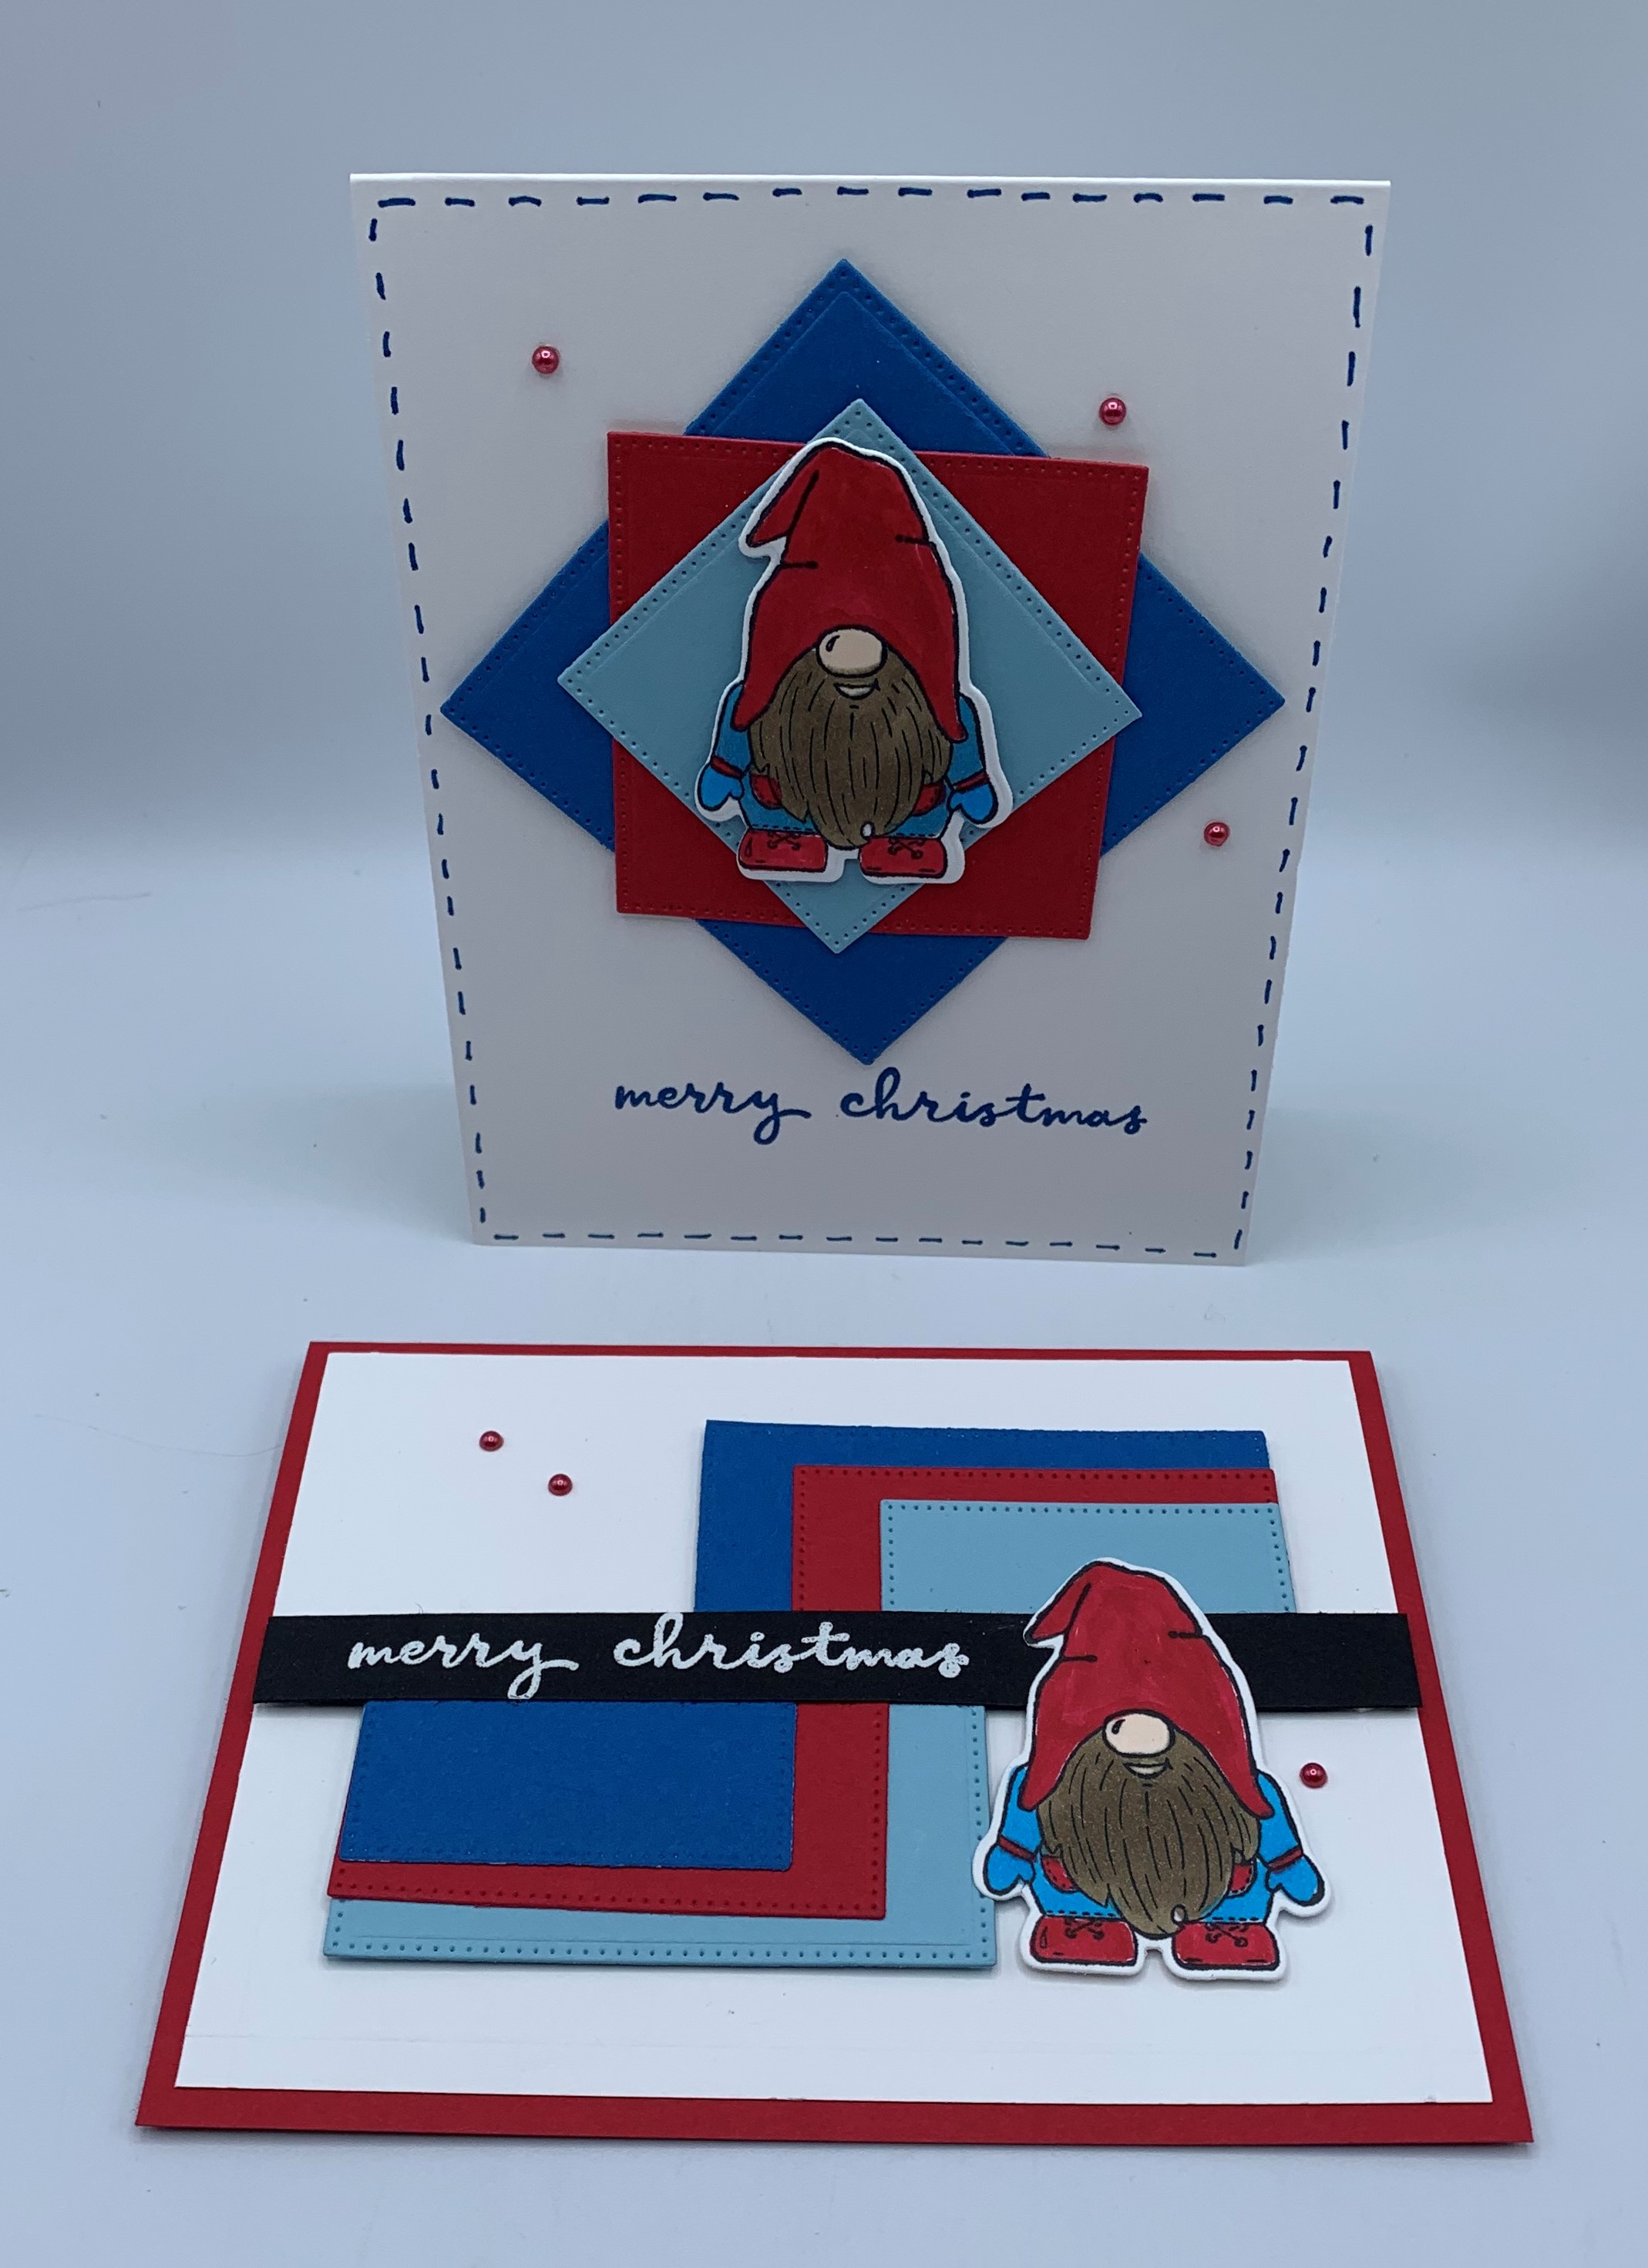
I am HEAD-OVER-HEELS CRAZY about the way this card turned out.  Talk about a HAPPY card ..... this one goes into that category without hesitation.
 I started off with a Real Red base card.  I then cut the same colored cardstock into a 5-1/4" x 4" panel.  I used this panel to build my Designer Series Paper onto.
Next, I cut five panels of the 'Sweetest Christmas Designer Series Paper' into 1" x 4" panels.
I adhered all five of those Designer Series Paper panels to the top of that Real Red 5-1/4" x 4" cardstock panel.
My sentiment is from the 'Jingle Jingle Jingle' set and that was stamped onto a White banner flag that I created.  I also created an additional Real Red and Shaded Spruce banner flag and layered those two pieces behind my stamped sentiment.
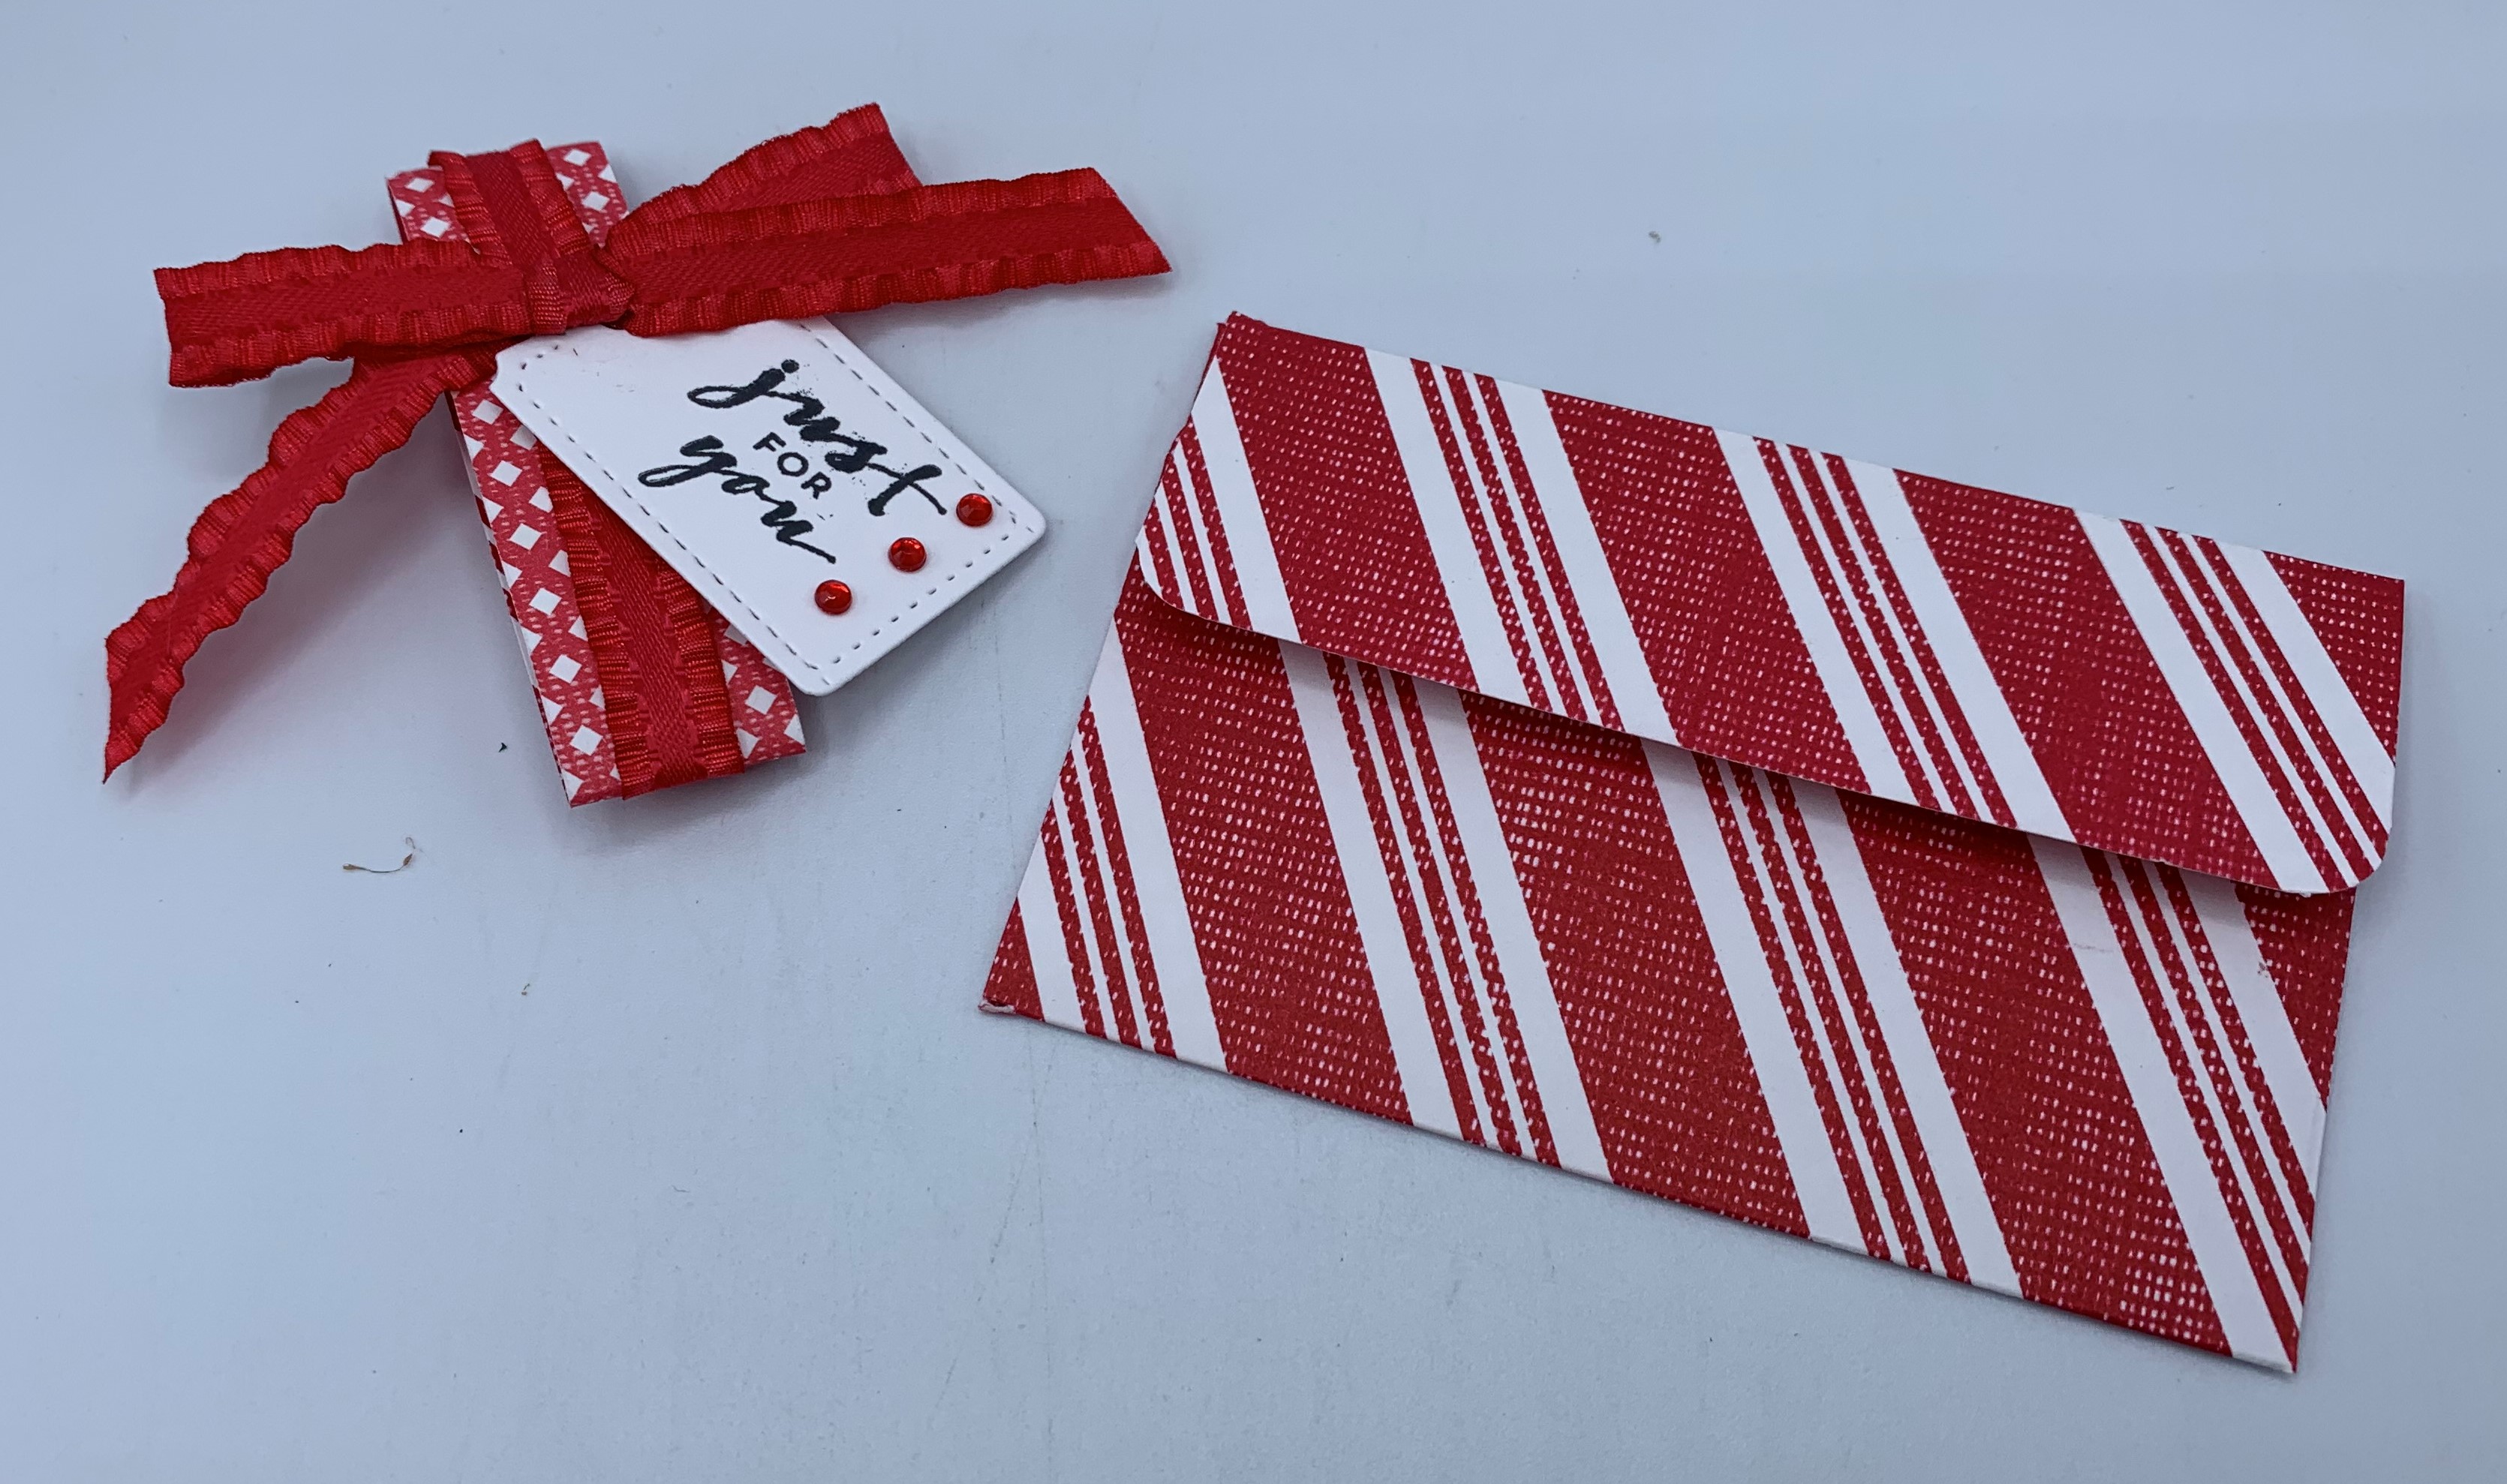
To finish off the sentiment banner piece .... I added a small amount of 'Mini Ruffled Ribbon' along with some 'Gold Cording' and added two 'Flat Jingle Bell Trim' pieces to the top of that sentiment banner image.
And the final touch I added to the front of my card were several 'Brushed Metallic Dots'.  This totally completed the look of this SUPER FUN card.

Thanks for joining me today!  I'll be back tomorrow with a Tag Thursday creation to share with you ........ Hope you can make plans to stop back and join me for that share.  Keep Living Your Dream! 

Tuesday, November 29, 2022

Pocket Treat Card

 Happy Tuesday My Blogger Friends!
My blog post for today is '3D TUESDAY'.  That means today I have a fun little 3-D project that I created and want to share with you.   This project was SUPER FUN to create and I want to jump right in and share that project with you now.
This fun little treat holder comes together SO QUICKLY and the BEST part .... It holds a YUMMY sweet treat inside.
The treat card is made with a 6" x 12" piece of 'Sweetes Christmas Designer Series Paper'.  You score on the 12" side at 4" and 8" and then turn to the 6" side and score at 1/2".
I secured my holder closed with some 'Red & Garden Green Ribbon' and added a sweet little tag from the 'Pretty Pillowbox Dies'.
The insert for the inside is a Garden Green cardstock piece that measure 5" x 3-3/4".  And the White panel is a 3-1/2" x 4-3/4" piece.  And I used the 'Inspired Thoughts' set to stamp my sentiment.
And two mini Ghirardelli Chocolates fit PERFECTLY at the bottom of my insert piece.
So, there you have it friends.....
Just doesn't get any EASIER!!!

Thanks for joining me today!  I'll be back tomorrow to share a Wine Down Wednesday card with you ........ Hope you can make plans to stop back and join me for that share.  Keep Living Your Dream!

Monday, November 28, 2022

Merry Christmas Gnomies Upgrade

Happy Monday My Blogger Friends! 
Today is Mix-It-UP! Monday, and I have an upgraded version of the card I shared with you yesterday.  I used the exact same product that was used to create yesterday's card ..... But I added a couple additional products found in the 2022-2023 Stampin' UP! Annual Catalog to bring this card up to the next stamping level.
Here's my Spotlight Sunday card from yesterday at the TOP....
And my Mix-It-UP! Monday upgraded card for today on the BOTTOM....
The first upgrade I made to my card for today was change up the orientation from a portrait style card to a landscape style card.  
I also changed my base card to Real Red.
The White panel that I added to the top of my upgraded card was embossed with a 1/4" scored line.  That embossing was done around the entire outside edge of that panel.
Next, I cut three colorful squares from the 'Stylish Shapes Dies' and those were cut in half and postioned onto the front of my white cardstock panel.
I added a black cardstock piece across the center of my card.  I used the 'Christmas To Remember' sentiment and stamped that with VersaMark and used White Embossing Powder to give that sentiment a pretty WOW look.
And my cutie gnomie was stamped using the 'Kindest Gnomes' set and cropped out with the 'Gnomes Dies'.
I used my Stampin' Blends to color him in
And there you have it friends......
Do you have a favorite????

Thanks for joining me today!  I'll be back tomorrow to share a 3-D Tuesday creation with you ...... Hope you can make plans to stop back and join me for that share.  Keep Living Your Dream!

Sunday, November 27, 2022

Merry Christmas Gnomies

Happy Sunday My Blogger Friends
Today is Spotlight Sunday ....... And I have a card I created using product from the 2022 Stampin' UP! Mini Catalog.  This card uses several products from that new catalog ........ And I'm thrilled with the way it turned out.  Let's jump right in with my card share for today..........
This DARLING little card comes together in a SNAP!!!
I started off with a White base card. 
I created a layering of squares using the 'Stylish Shapes Dies' for my three colorful square layers.
Next, I cropped out one of the gnomies from the 'Storybook Gnomes Designer Series Paper' using the 'Gnomes Dies'.
My sentiment is from the 'Christmas to Remember' set and that was stamped using Pacific Point ink.
All that was left to do was add three red pearls and some Pacific Point stitching lines around the outer edge of my White base card.  

Thanks for joining me today!  I'll be back tomorrow to share an upgraded version of this very card with you ...... Hope you can make plans to stop back and join me for that share.  Keep Living Your Dream!

Saturday, November 26, 2022

Ghiradelli Dispenser

Happy Saturday My Blogger Friends!
I'm starting something NEW for my Saturday share and will continue sharing my Saturday Sweet Treat packaging idea with you until the end of the year.  These Saturday projects will be some form of a YUMMY sweet treat packaging.  Here is what I created to kick this new blog posting off.
I spotted this FABULOUS Sweet Treat project on Running With Scissors Stamper.  It stopped me DEAD IN MY TRACKS.  I just knew I would have to give this a try.  And I must say ..... I am IN LOVE with how it turned out.
You can check out the instructions on how to create this little CUTIE here:  RunningwScissorsStamper: Ghiradelli Chocolate Dispenser Box
I used Poppy Parade Cardstock to create my Dispenser.....
And the 'Santa Express Designer Series Paper' to cover my Dispenser.
You can not even begin to believe how many Ghiradelli Candies this little package holds.
I used the 'Silver 3/8" Metallic Edge Coton Ribbon' to wrap around my Dispenser.  And I used my Poppy Parade Stampin' Blends to change the color of that ribbon.
My sentiment is from the 'Celebrate With Tags' set ...... And that was stamped onto the 'Stitched Shapes Dies'.
And my finishing touch was adding two 'Flat Jingle Bell Trinkets' off my Poppy Parade Ribbon.
And there you have it friends.
Just couldn't be HAPPIER with the way this 
project turned out.

Thanks for joining me today!  I'll be back tomorrow to share a Spotlight Sunday creation with you ........ Hope you can make plans to stop back and join me for that share.  Keep Living Your Dream!

Friday, November 25, 2022

Just For You Gift Card Holder

Happy Friday My Blogger Friends!
Today is Fun Fold Friday and that means I have a special little Fun Fold card to share with you. Let's kick off this Fun Fold Friday share right now.........
This gift card holder is an OLDIE but a GOODIE.  I was inspired by Patti Dolan who shared this creation 5-years ago.  (Didn't I tell you it was an oldie but goodie.)  Here is a link to her Utube video:  (2105) Fun Gift Card Holders with Foil Frenzy Specialty DSP - YouTube
This gift card holder uses a 5-1/4" x 6" piece of the 'Sweetest Christmas Designer Series Paper'.  On the 5-1/4" side it is scored at 3/4" and then flipped over and scored at 3/4" on the opposite side.  You will rotate your DSP to the 6" side and score at 1-1/4" and slide and score at 3-3/4".  After you have all your scoring done .... You will cut away the four corners to create your gift card holder shape.
I used the 'Tailor Made Tags Dies' for my sentiment tag .... And that is stamped using the 'Charming Sentiment' set.
Here is what the gift card holder looks like when the belly band is removed.
And a standard gift card fits PERFECTLY inside.
Just doesn't get any EASIER to create......
And who doesn't need LOADS of gift card holders
at this time of the year.

Thanks for joining me today!  I'll be back tomorrow to begin sharing a special new Sweet Treat Saturday release with you ........Hope you can make plans to stop back and join me for that share.  Keep Living Your Dream!

Thursday, November 24, 2022

Happy Thanksgiving

 Happy Thanksgiving My Friends
Even though I'm not heading back to Wisconsin for Thanksgiving this year ....... I'm going to be spending some time with my family via Zoom.  I'm sure they will provide me with PLENTY of Shenanigans and LOTS of Laughing and Good Times will be shared.
My share for today is this DARLING pumpkin that was shared by Anna at ScrappingStampingandStuff.com
All it takes is 14 canning rings and some Designer Series Paper that is cut 1/2" x 9-1/2".
I created this little CUTIE for our November Team Swap.  The theme was "Set the Thanksgiving Dinner Table".  And I just couldn't be HAPPIER with the way it turned out.
I used the 'Gingham Cottage Designer Series Paper' to cover my canning rings......
And the tag was created with the 'Painted Pheasant' set and that was stamped onto a 'Tailor Made Tag' die-cut piece.
I used the 'Evening Evergreen 3/8" Windowpane Check Ribbon' on one of the pumpkins.....
And the 'Natural Finish 7/8" Ribbon' on the other.
And both Pumpkins were topped off with three leafs from the 'Aspen Trees Dies'.
So......There you have it friends......
Hope your Thanksgiving Day is filled with 
MANY BLESSINGS and LOT of LOVE.

Thanks for joining me today ....... Hope you can stop back tomorrow to see what FUN FOLD Friday creations I have to share with you.