Tuesday, October 31, 2023

Neighbor Mailbox Gift

Happy Tuesday My Blogger Friends!
My blog post for today is '3D TUESDAY'.  That means today I have a fun little 3-D project that I created and want to share with you.  This project was SO FUN to create .... and I want to jump right in and share that project with you now.
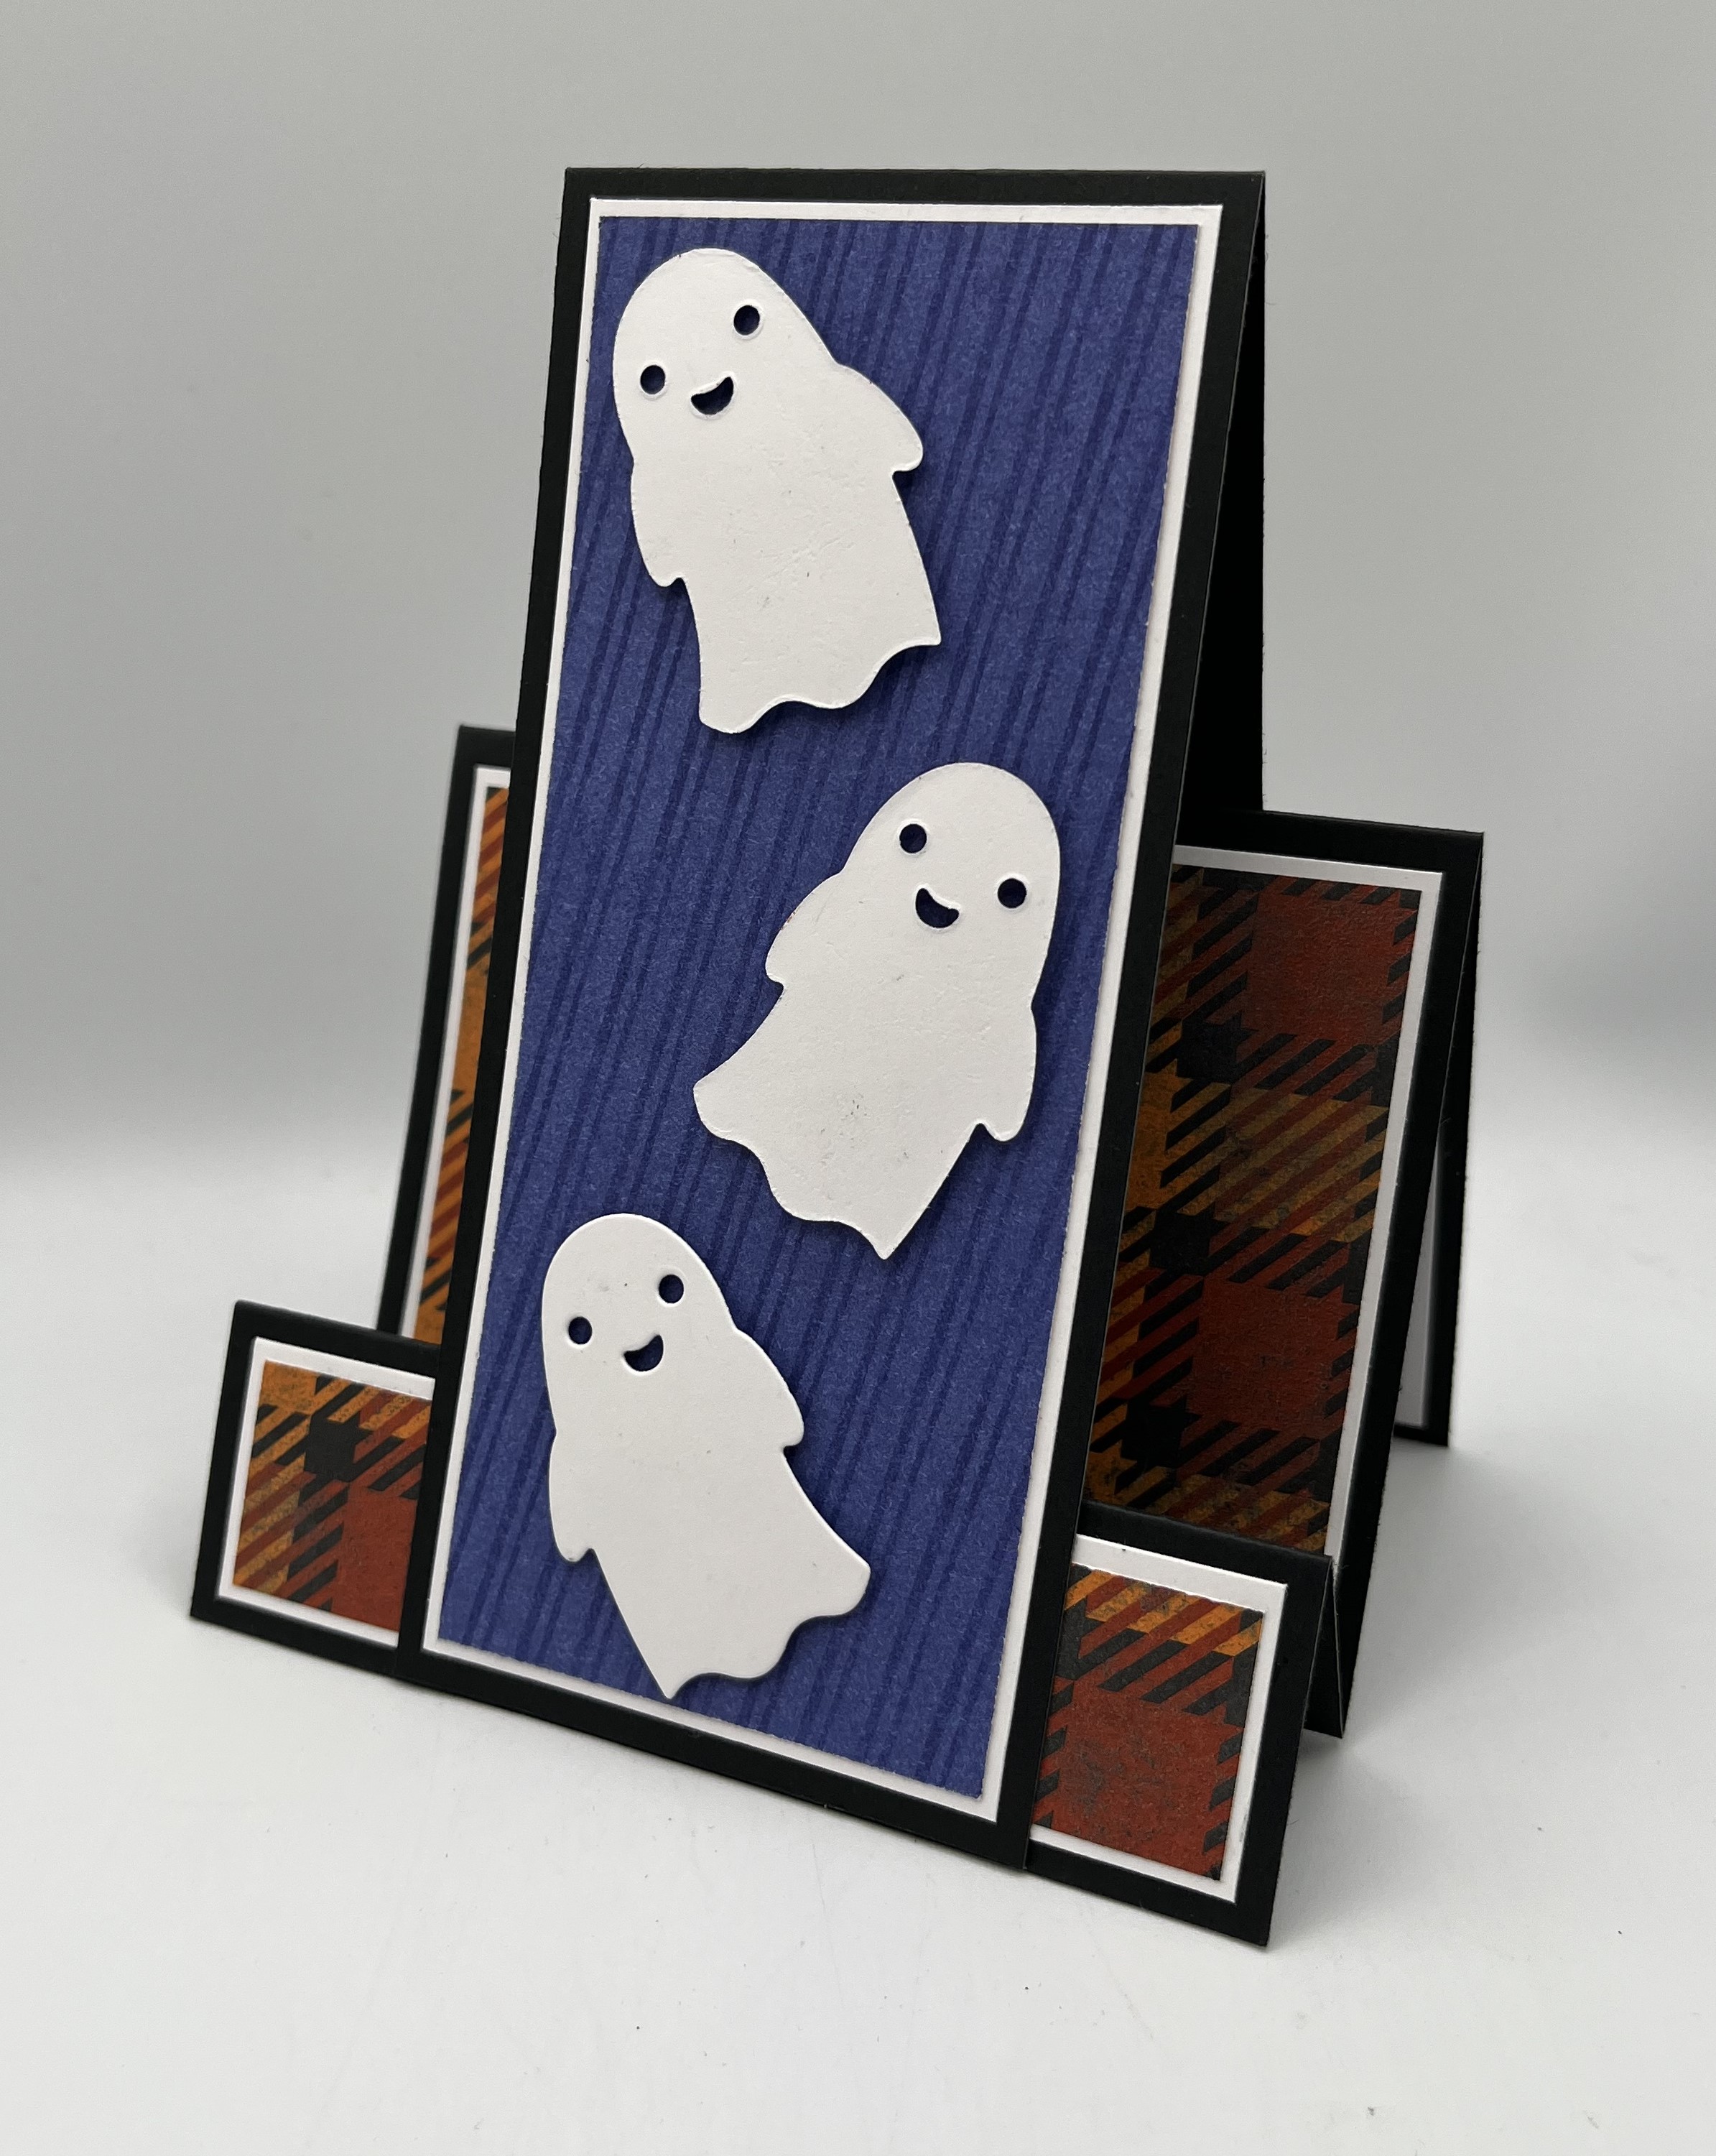
Check out this FUN mailbox treat I made for my neighbors.  It's made with two boxes that are joined together in the center.  Each base measures 5-1/2" x 8-1/2".  You will score on the long side at 3-1/2" and 5".  Score the short side at 1-1/4" on both ends.
I covered my box with the 'Them Bones Designer Series Paper' and added a Glow In The Dark Ghost on the front.
I wrapped some 'Night of Navy 3/8" Bordered Ribon' (that was colored with my Black Stampin' Blends') around my box and tied it up into a pretty knot in the front.
I added a cello bag FILLED with Candy Corn to both box sections.....
And just couldn't be HAPPIER with how 
this little mailbox gift turned out.
What do you think my friends!!!!

Thanks for joining me today!  I'll be back tomorrow to share a Wine Down Wednesday card with you ........ Hope you can make plans to stop back and join me for that share.  Keep Living Your Dream!

Monday, October 30, 2023

So Very Proud Upgrade

Happy Monday My Blogger Friends! 
Today is Mix-It-UP! Monday, and I have an upgraded version of the card I shared with you yesterday.  I used the exact same product that was used to create yesterday's card ..... But I changed things up to bring this card up to the next stamping level.
Here's my Spotlight Sunday card from yesterday on the TOP....
And my Mix-It-UP! Monday upgraded card for today on the BOTTOM....
The first upgrade I made to my card for today was change up the orientation from a landscape style card to a portrait style card.  I did keep the White base for my upgraded version ..... But added a 4" x 5-1/4" White panel to the front.
I started my upgraded version off by stamping my sentiment onto the White panel in the lower right-hand corner.  I used the 'So Sincere' set to stamp that sentiment.
The next upgrade I made was adding my inked masked edge to the left-hand edge of that White panel.  I followed the same steps for my upgraded card as I did on my Spotlight Sunday card.
Before I adhered this White panel down to the front of my card ..... I wrapped some 'White Baker's Twine' around the section that I had inked and tied that twine up into a pretty bow.
My three BEAUTIFUL leaves were textured with some coordinating ink.  And that was as easy as inking up the edges of all three leaves before I adhered them down.
And the finishing touch was adding three 'Festive Pearls' that were colored with my Cherry Cobbler Stampin' Blends'.
So, what do you think my friends....
Do you have a favorite???

Thanks for joining me today!  I'll be back tomorrow to share a 3D Tuesday creation with you ........ Hope you can make plans to stop back and join me for that share.  Keep Living Your Dream!

Sunday, October 29, 2023

So Very Proud

Happy Sunday My Blogger Friends
Today is Spotlight Sunday ....... And I have a card I created using product from the 2023 Stampin' UP! Mini Catalog.  This card uses several products from that new catalog ........ And I'm thrilled with the way it turned out.  Let's jump right in with my card share for today..........
My card share for today starts off with a 5-1/2" x 8-1/2" White base and that piece is scored at 4-1/4".
The first thing I did for my card today was to stamp my sentiment in the upper right-hand corner.  I used the 'So Sincere' stamp set to create that sentiment.
Next, I used some Crumb Cake Ink and two pieces of copy paper that were used as my mask.  I used a wedge of a sponge to dab ink directly onto the front of my card.  What I was going for was a very controlled inked section on the bottom portion of my card front.
I was then able to add three big leaves to the front of my card.  Those were cropped out using the 'Aspen Tree Dies'.
I added a small 'White Baker's Twine' bow to each leave.....
And considered this card DONE.
What do you think my friends????

Thanks for joining me today!  I'll be back tomorrow to share an upgraded version of this very card with you ...... Hope you can make plans to stop back and join me for that share.  Keep Living Your Dream!

Saturday, October 28, 2023

Halloween File Folder

Happy Saturday My Blogger Friends!
Today I have another Saturday Sweet Treat packaging idea to share with you.  This project is a SUPER YUMMY, sweet treat packaging.  Let me jump right in with my share.
I received this DARLING little Halloween treat packaging from a very generous guest at the Scissors and the City retreat.
She created this with a 6" x 7-3/4" piece of Black cardstock.   It was scored on the 7-3/4" side at 3-1/4" and 3-1/2".
She added a piece of Designer Series Paper to the front flap.....
An then added a center section on the inside to hold a Hershey's Candy Bar.  The center insert section is a piece of 7-1/2" Pumpkin Pie cardstock.  That piece is scored at 1" on both ends.
She really brought this treat holder to the next level by embossing the tabbed section with her "Happy Halloween" sentiment.
Just doesn't get any EASIER!!!

Thanks for joining me today!  I'll be back tomorrow to share a Spotlight Sunday creation with you ........ Hope you can make plans to stop back and join me for that share.  Keep Living Your Dream!

Friday, October 27, 2023

Triple Ghost Stair Step Card

Happy Friday My Blogger Friends!
Today is Fun Fold Friday and that means I have a special little Fun Fold Card to share with you. Let's kick off this Fun Fold Friday share right now.....
My base card starts off with a piece of Black cardstock that is 4-1/4" x 9".  That piece is scored at 1-1/4", 2-1/2" and 5-3/4" on the 9" side.
I used the 'Them Bones Designer Series Paper' and White cardstock to cover the two front flaps.  The measurements are White cardstock that is 3" x 4" and 1" x 4" ..... And the DSP is 2-7/8" x 3-7/8" and 7/8" x 3-7/8".
Next, I got busy to create the tall center section.  It's a piece of Black cardstock that is 2-1/2" x 9".  That piece is scored at 3-1/2".  
I matted that piece on the front with some White and more DSP.  The White piece measures 2-1/4" x 5-1/4" and the DSP measures 2-1/8" x 5-1/8".
I did add three ghost that were cropped out using the 'Tricks & Treats Dies' to that DSP panel.
I adhered the bottom of that panel to the 1-1/4" stair step on the front of my card.....
And then adhered it to the back of my card.
I covered the back of my card off with a White 4" x 3" panel......
And added a Candy Corn to that panel.
Here is how the card looks when you view it from the side.
Just doesn't get any EASIER.
Hope you have fun making these!!!

Thanks for joining me today!  I'll be back tomorrow to begin sharing a special new Sweet Treat Saturday release with you ........Hope you can make plans to stop back and join me for that share.  Keep Living Your Dream!

Thursday, October 26, 2023

BOO

Happy Thursday My Blogger Friends!
My blog post for today is Tag Thursday.  Today, I will feature a tag I created and show you how easy it is to use minimal supplies to create a SUPER PRETTY TAG.  Now that you have the details for my Tag Thursday creation for this week ........ Let's jump right in with my tag share for today........
My tag share for today starts off with a Black base that is 2-1/2" x 4-1/4".
I added a "Boo" die-cut from the 'Tricks & Treats Dies' at the bottom of my tag.
My trio of ghost were also cropped out using the 'Tricks & Treats Dies' and those were arranged onto the front of my tag.
I topped my tag off with a bow made from the 'Black and White Gingham Ribbon'......
And all that was left to do was add some trio dots with my White Gel Pen.
And there you have it friends....
What do you think????

Thanks for joining me today!  I'll be back tomorrow to share a Fun Fold Friday creation with you ........ Hope you can make plans to stop back and join me for that share.  Keep Living Your Dream!

Wednesday, October 25, 2023

Triple Boo

Happy Wednesday My Blogger Friends!
My blog post for today is Wine-Down Wednesday.  My middle of the week card feature for today will hopefully offer you some inspiration and provide you with some motivation to keep you moving through your busy week.  Let's jump right in with my card share for today........
My card today starts off with a 5-1/2" x 8-1/2" White base ..... And that piece is scored at 4-1/4".  To the top of that ..... I added a 4" x 5-1/4" panel of Cajun Craze cardstock.
My next layer is a 3-3/4" x 5" piece of White cardstock.  I ran that piece through my Embossing Machine using the 'Painted Texture Folder'.
I then got busy and created three 1-/2" x 1-1/2" squares of Black, Granny Apple Green and Pumpkin Pie .... And positioned those on the front of my card.
I added the die-cut "Boo" from the 'Tricks & Treats Dies' to the center of each colored square....
And added coordinating 'Glitter Sequins' (that were colored with my Stampin' Blends) next to each square.
And there you have it friends.....
This card was DONE in no time flat.
What do you think????

Thanks for joining me today!  I'll be back tomorrow to share a Tag Thursday creation with you ........ Hope you can make plans to stop back and join me for that share.  Keep Living Your Dream!

Tuesday, October 24, 2023

Dot's Candy Corn Holder

Happy Tuesday My Blogger Friends!
My blog post for today is '3D TUESDAY'.  That means today I have a fun little 3-D project that I created and want to share with you.  This project was SO FUN to create .... and I want to jump right in and share that project with you now.
Check out these SUPER FUN Halloween treats I made.  These will be handed out to peeps who I am standing in line with this Halloween season ..... And some of my FAVORITE employees at Basha's Grocery Store.
My packaging idea was to wrap these little cuties up to look like Candy Corn (my favorite) ..... And I think I hit this one out of the park with that idea.   For some ADDED FUN .... I used the 'Tricks & Treats Dies' to create the SPOOKY BOO on each little Candy Corn box.
The packaging for these Boo boxes started with a 3-1/2" x 5-1/8" piece of White cardstock.  I scored on the 3-1/2" side at 7/8" (this would create the top of my box) ..... and I then scored on the 5-1/8" side at 7/8", 2-1/8", 3" and 4-1/4".
After I had each packaging constructed .... I wrapped 3/4" strips of Daffodil Delight and Pumpkin Pie cardstock around the bottom section to create the Candy Corn section.
Andy you might be asking what I stuffed these little boxes with ..... DOTS candies.
One tiny box (from the Dollar Tree) fit PERFECT inside each little Candy Corn box.
What do you think my friends!!!!

Thanks for joining me today!  I'll be back tomorrow to share a Wine Down Wednesday card with you ........ Hope you can make plans to stop back and join me for that share.  Keep Living Your Dream!