Happy Monday My Blogger Friends!
Today
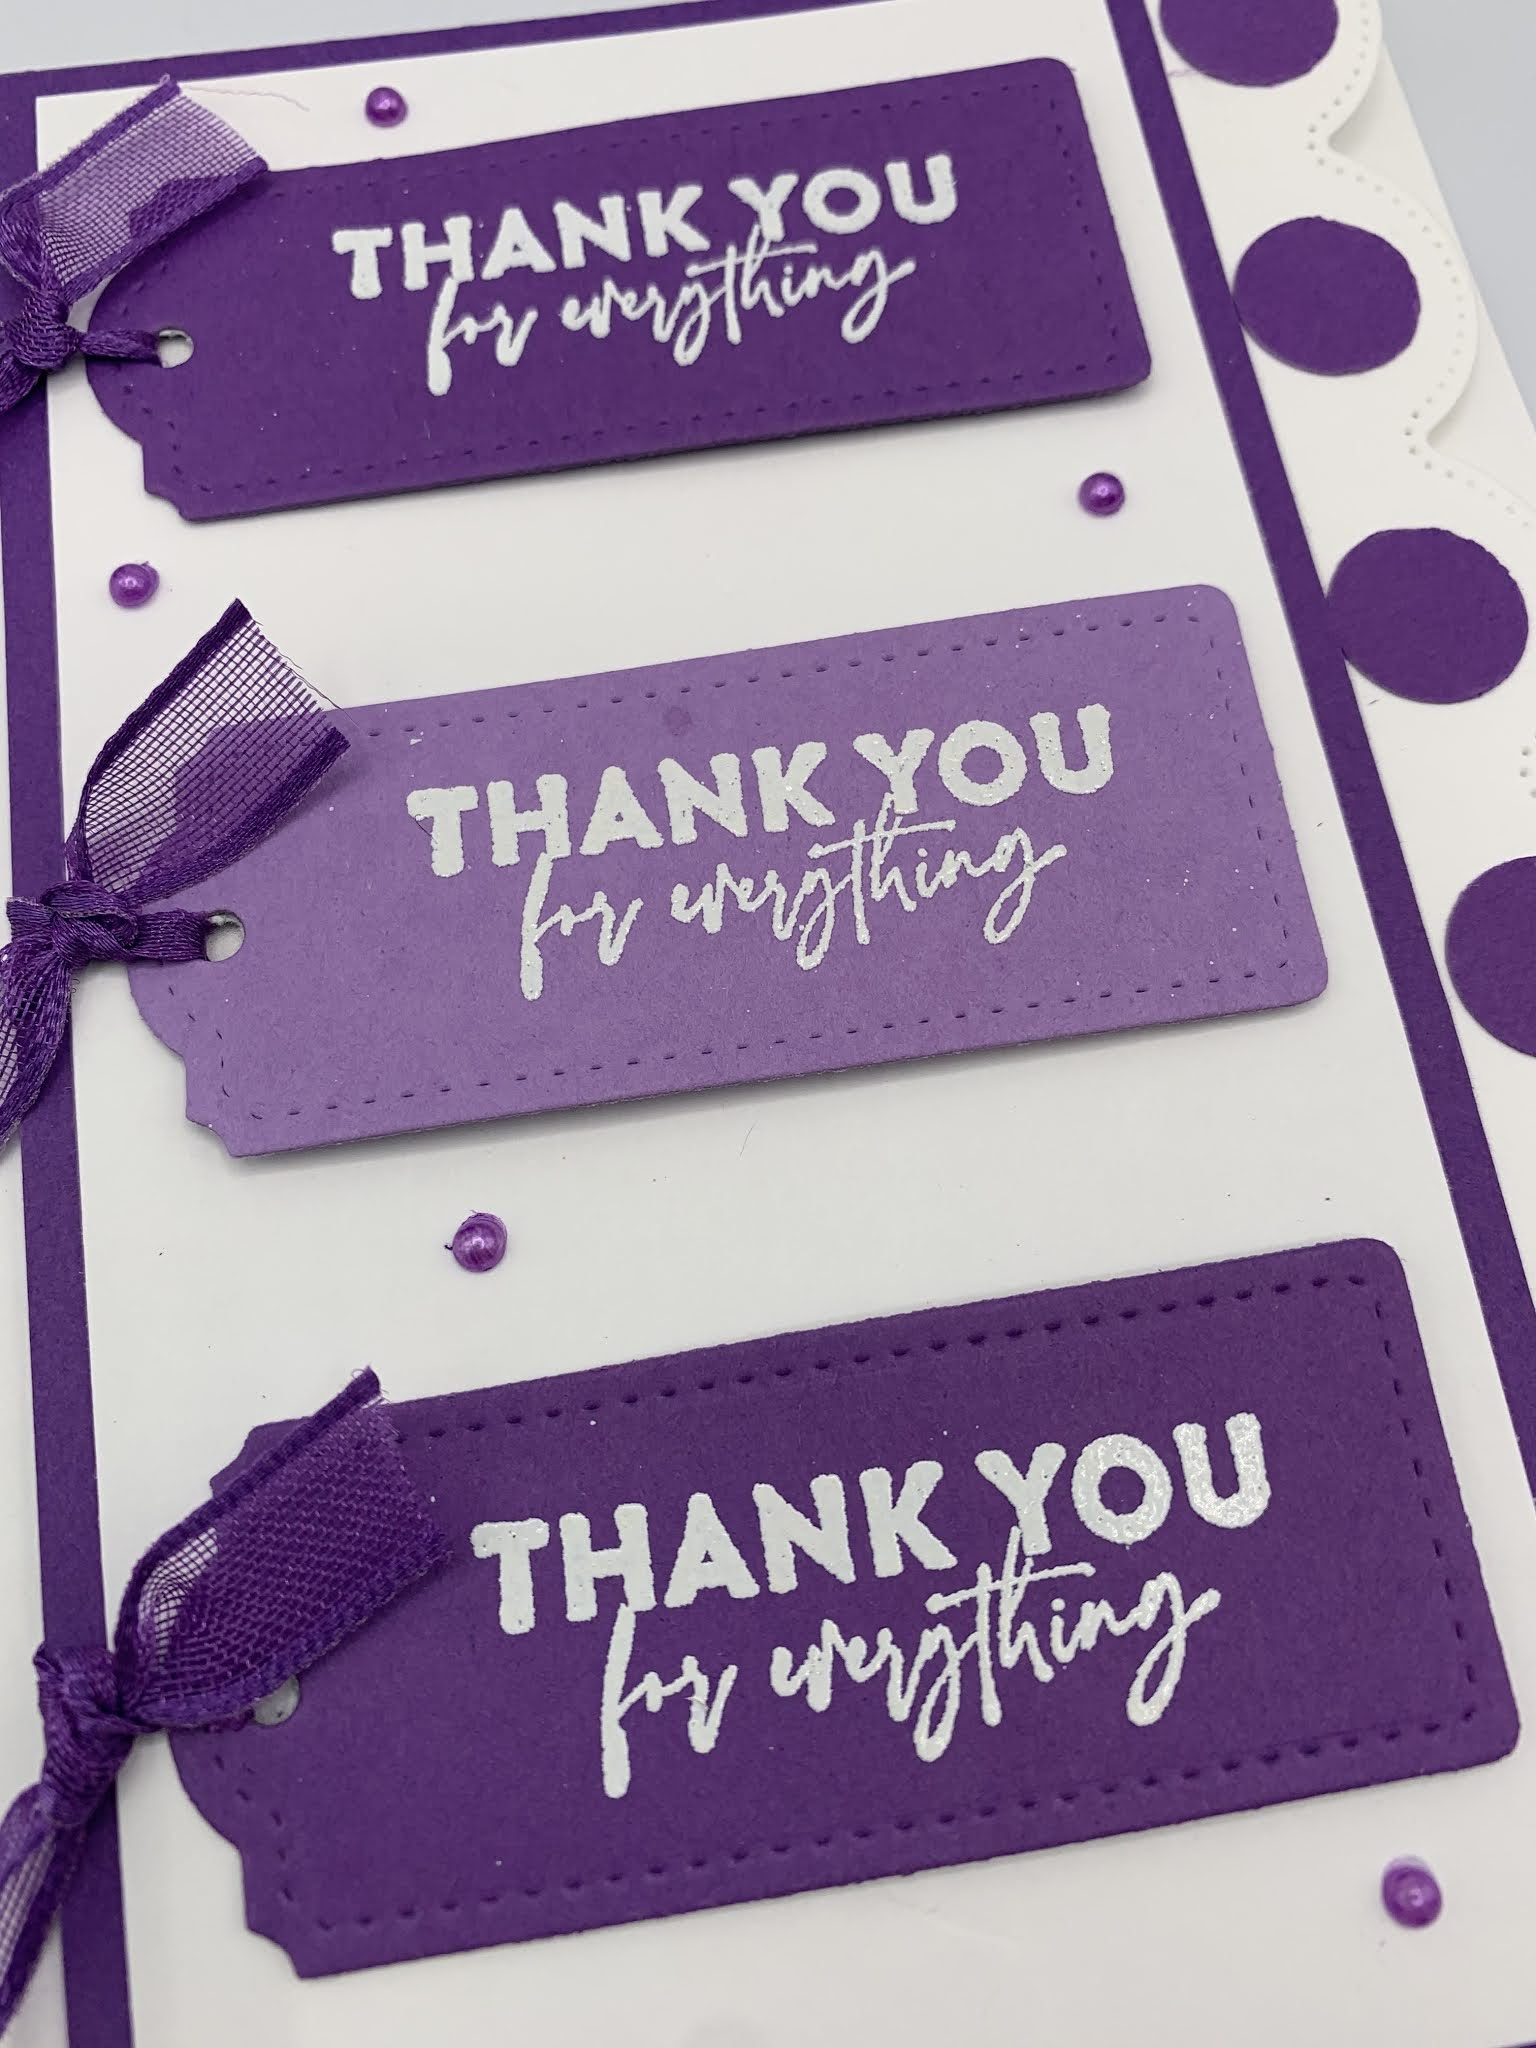
is Mix-It-UP! Monday, and I have an upgraded version of the card I
shared with you yesterday. I used the exact same product that was used
to create yesterday's card ..... But I added a couple additional
products found in the 2021-2022 Stampin' UP! Annual Catalog to bring
this card up to the next stamping level.

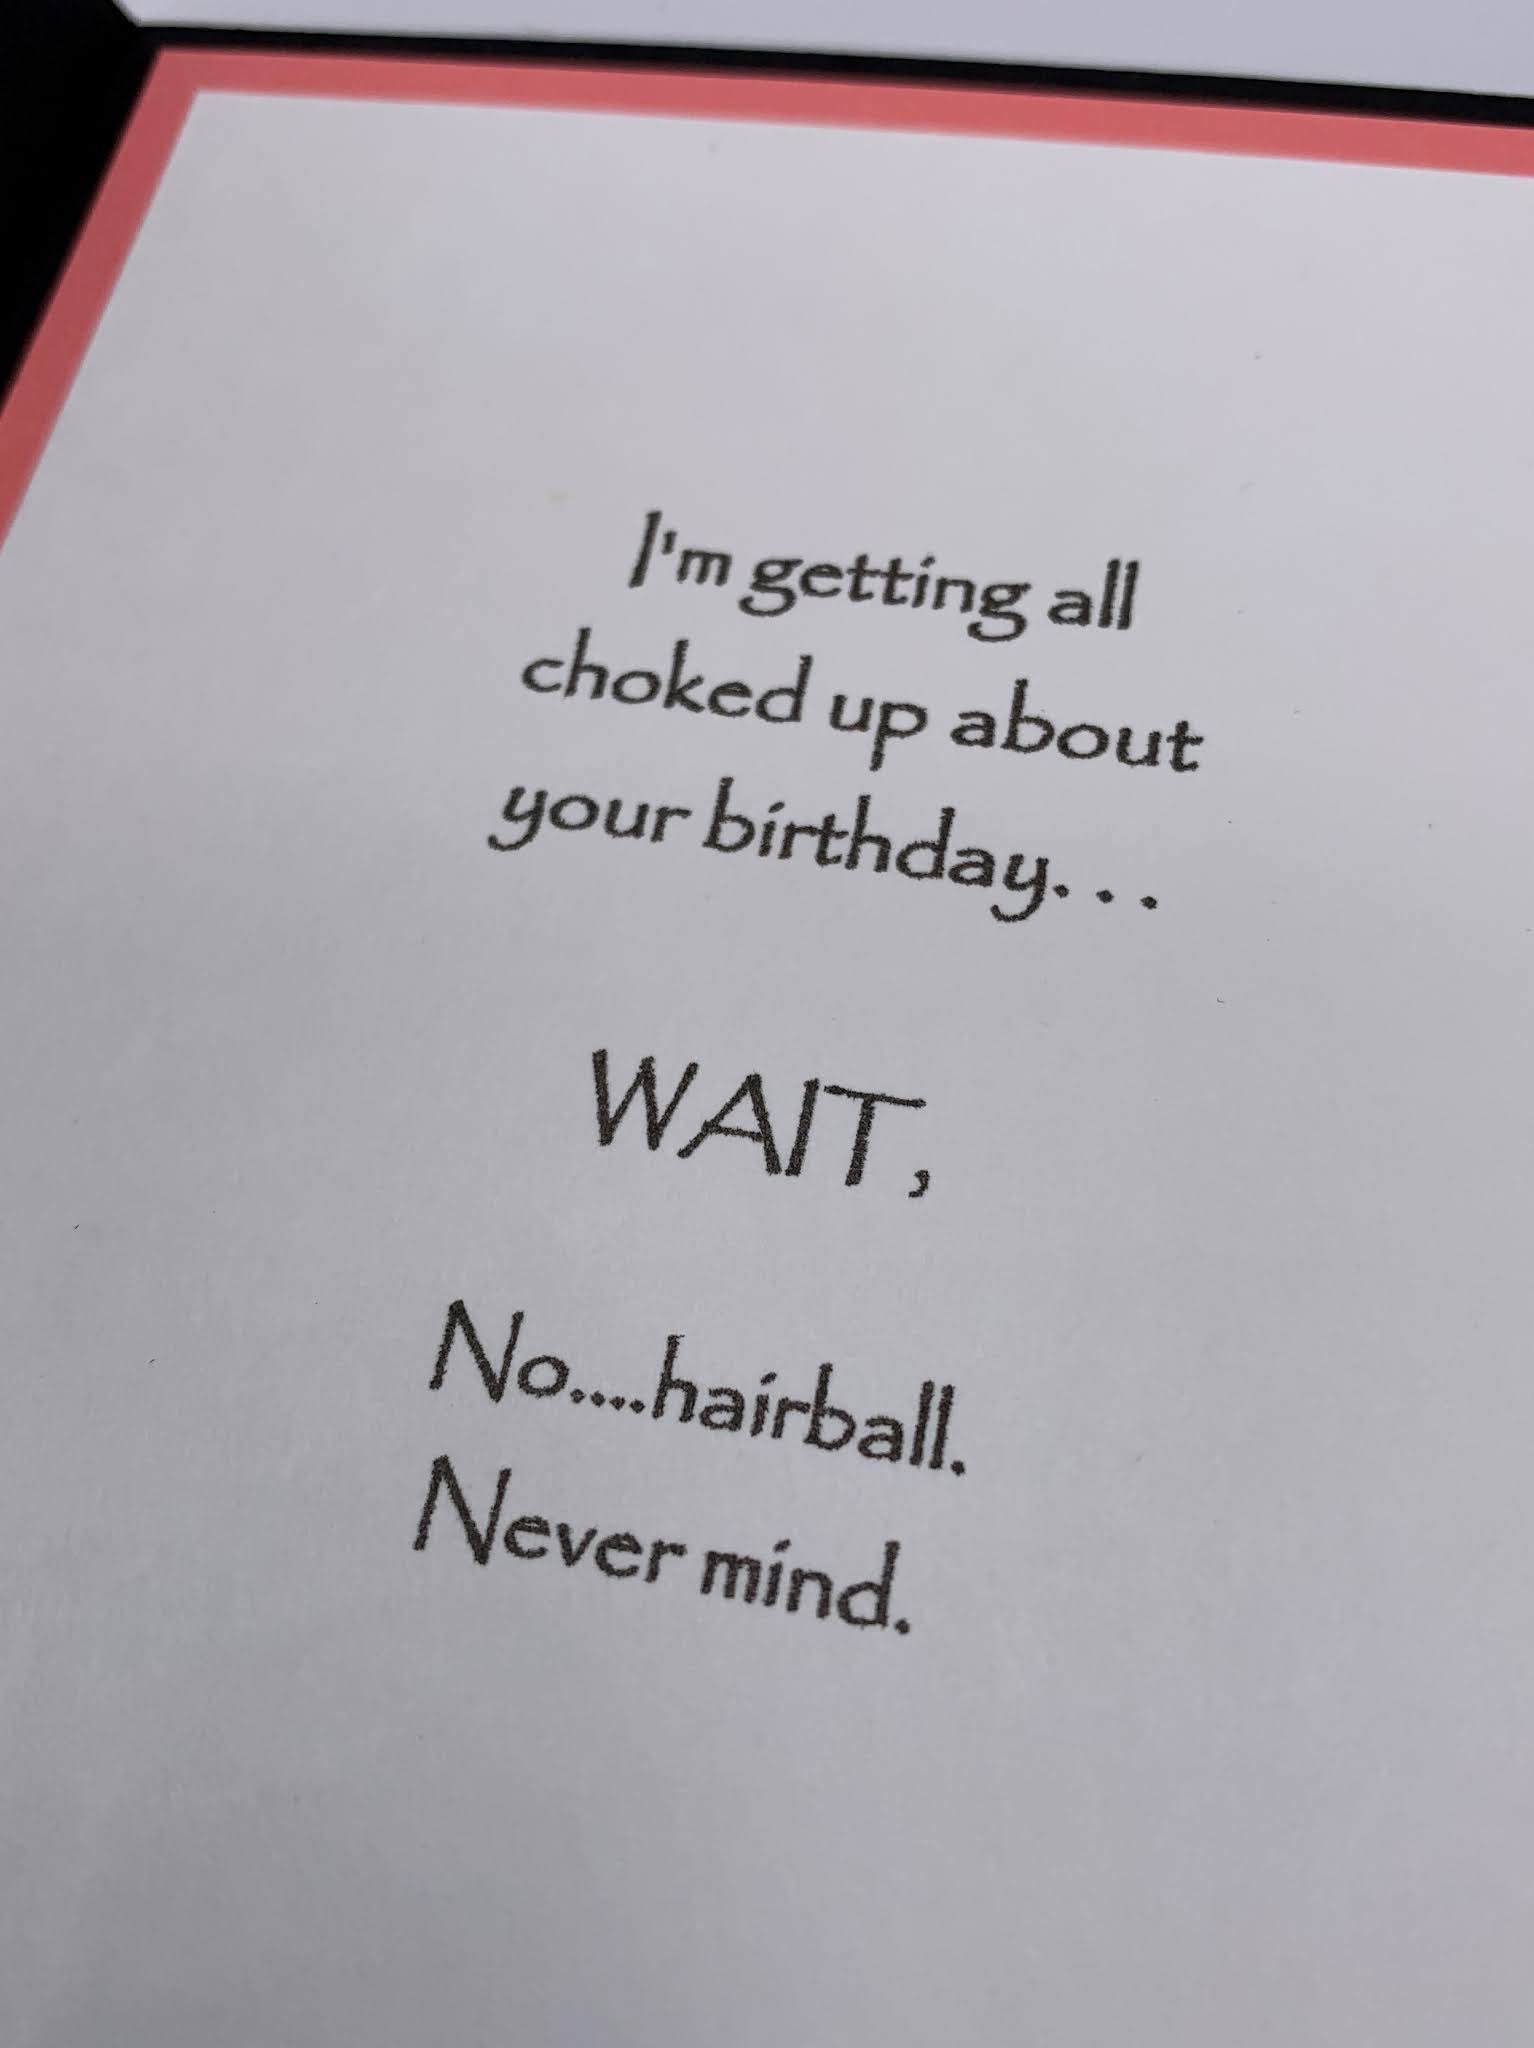
Here is my Spot Light Sunday card from yesterday on the TOP....
And my Mix-It-UP! Monday upgraded card for today on the BOTTOM....


The finishing touch was adding three '2021-2023 In-Color Jewels' to the end of each banner flag ...... And this upgraded card was called DONE!!!

So what do you think my friends.......
Are you excited to purchase those Hand-Penned Memories & More Cards' and make some SUPER PRETTY cards??? You won't be disappointed.
Thanks for joining me today! I'll be back tomorrow to share a 3-D Tuesday creation with you ...... Hope you can make plans to stop back and join me for that share. Keep Living Your Dream!