Friday, September 22, 2023

Be Jolly Flip Up Card

            Happy Friday My Blogger Friends!
Today is Fun Fold Friday and that means I have a special little Fun Fold Card to share with you. Let's kick off this Fun Fold Friday share right now.........
Check out this fun flip-up holiday style card.  I started off with a 4-1/4" x 11" piece of Real Red cardstock.  It is scored at 2-3/4" and 5-1/2".   I used the 'Regal's Designer Series Paper Pack' and added a 2-1/4" x 3-3/4" panel to the top section and a 1-1/2" x 4" panel at the bottom.
My center focal feature is the DARLING gingerbread house from the 'So Very Merry' set and that was adhered to the top panel on the front of my card.  I used the 'Stylish Shapes Dies' for those circle layers.
The sentiment is from the 'So Very Merry' set and that was stamped onto a banner flag piece from the 'Stylish Shapes Dies'.
And here is how the card looks when it is completely opened.
Just doesn't get any EASIER.
Hope you have fun making these!!!

Thanks for joining me today!  I'll be back tomorrow to begin sharing a special new Sweet Treat Saturday release with you ........Hope you can make plans to stop back and join me for that share.  Keep Living Your Dream!

Thursday, September 21, 2023

Songbird Thanks

Happy Thursday My Blogger Friends!
My blog post for today is Tag Thursday.  Today, I will feature a tag I created and show you how easy it is to use minimal supplies to create a SUPER PRETTY TAG.  Now that you have the details for my Tag Thursday creation for this week ........ Let's jump right in with my tag share for today........
I started off with a 3-1/4" x 4" White base tag.  I added a Berry Burst cardstock panel to the top of my tag and created a frame section on the front of my tag with that cardstock panel.
I used the 'Season of Chic' stamp set to stamp my sentiment at the bottom of my Berry Burst frame....
And stamped the branch onto the White section of that frame.  The branch is from the 'Bird's Eye View' set.  I used my Stampin' Blends to color the branch.
My DARLING little bird was created using the 'Sweet Songbird Punch' ...... And added him to the center of my stamped branch.
All that was left to do was top my tag off with some 'Azure Afternoon Ribbon' and add a trio of 'Festive Pearls' that I colored using my Azure Afternoon Stampin' Blends.
And there you have it friends......
Don't you just LOVE IT!!!!!

Thanks for joining me today!  I'll be back tomorrow to share a Fun Fold Friday creation with you ........ Hope you can make plans to stop back and join me for that share.  Keep Living Your Dream!

Wednesday, September 20, 2023

Everything Wonderful

Happy Wednesday My Blogger Friends!
My blog post for today is Wine-Down Wednesday.  My middle of the week card feature for today will hopefully offer you some inspiration and provide you with some motivation to keep you moving through your busy week.  Let's jump right in with my card share for today........
I start this card off with a 5-1/2" x 8-1/2"  Mossy Meadow base card.  That piece is scored at 4-1/4".  Next, I cut off 1-1/4" on one end (this will create the shorter front section).
Next, I added a panel of Wild Wheat and 'Let's Go Fishing Designer Series Paper' to the front.  Cover the front top flap and bottom lower inside flap.
My sentiment is from the 'Charming Sentiments' set and that is stamped onto layering pieces from the 'Stylish Shapes Dies'.
And that lower front flap is the bottom section to the inside of my card ..... That magically creates a pocket card (if you only glue three sides of the Cardstock/DSP panels).
And here is how I decorated the insert card for that pocket.
So ..... There you have it friends.
What do you think!!!!!

Thanks for joining me today!  I'll be back tomorrow to share a Tag Thursday creation with you ........ Hope you can make plans to stop back and join me for that share.  Keep Living Your Dream!

Tuesday, September 19, 2023

Easel Post-it-Note Holder

Happy Tuesday My Blogger Friends!
My blog post for today is '3D TUESDAY'.  That means today I have a fun little 3-D project that I created and want to share with you.  This project was SO FUN to create .... and I want to jump right in and share that project with you now.
I was looking to make a gift for a friend ..... And thought ..... Who doesn't need a post-it-note holder for their desk.  I started with a Night of Navy base that was 4-1/4" x 11".  It is scored at 5-1/2".  For the base bottom, I used a 4" x 4" piece of Night of Navy.  That piece is scored at 1/2", 2" and 3-1/2".
And for the post-it-note pocket .... That is another piece of Night of Navy.  That piece is 4-1/2" x 5-1/2" and that piece is scored on the 5-1/2" side at 2-1/2" and 3".  And then on the 4-1/2" side it is scored at 1/2" and 4".
I decorated the front and pocket of my holder with some 'Countryside Inn Designer Series Paper'....
And before I adhered down my pocket DSP .... I wrapped some 'Night of Navy 3/8" Ribbon' around that piece and tied it up into a pretty bow.
My sentiment is from the 'Go To Greetings' and that was matted to the top of my holder.
And there you have it.
What do you think my friends!!!!

Thanks for joining me today!  I'll be back tomorrow to share a Wine Down Wednesday card with you ........ Hope you can make plans to stop back and join me for that share.  Keep Living Your Dream!

Monday, September 18, 2023

Thinking of You Upgrade

Happy Monday My Blogger Friends! 
Today is Mix-It-UP! Monday, and I have an upgraded version of the card I shared with you yesterday.  I used the exact same product that was used to create yesterday's card ..... But I changed things up to bring this card up to the next stamping level.
Here's my Spotlight Sunday card from yesterday on the TOP....
And my Mix-It-UP! Monday upgraded card for today on the BOTTOM....
My first upgrade was changing up the base portion of my card.  I used a White 4-1/4" x 5-1/2" panel and built the layers for a gift card holder on top of that.  Next, I added a 9-1/4" x 4" Berry Burst cardstock panel to the front of my base.  That piece was scored at 4".
To the top of that Berry Burst cardstock piece ..... I added four 'Masterfully Made Designer Series Paper' panel across the front ..... And those pieces each mesured 1" x 4".
I added a 1/2" x 4" panel of White cardstock across the bottom of my DSP.  I wrapped some 'Ribbon Duo Combo Pack Ribbon' around that piece and tied it up into a pretty bow.
Next, I added my sentiment circle directly onto the bottom portion of my card.  And my sentiment was from the 'Ringed With Nature' stamp set.
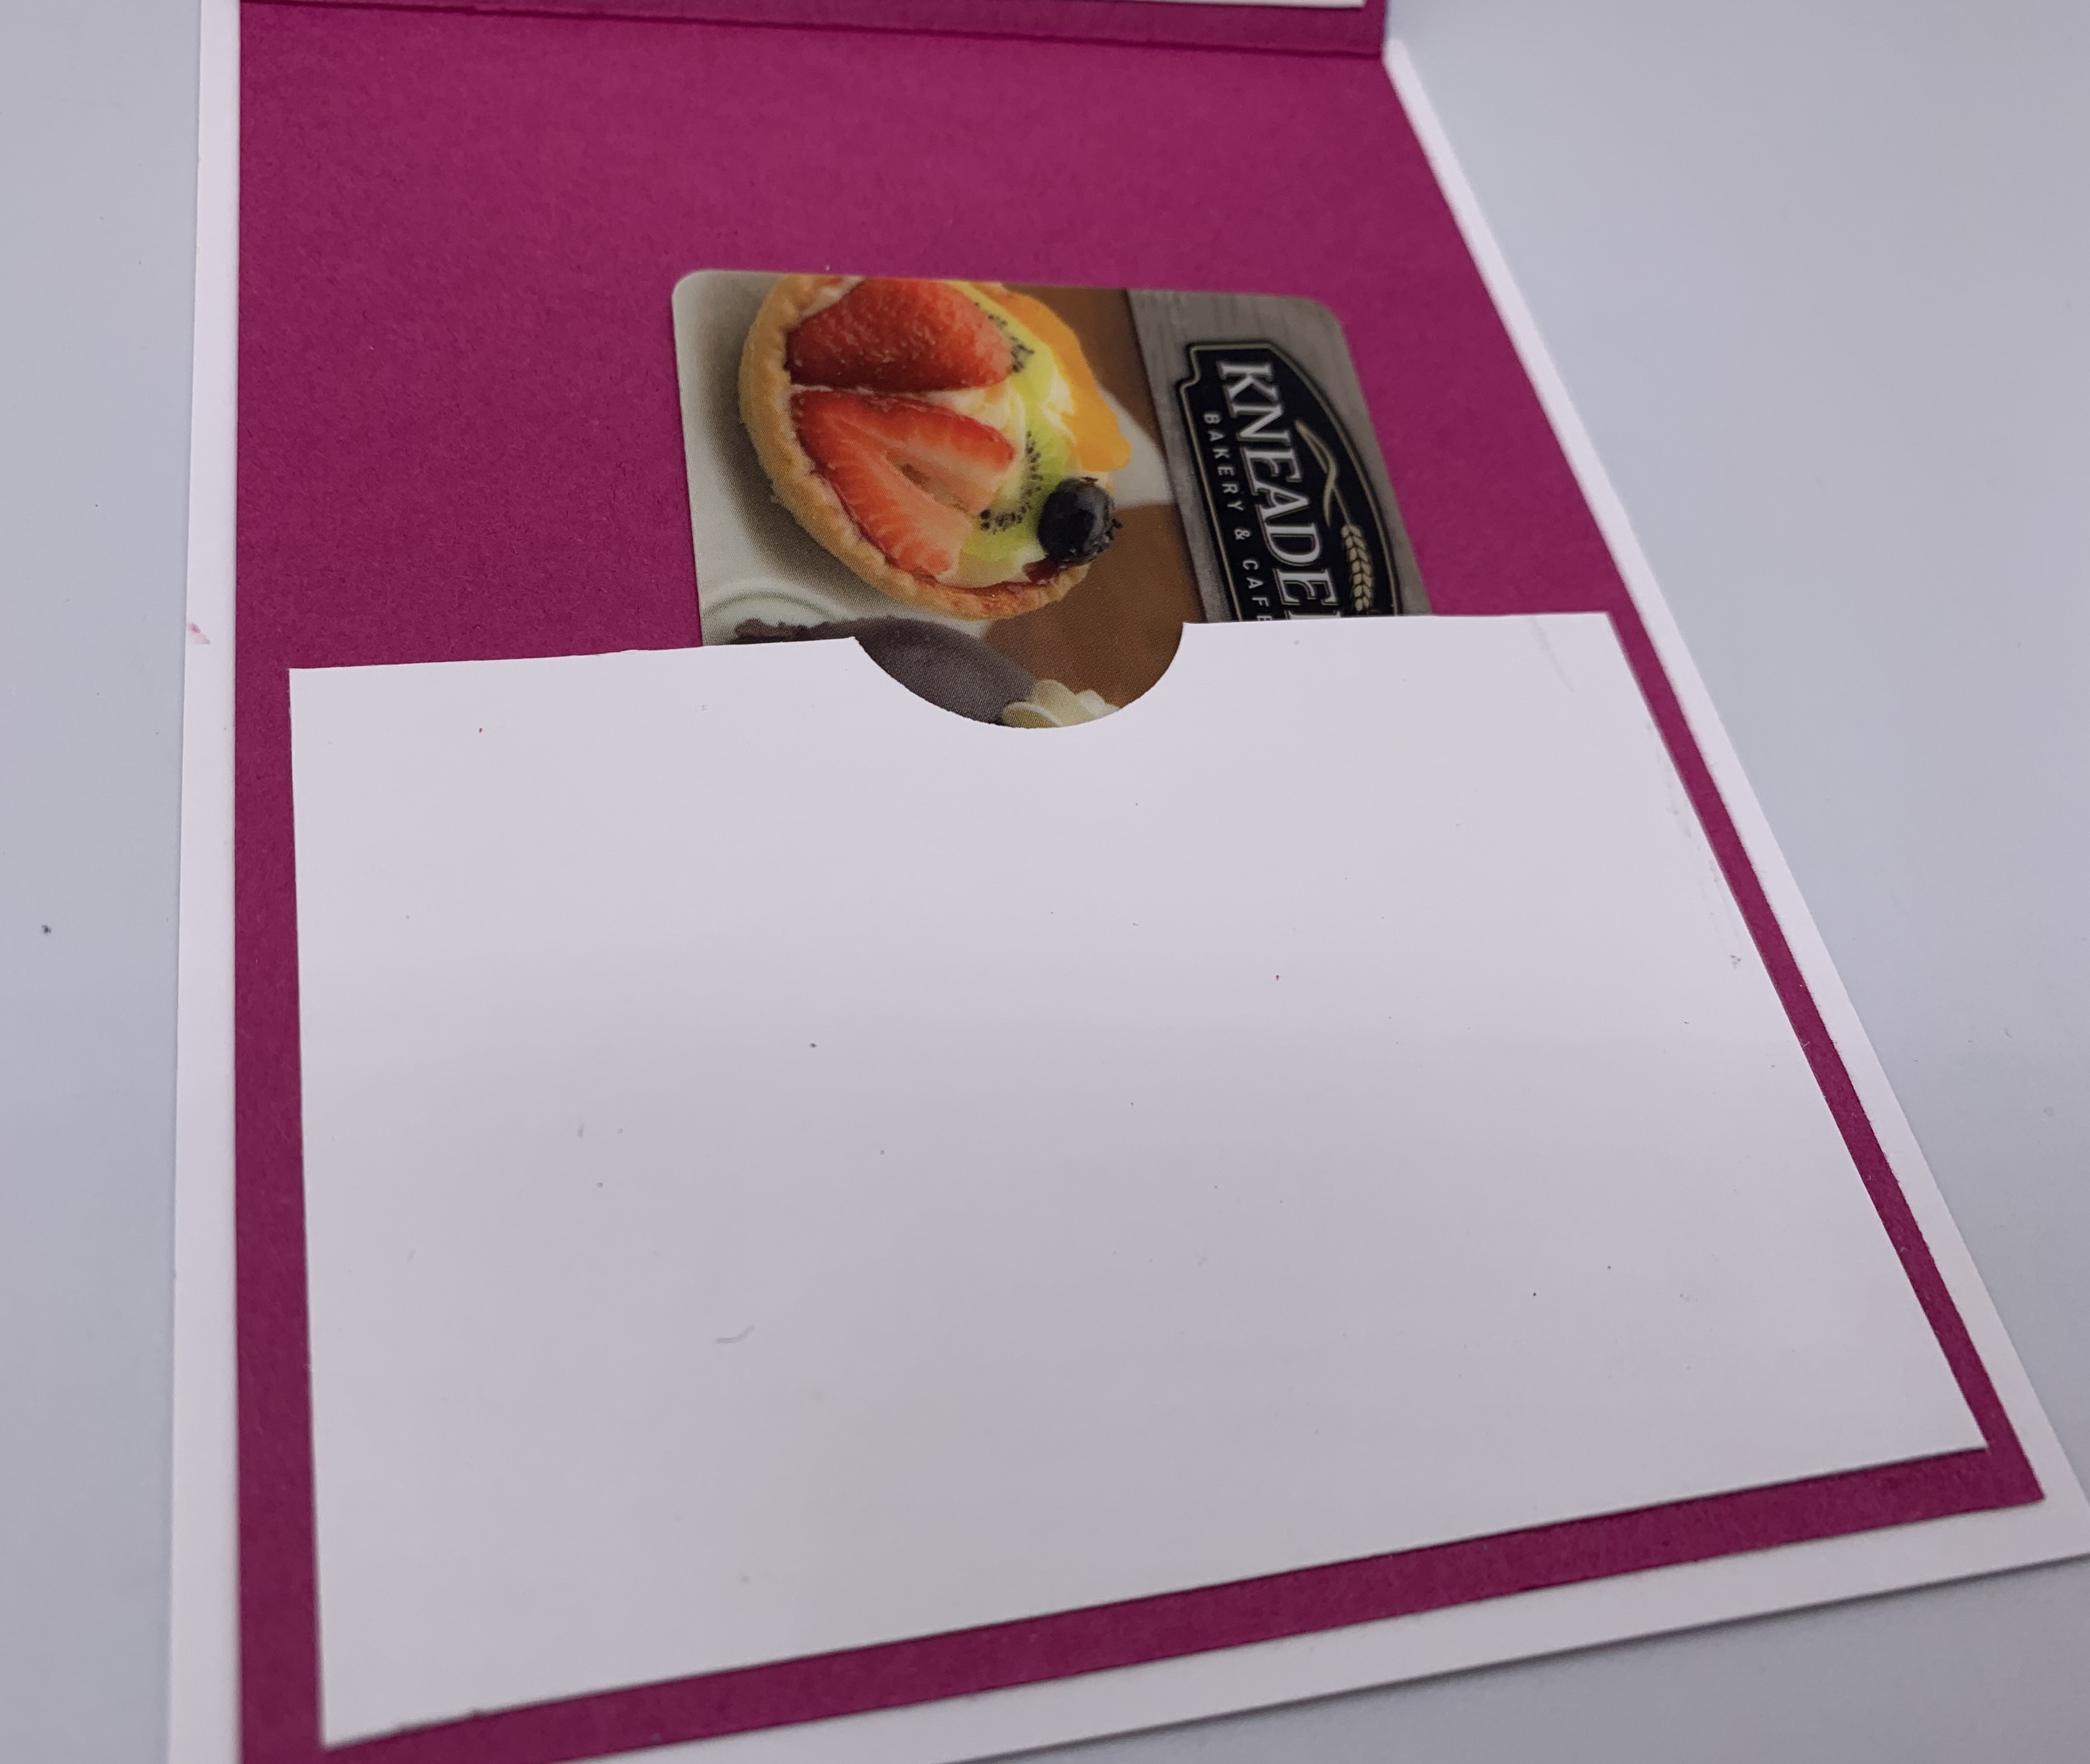
When you open this card up ..... I reveals a White panel at the top and another panel at the bottom.  
The bottom panel is for the placement of a gift card.
So, what do you think my friends....
Do you have a favorite???

Thanks for joining me today!  I'll be back tomorrow to share a Wine Down Wednesday card with you ........ Hope you can make plans to stop back and join me for that share.  Keep Living Your Dream!

Sunday, September 17, 2023

Thinking of You

Happy Sunday My Blogger Friends
Today is Spotlight Sunday ....... And I have a card I created using product from the 2023 Stampin' UP! Mini Catalog.  This card uses several products from that new catalog ........ And I'm thrilled with the way it turned out.  Let's jump right in with my card share for today..........
My card for today starts off with a White 4-1/4" x 11" White base.  It is scored at 5-1/2".
I cut four 'Masterfully Made Designer Series Paper' panels that were 1" x 4".  I stacked those across the top of my base card.
Next, I added a panel of Berry Burst cardstock that was 4" x 5-1/4".  Before I adhered that panel down to my card.....I ran it through my Embossing Machine and used the 'Fern 3D Embossing Folder' to add some FUN texture to that piece.  I also added a 1/2" x 4" strip of White cardstock across the seam of the DSP and textured cardstock piece.
My sentiment is several layers of the 'Stylish Shapes Dies' and I stamped my sentiment onto the top layer.  I used the 'Ringed With Nature' set for my sentiment.
So, there you have it friends.....
What do you think???

Thanks for joining me today!  I'll be back tomorrow to share an upgraded version of this very card with you ...... Hope you can make plans to stop back and join me for that share.  Keep Living Your Dream!

Saturday, September 16, 2023

6-Pack Hershey Nuggets Holder

  Happy Saturday My Blogger Friends!
For the month of September ...... I am going to feature my Saturday Sweet Treat packaging ideas to be centered around Hershey Nuggets.  Today, I have a SUPER YUMMY sweet treat packaging idea that comes together in a JIFFY.  Let me jump right in with my share.
I was inspired by a project that Debbie Kramer shared back in 2016 ..... and thought it would be a perfect upgraded version for my blog.  I have created this same holder in the past.....but my share today is updated with all kinds of great improvement.  
This holder starts out with a 8" x 4" piece of Berry Burst cardstock.  Along the 8" side you will score at 1", 1-1/2", 3", 5", 6-1/2" and 7".  Flip that side over and score at 4".  Now score on the 4" side at 1/2" on both ends.
I covered my holder with a 7/8" piece of 'Bright & Beautiful Designer Series Paper' and wrap that around my holder and adhered it to the base.
My handles were created using the 'Cracker & Treat Box Dies'.....
And I used some 'Balmy Blue Ribbon' and colored it with my 'Berry Burst Stampin' Blends'.
My sentiment is from the 'Pansy Patch' set and that is stamped onto layering pieces from the 'Double Oval Punch'.
I covered all six of my Hershey Nuggets with more of the 'Bright & Beautiful Designer Series Paper'.
And there you have it friends......
Don't you just LOVE IT!!!!!

Thanks for joining me today!  I'll be back tomorrow to share a Spotlight Sunday creation with you ........ Hope you can make plans to stop back and join me for that share.  Keep Living Your Dream!