Happy Tuesday My Blogger Friends!
My blog post for today is 'CASE IT TUESDAY'. That means today I have a fun little 3-D project that I found on the internet ....... And I created a CASE of that project to share with you today. This project was SUPER FUN to create and I want to jump right in and share that project with you now.This
DARLING project was inspired by a project that Glenda Calkins shared back on October 12, 2020. Here is the link to the video Glenda did for this project. https://fb.watch/8JTWp2nCSE/
I made several changes to my verson of this
DARLING K-Cup Holder ....... But the project still reflects the hard work that Glenda put into designing this project.
I used Blackberry Bliss card stock to create my holder. And the biggest change I made was the front and back portions of my holder. I used the 'Scallop Contours Dies' to create the front and back panels for my holder.
I did use the 'Pretty Pumpkins' set to stamp my sentiment. And I used Gold Embossing Powder to help my sentiment really pop.
I used the 'Blackberry Beauty Designer Series Paper' to cover my holder ........ And wrapped the 'Gold 1/4" Shimmer Ribbon' around my entire holder.
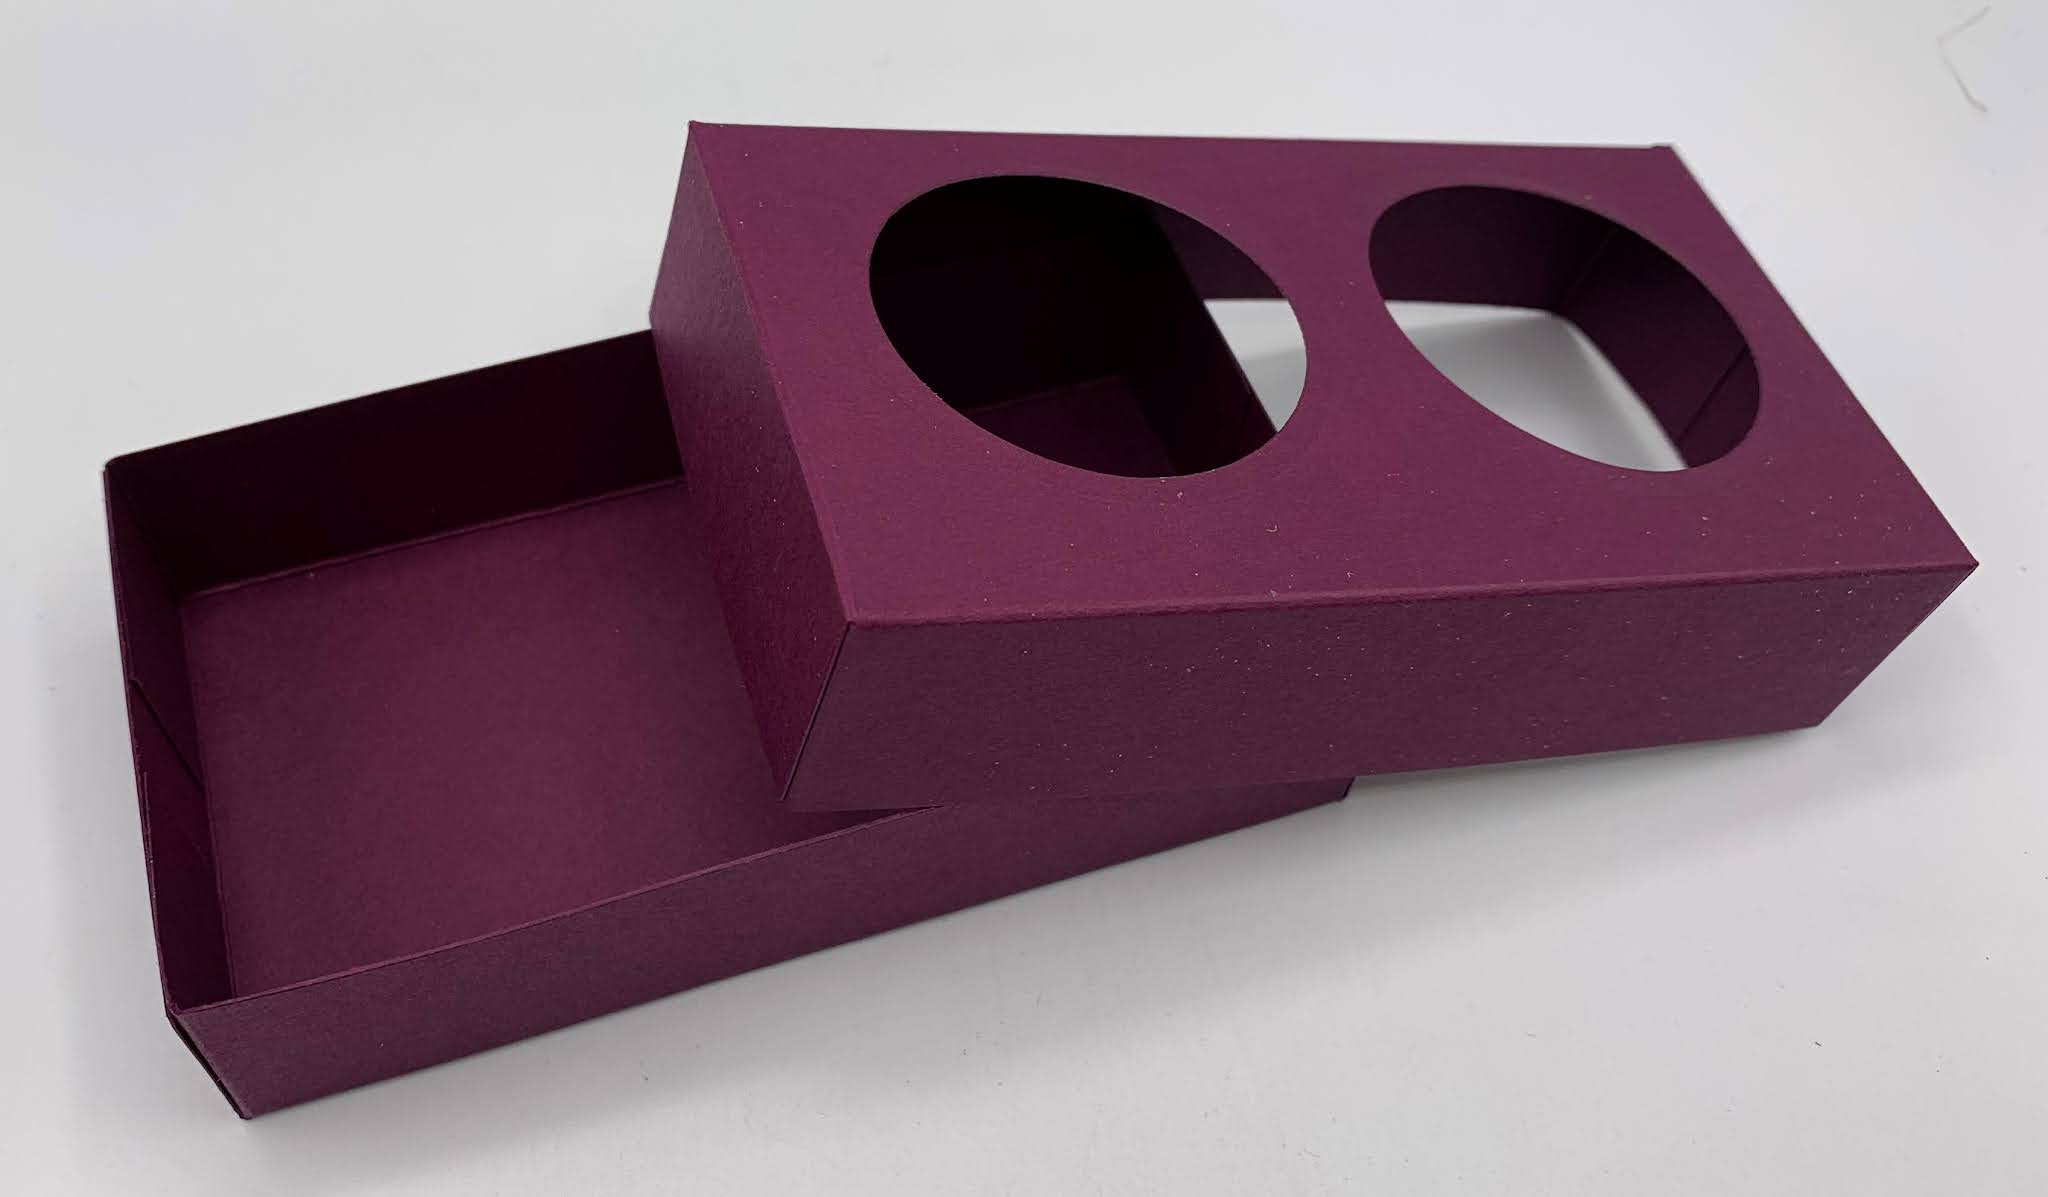
I'm just crazy about the way the holder crops out two little holes for my K-Cups to sit in......
And it's amazing how well constructed this holder really is.
After I had my base and K-Cup Holder section cut and scored (head over to Glenda's video for all the measurements) ...... I used a sample circle template to position the two holes for my K-Cups to sit in.
I used my 'Layering Circles Dies' and cropped out two small holes.....
And then constructed those two pieces of my holder together.
All that was left to do was join the two pieces together.....
And pop my K-Cups inside the two holes.
Here's how I cut down the two 'Scallop Contours Dies' to fit my holder.
After I had the front and back portions of my holder cut ...... I used my 'Blackberry Beauty Designers Series Paper' to cover both of those pieces.
Here's the front and back pieces covered and ready to be added to my project.
Both pieces were adhered to the base of my holder.
And this is a view of what the back looks like.
All that is left to do is wrap your ribbon around the holder and add your sentiment.
And there you have it friends......
Don't you just LOVE this little project.
Thanks for joining me today! I'll be back tomorrow to share a Wine Down Wednesday card with you ........ Hope you can make plans to stop back and join me for that share. Keep Living Your Dream!


Well, isn't this the cutest holder? I LOVE the rich colors. It's SO pretty and gift-worthy. I especially love the lacy scalloped edging, it gives it a very elegant look.
ReplyDeleteWhy THANKS Wanda. I totally agree with you on the scalloped edges. So happy with the way this CASE turned out.
Deletewhat a great gift and smashing presentation!
ReplyDeleteThanks Mary. I'm thrilled with the way this project turned out.
Delete