Monday, March 13, 2017

Mix-It-UP! Monday Cheers Upgrade

Happy Monday My Blogger Friends!
The COUNT DOWN for my daughter's
arrival for my Saddle-UP! event has reached
SINGLE DIGITS........
9 days and counting!!!!
Today is Mix It UP! Monday and I have an upgraded version of the card I shared with you yesterday.  I used the exact same product that was used to create yesterday's card ....... but I added a couple additional products (found in both the 2017 Occasions Catalog and the 2016-2017 Stampin' UP! Annual Catalog) to bring this card up to the next stamping level.
Here's my Spot Light Sunday card from yesterday on the LEFT....
And today's Mix-It-UP! Monday card on the RIGHT...... 
Check out this fun upgrade I created.
I created the same sentiment layering but made the Real Red circle a Stitched Circle and added one of the Real Red Enamel Shapes to my sentiment.
The WOW FATOR on this card was using the 'Hexagons Dynamic Textured Impressions Embossing Folder' on my Smoky Slate panel ...... and it was unbelievable how much texture and dimension this one little embossing folder created. 
The other change I made to this card was removing the Whisper White panel and just using the Basic Gray panel.  I kept the Basic Black Baker's Twine and added a long strand of Silver Sequins to my card.  Now that to me ....... SCREAMS - CHEERS!!!! 
So there you have it friends......
A set of fun "CHEERS" card that are perfect for just about any occasion.
 
Thanks for joining me today!  I'll be back tomorrow to share a 3-D Tuesday creation with you ...... Hope you can make plans to stop back and join me for that share.  Keep Living Your Dream! 

Sunday, March 12, 2017

Remarkable/InkBig Blog Hop

Remarkable InkBig Blog Hop 
Welcome to the Blog Hop for March 2017. This month our theme is “SaleABration”.  You may just be starting the blog hop here at my blog Kards by Kadie or may have come from the person previous to me in the list.  If you get off track at any time, the full lineup below will help you move along from blog to blog so you see all the projects.  At the moment you are visiting KARDS BY KADIE.
 
My project share for today is a darling little matchbook tag gift.  I created this matchbook with a 4-1/4" x 10-1/2" piece of Rich Razzleberry cardstock and scored it at 3/4", 5-3/4" and 6". 
I folded up the 3/4" score line and added two staples at the side and this created the pocket for my top matchbook flap to insert into.  
All I needed to do to cover the staples was wrap  a piece of 3/8" Sweet Sugarplum Ruched Ribbon around the 3/4" flap and tie the ribbon up into a pretty bow.
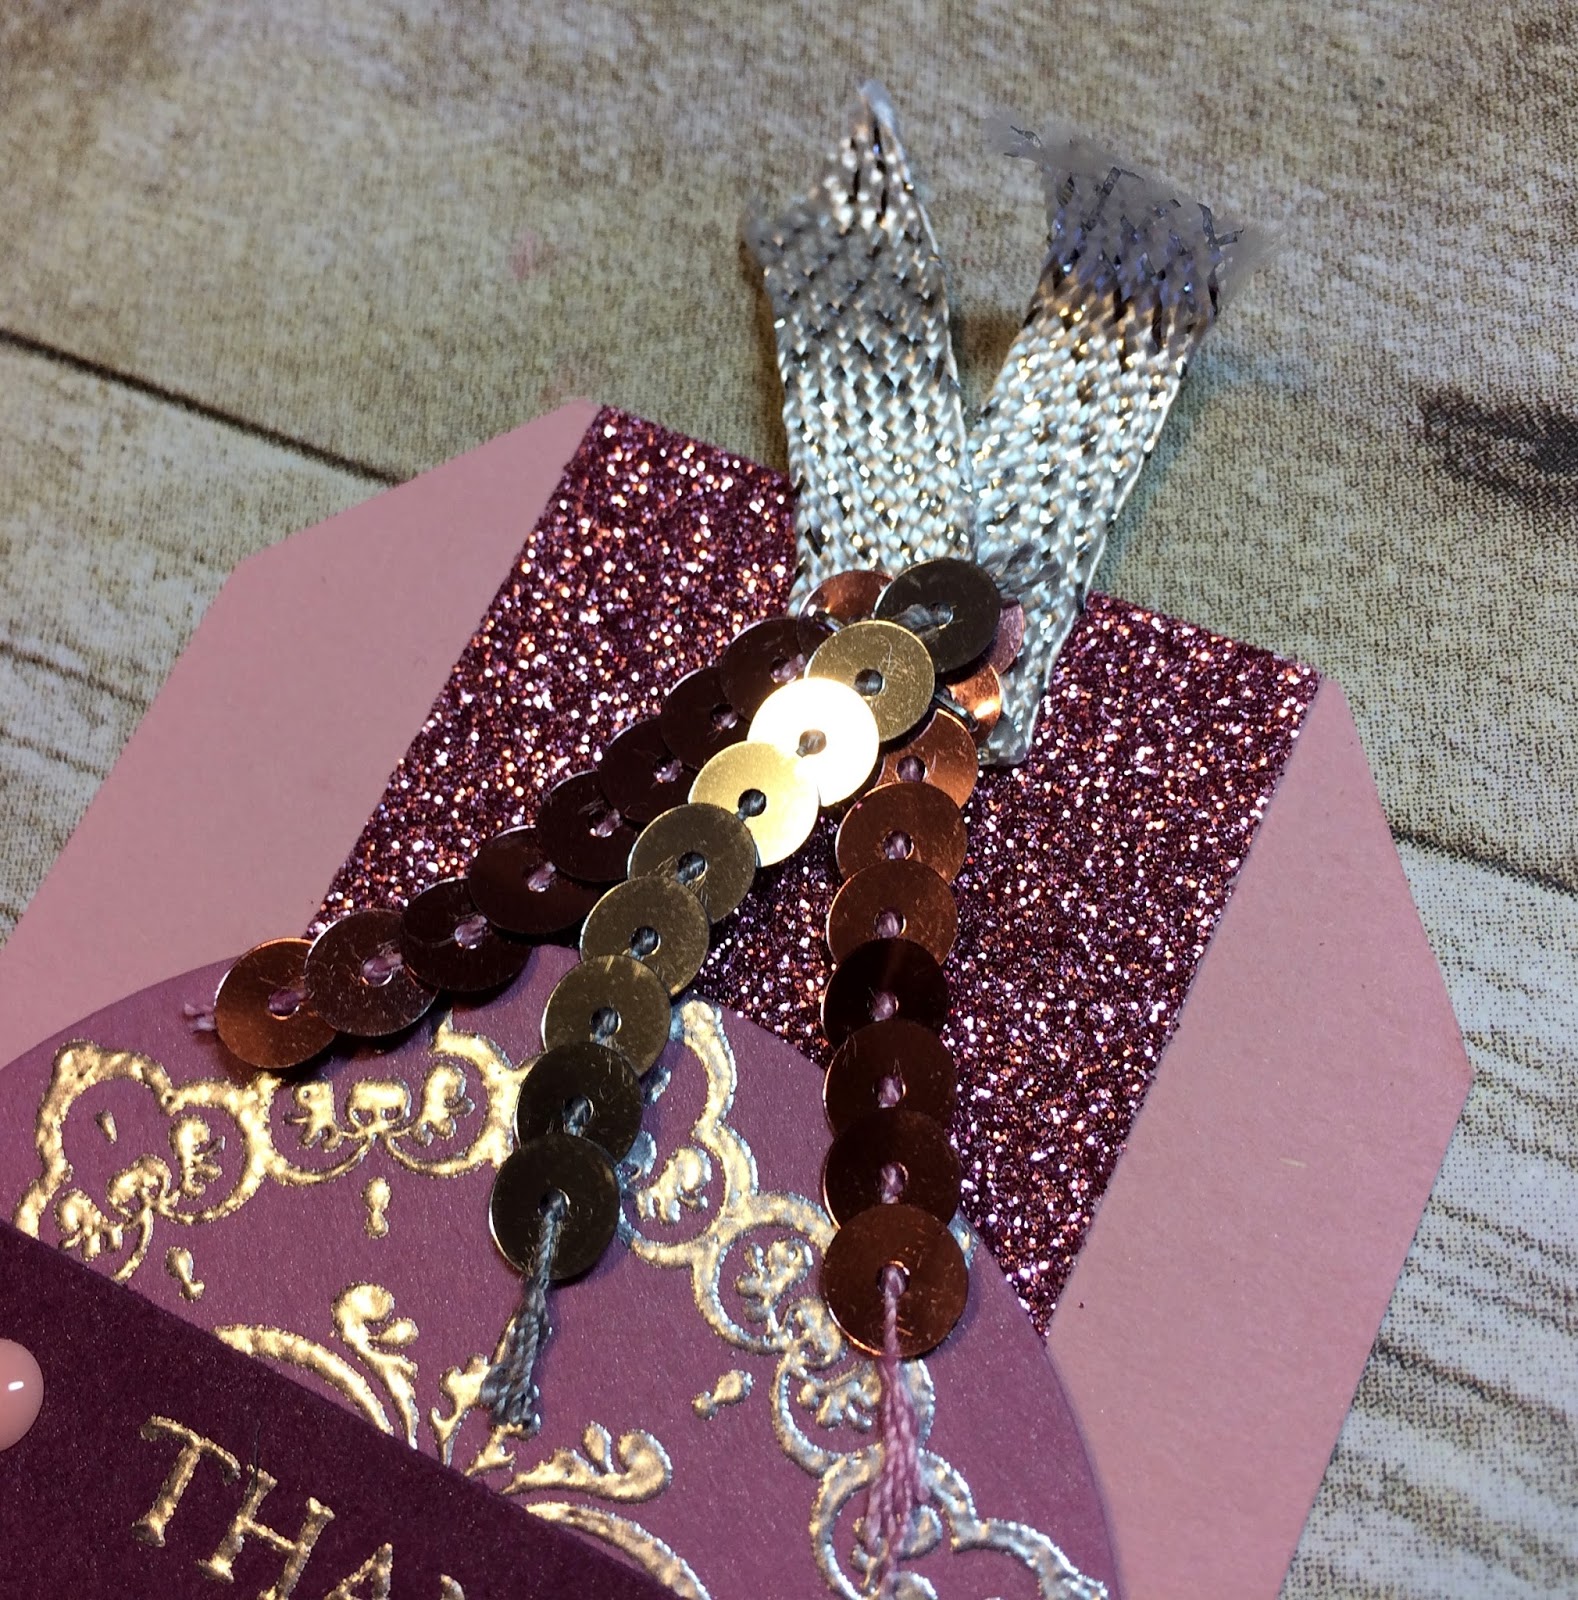
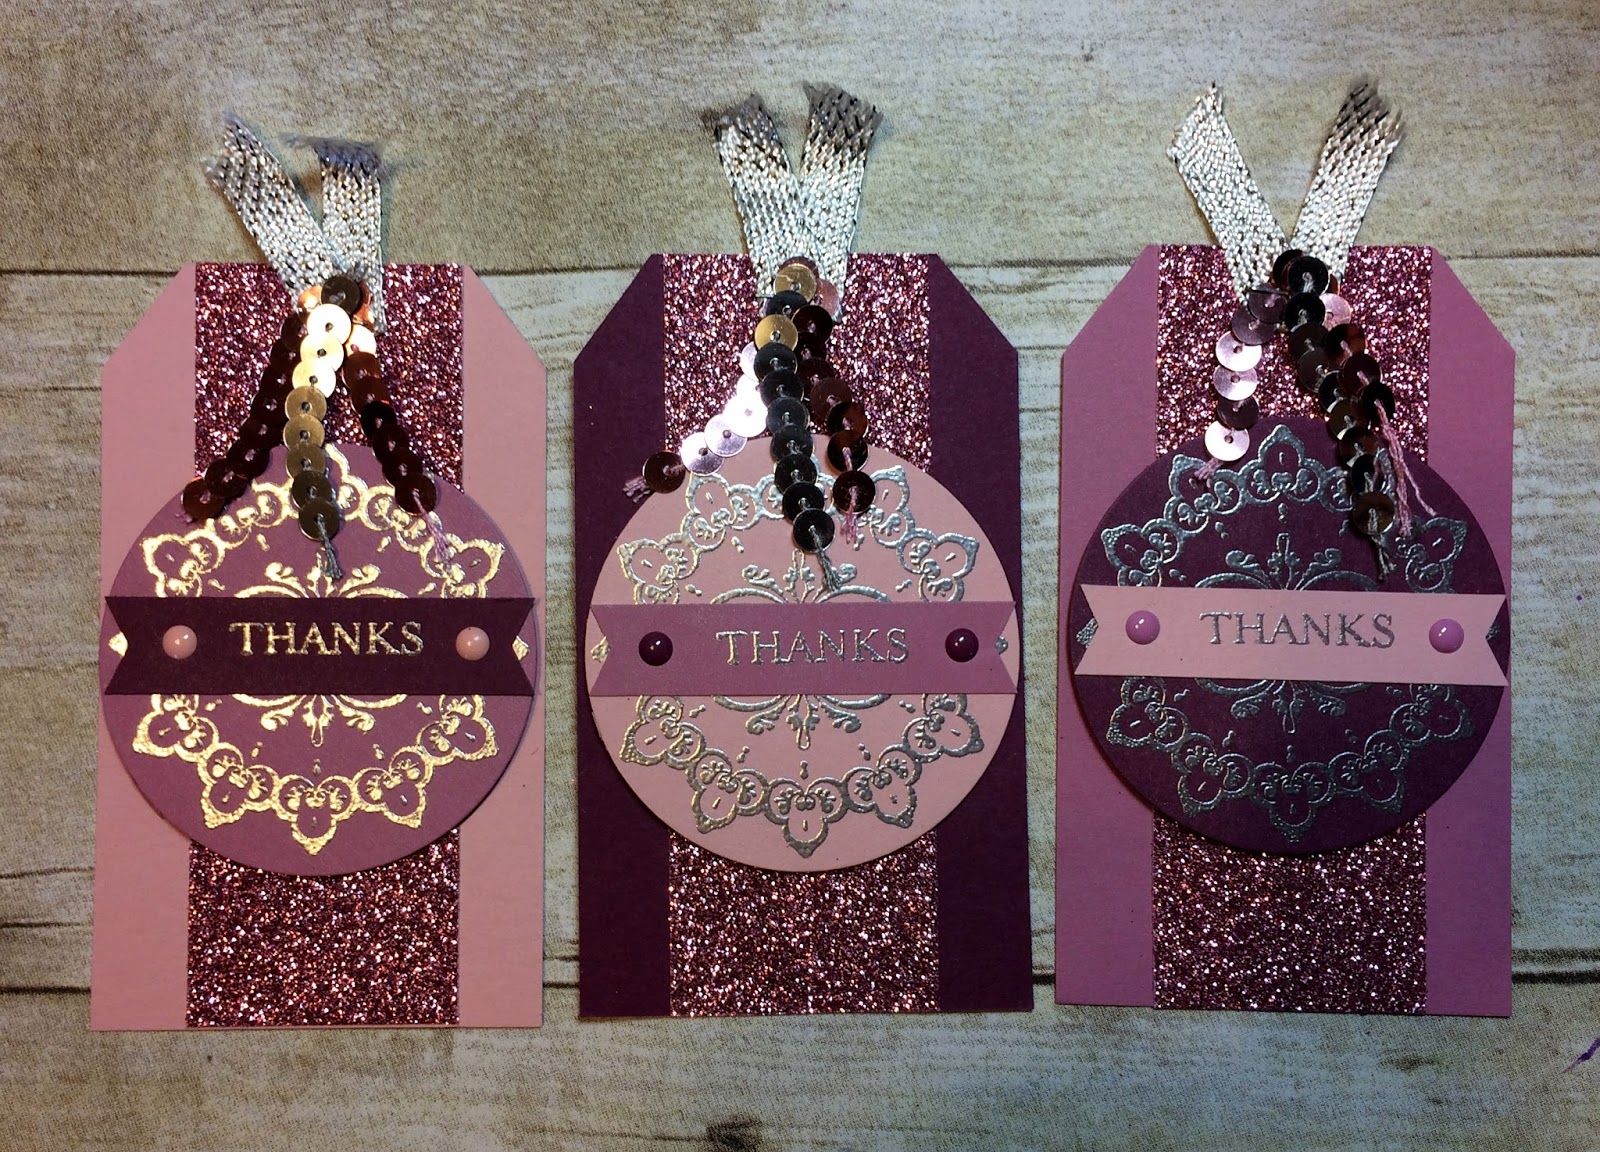
Check out the three darling little thank you tags that are tucked inside this matchbook holder.
I created one tag in each of these three colors.......
Blushing Bride, Rich Razzleberry and Sweet Sugarplum.
For each tag, I added a 2" panel of SAB Sweet Sugarplum Glimmer Paper down the center....
And each tag uses the SAB Make a Medallion stamp set.  I used Silver Embossing Powder to create a medallion that just SPARKLED & SHINED........
And I topped off each tag with some SAB 3/8" Metallic Ribbon.  One final touch was adding some Blushing Bride and Silver Sequin Trim to the top of each tag.
A project that was FUN to create .......... But will be even more FUN to give to someone special at one of my upcoming events.
 
Thanks for taking part in our blog hop, there are so many amazing ideas and inspiration you don’t want to miss.  Remember that currently you are at my blog – Kards By Kadie, so check the blog hop line up list below to see who is next in the list.
 
1. 
2. 
3. 
4. 
5. 
6. 
7. 
8. 
Kadie Labadie  (YOU ARE HERE)
9. 
10. 
11. 
12. 
13. 
14. 
15. 
16. 
17. 
18. 
19. 
20. 
21. 
22. 
23. 

Spot Light Sunday- Cheers

Happy Sunday My Blogger Friends!
The COUNT DOWN for my daughter's
arrival for my Saddle-UP! event is......
10 days and counting!!!!
Today is Spotlight Sunday ....... And I have a card I created using product from the 2017 Stampin' UP! Occasions Catalog.  This card uses several new products from that catalog ......... So let me jump right in with my card share for today.........
I was needing a celebration card recently.......and thought the 'Cheers' from the Occasions Catalog would be perfect for what I was needing. 
I began this card by stamping my sentiment from the 'Love Sparkles' set.  I used the Stitched Shapes Framelits Dies and die-cut one of the circles with some Whisper White cardstock.  All I needed to do was stamp my sentiment and then matted it to a couple colors of 'Layering Circle Framelits'.
The panels of Whisper White and Basic Gray look so amazing on the Smoky Slate panel ...... And when you add the pop of Real Red to the sentiment circle......This card just pops!!!
I also added some Basic Black Baker's Twine around the center of my card and used the backside of my Paper Snips to curl the tails of the twine.
And one final touch was adding three Real Red Enamel Star Shapes at the bottom right hand corner of my card and this card was called DONE!
Love the way this card turned out.......And just know the friend I sent it to will be toasting her wine glass when she receives it.

Thanks for joining me today!  I'll be back tomorrow to share an upgraded version of this very card with you ...... Hope you can make plans to stop back and join me for that share.  Keep Living Your Dream!

Saturday, March 11, 2017

Paper Pumpkin Saturday Downline Bag

Happy Saturday My Blogger Friends!
The COUNT DOWN for my daughter's
arrival for my Saddle-UP! event is......
11 days and counting!!!!
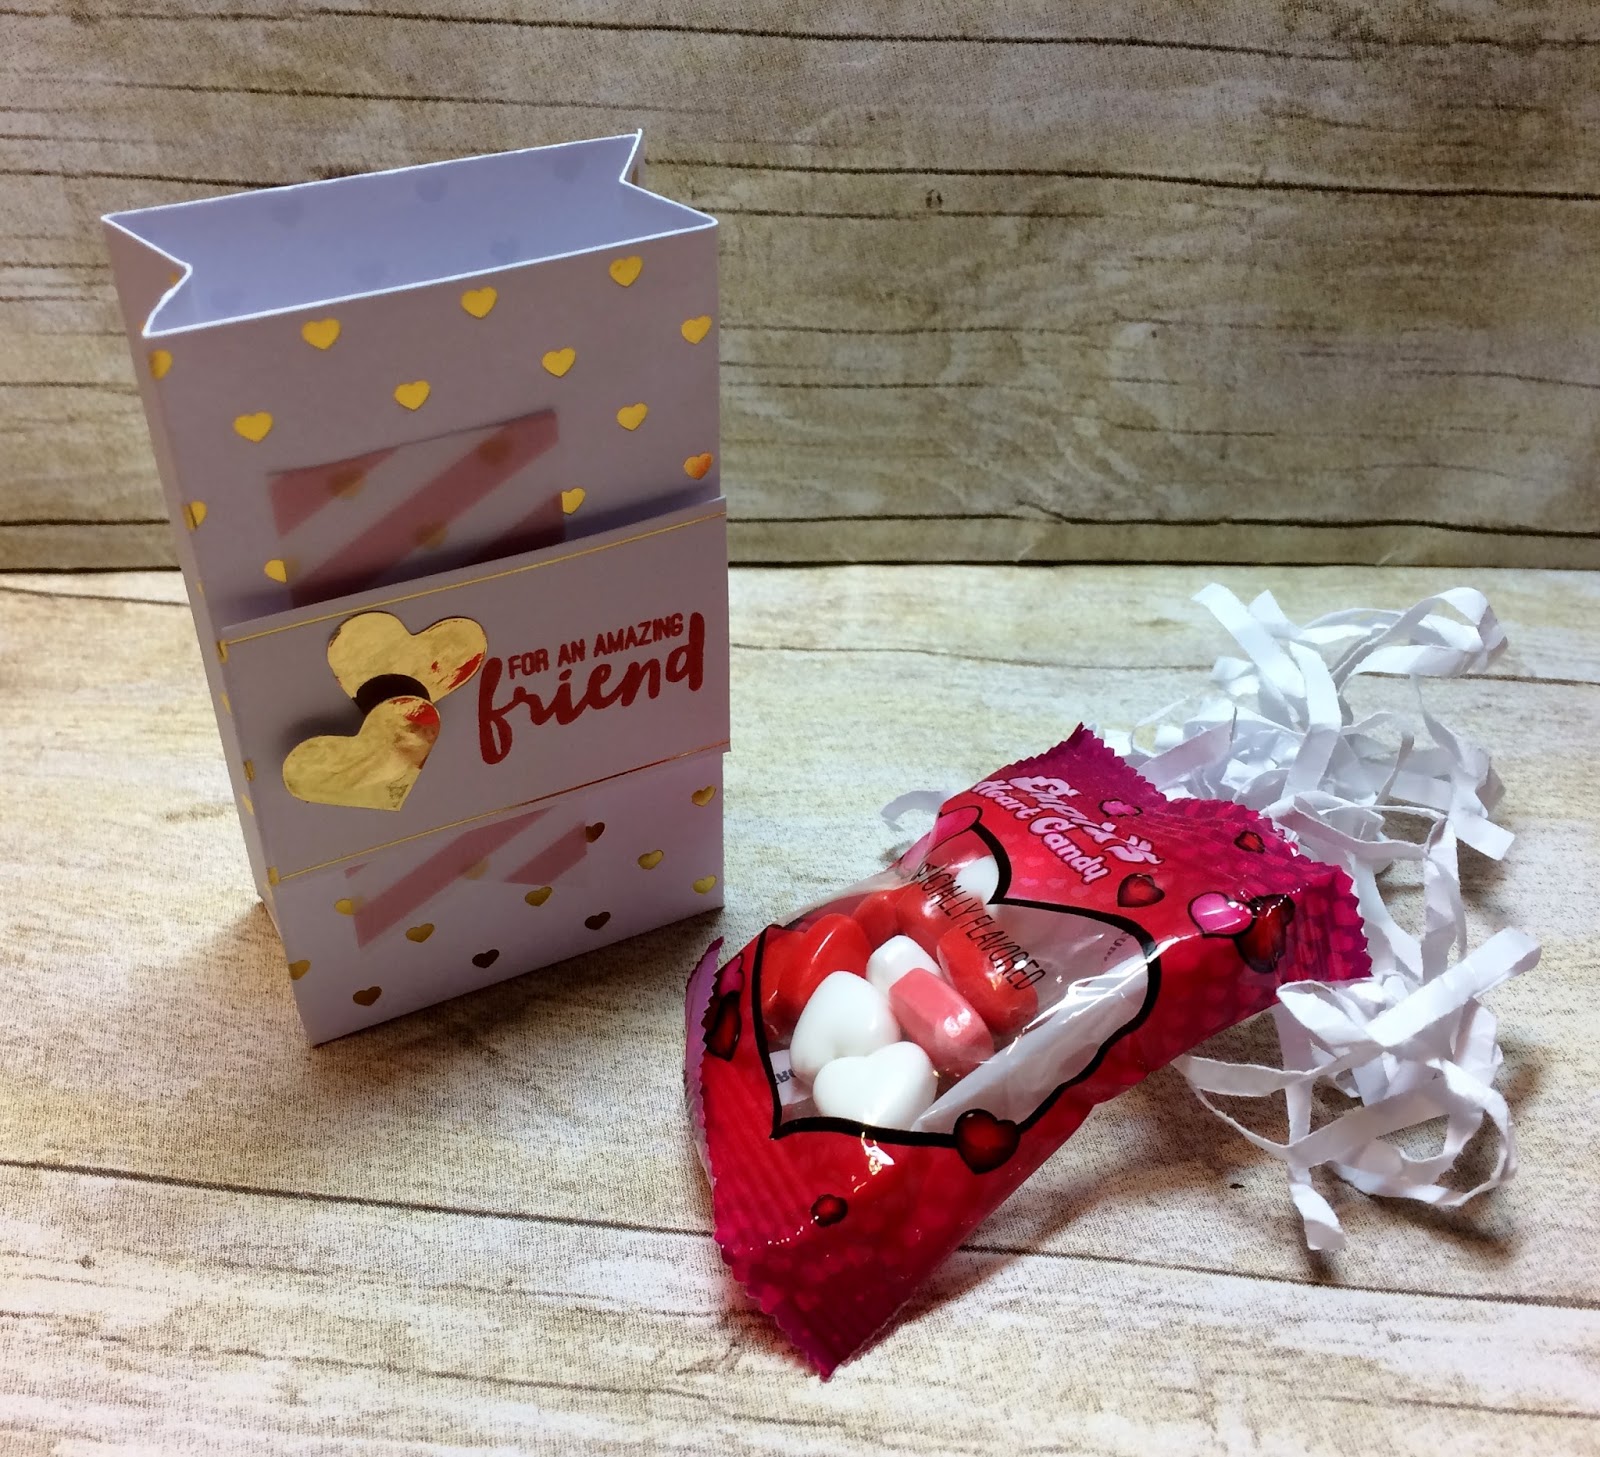
My blog post for today is Paper Pumpkin Saturday ........... And do I have a SERIOUSLY FUN PROJECT to share with you!  This is a little something that I had my downline team create at our February Downline meeting.  It used the January Paper Pumpkin kit and just couldn't be any easier to make.  I'm thrilled with the way it turned out ....... And want to share that creation with you now.......
Stampin' UP! shared this delightful project with their demonstrators in February.
It used the stamp set and product offered in the January kit.....
And basically all you needed to do to create this box was cut off the top flap from the original project.
By cutting off the top flap ...... you had plenty of room to tuck a fun candy treat or surprise gift inside the box.
And all that was left to do was top the gift box off with some white shredded paper and this project was good to give away!
 
Thanks for joining me today!  I'll be back tomorrow to share a Spot Light Sunday card with you ...... Hope you can make plans to stop back and join me for that share.  Keep Living Your Dream!

Friday, March 10, 2017

FRIENDS DAY - Gift From Judy

Happy Friday My Blogger Friends!
The COUNT DOWN for my daughter's
arrival for my Saddle-UP! event is......
12 days and counting!!!!
My blog post for today is Friends Friday.  On Friday's, I have the honor of spot-lighting some of the fabulous cards that I received from Friends ....... Fellow Demonstrators ........ and Family.  Each of these card creations are works of art........and it is with great pleasure that I share a special little gift I received from my demonstrator friend Judy in New York.  Let me share that gift with you now..........
I must admit ....... When I first saw this amazing gift from Judy ...... I SQUEALED with happy.  She packaged this gift in a lovely clear plastic box and added some yummy ribbon around the entire box .........
And she had these four SUPER PRETTY cards tucked inside the box.
And if the box of four cards weren't enough .........
She created this BEAUTIFUL card with a lovely hand written message expressing her appreciation for the "extreme kindness and help" I have provided her. 
How sweet was that!  THANK YOU Judy for your precious gift. 
 
Thanks for joining me today!  I'll be back tomorrow to share a special Paper Pumpkin Saturday creation with you ........ Hope you can make plans to stop back and join me for that share.  Keep Living Your Dream!

Thursday, March 09, 2017

Tag Thursday - Thanks Friend

Happy Thursday My Blogger Friends!
The COUNT DOWN for my daughter's
arrival for my Saddle-UP! event is......
13 days and counting!!!!
My blog post for today is Tag Thursday.  Today, I will feature a tag I created and show you how easy it is to use minimal supplies to create a SUPER PRETTY THANKS TAG.  Now that you have the details for this weeks Tag Thursday ....... Let's jump right in with my tag share for today.
Talk about creating a tag that sets the BLING BAR HIGH!
This tag uses the new Sale-a-Bration Glimmer Paper Assortment Pack.  I selected the Bermuda Bay paper for today's tag.
I also used the new Sale-a-Bration 'Make A Medallion' stamp set to create my GORGEOUS OVER THE TOP sentiment piece.
And I used White Embossing Powder to add more SHINE to my sentiment banner.
To top my tag off ....... I used some 'White Organza Ribbon' and added 'Bermuda Bay Baker's Twine' and a string of 'Bermuda Bay Sequin Trim' ......... And was able to call this tag DONE!
I will have to say that this tag would look AMAZING in any of the three YUMMY colors available in the Sale-a-Bration Glimmer Paper Pack.  The other colors are Mint Macaron and Sweet Sugarplum.....OH SO YUMMY!!!!!

Thanks for joining me today!  I'll be back tomorrow to share some Friends Friday creations with you ........ Hope you can make plans to stop back and join me for that share.  Keep Living Your Dream!

Wednesday, March 08, 2017

Wine Down Wednesday-SAB Medallion

Happy Wednesday My Blogger Friends!
The COUNT DOWN for my daughter's
arrival for my Saddle-UP! event is......
14 days and counting!!!!
My blog post for today is Wine-Down Wednesday.  My middle of the week card feature for today will hopefully offer you some inspiration and provide you with some motivation to keep you moving through your busy week.  Let's jump right in with my card share for today........
Made this card during a recent Facebook Live event that my upline Lisa Pretto put on. 
To start my card off.......I used the 'Fabulous Foil Designer Acetate' sheet down the right half of my card.
The acetate was secured onto my card with some snail that is hidden under the large foil scallop circle.
This GORGEOUS foil medallion was created with the new Sale-a-Bration 'Make a Medallion' set.  I stamped it on a Whisper White Stitched Circle and then used Silver Embossing Powder to really create some WOW FACTOR for my medallion.
The OH SO PRETTY fibers are the Sale-a-Bration 3/8" Metallic Ribbon Pack and some Silver Sequin Trim.  Just LOVE how this fiber embellishment turned out.
And to finish my medallion off ...... I added a Silver Embossed 'Thanks' sentiment flag across the center of my Silver Embossed Medallion. 
A FANTASTIC card that is going out to someone very special in my world.
 
Thanks for joining me today!  I'll be back tomorrow to share a Tag Thursday creation with you ........ Hope you can make plans to stop back and join me for that share.  Keep Living Your Dream!