Saturday, May 07, 2016

Paper Pumpkin Saturday

Happy Saturday My Blogger Friends!
My blog post for today is Paper Pumpkin Saturday ........... And I'm sharing the final card I created with my February Paper Pumpkin kit.  I  had so much fun creating card projects with this kit and want to share that last card with you now.
This snappy happy card turned out EXACTLY the way I had pictured it in my head. 
I turned one of the card panels into a DSP panel and ran it down the front of my card.
I then punched out several hexagon shapes and attached them to the front of my card.
I added a couple bitty flower punched pieces to the  hexagon shapes and finished the final hexagon punch piece off with a stamped sentiment and a trio of Blackberry Bliss dots.
 
Thanks for joining me today!  I'll be back tomorrow to share a Spot-Light Sunday card with you ....... Hope you can make plans to stop back and join me for that share.  Keep Living Your Dream!

Friday, May 06, 2016

Friends Friday

Happy Friday My Blogger Friends!
My blog post for today is Friends Friday.  On Friday's, I have the honor to spot-light some of the fabulous cards that I received from Friends ....... Fellow Demonstrators ........ and Family.  today I'm going to share the darling little 3x3 note card holder set that my good friend and fellow demonstrator Lynn made for me.  Let me share this project with you now.
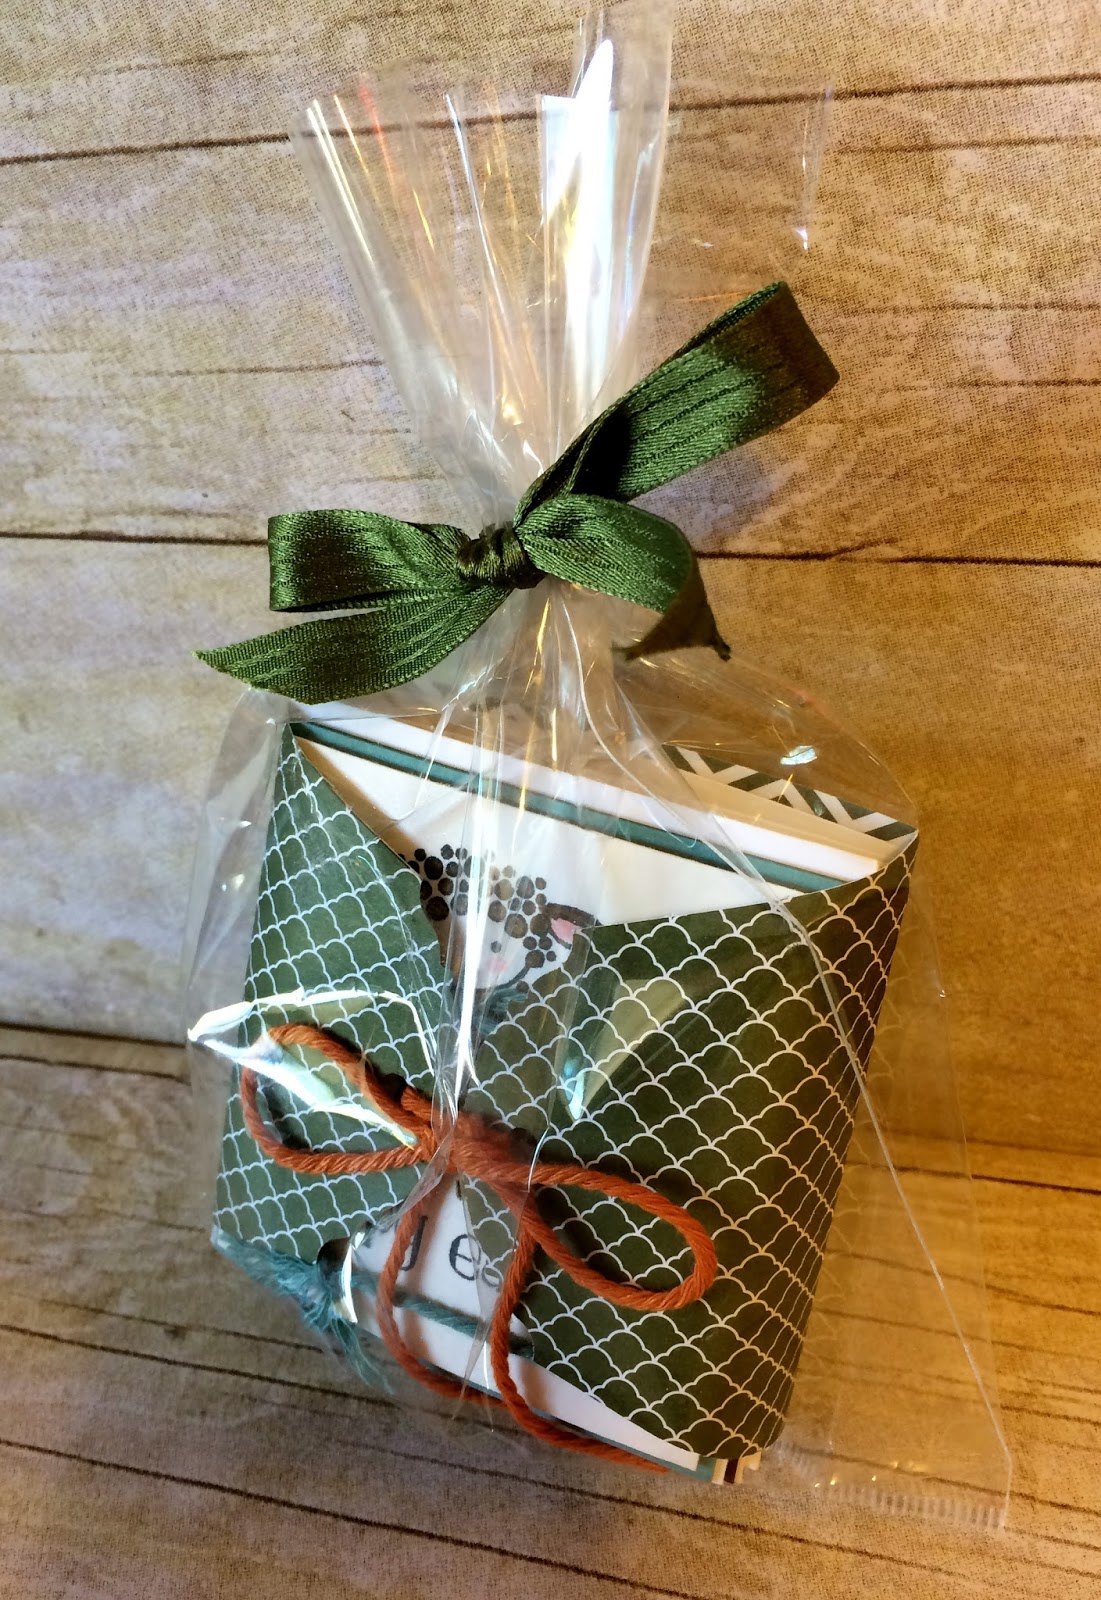
This little 3x3 note card packaging is all wrapped up with five adorable little lamb cards tucked inside.
Here's the holder that Lynn created........
And as you can see it's simply a piece of Designer Series Paper that the ends have been punched by the Scallop Tag Topper Punch.  All she had to do was use some Thick Baker's Twine and tied it all up in a pretty little bow.
But the real surprise are the darling little cards that Lynn made for me.
She used all the 2014-2016 In Colors.......
And the sweet little 'Easter Lamb' stamp set from the Occasions Catalog.
Lynn even took the time to color in the stamped lamb images and even decorated the front of the little 3x3 envelope.  If you are interested in hopping over to Lynn's blog ....... you can find her at: http://lynnslocker.blogspot.com/
 
THANK YOU LYNN for making me this 'OH SO FUN' little note card holder.  I LOVE IT!!!! 

Thanks for joining me today!  I'll be back tomorrow to share a new Paper Pumpkin project with you ........ Hope you can make plans to stop back and join me for that share.  Keep Living Your Dream!

Thursday, May 05, 2016

Tag Thursday

Happy Thursday My Blogger Friends!
My blog post for today is Tag Thursday.  Today, I will feature a tag I created and show you how easy it is to use minimal supplies to create a SUPER FUN BIRTHDAY TAG.  Now that you have the details for this weeks Tag Thursday ....... Let's jump right in with my tag share for today.
How great would this birthday tag look on the top of any present!!!!
I stamped the happy birthday sentiment with 'Endless Birthday Wishes'.  I used Archival Black Ink to stamp my sentiment.
Next I stamped and punched my birthday balloons with the help of the 'Party Wishes' stamp set and the 'Party Punch Pack'.  I stamped my balloons with Real Red, Daffodil Delight and Old Olive ink.
And to add just a touch of fun to my tag ....... I punched out some stars with the 'Confetti Stars Border Punch' and sprinkled the stars around my tag.  To top off my tag ...... I added some 3/8" Pacific Point Stitched Satin Ribbon and I even added some Basic Black Baker's Twine and tied it all up in a pretty bow before calling this one done!
So there you have it friends ........ A quick and easy tag to make for that someone special who is celebrating a birthday.

Thanks for joining me today!  I'll be back tomorrow to share a Friends Friday post with you ........ Hope you can make plans to stop back and join me for that share.  Keep Living Your Dream!

Wednesday, May 04, 2016

Wine Down Wednesday

Happy Wednesday My Blogger Friends!
My blog post for today is Wine-Down Wednesday.  My middle of the week card feature for today will give you inspiration and provide you with some motivation to keep you moving through your busy week.  Let's jump right in with my card share for today........
How's this for a fast and easy (and pretty) card!
I started out by using the 'Apple of My Eye' stamp set and stamped my thank you sentiment into the bottom right hand corner of my Whisper White panel.
I then grabbed three ink colors (Pear Pizzazz, Daffodil Delight and Calypso Coral) and began stamping my 'Botanical Blooms' images onto my Whisper White panel.
 
To add a touch of contrast to my stamped images by using Mossy Meadow ink and cardstock into the centers of each of my stamped images.
And there you have it friends.  A beautiful thank you card that comes together in NO TIME FLAT!
 
Thanks for joining me today!  I'll be back tomorrow to share a Tag Thursday creation with you ........ Hope you can make plans to stop back and join me for that share.  Keep Living Your Dream!

Tuesday, May 03, 2016

3-D Tuesday-Criss Cross Box of Cards

Happy Tuesday My Blogger Friends!
My blog post for today is 3-D Tuesday.  That means today I have a fun little 3-D project to share with you.  This project is QUICK and EASY to create and the greatest part of this project is it makes for the perfect little gift to give to that someone special in your life.  Let me share this cute little 3-D project with you now.........
Here's a fun little Criss Cross Box I made and filled it with 4-coordinating cards.
The box was made with a single sheet of Crumb Cake cardstock and you can get the template here:
I also made four coordinating Criss Cross cards to go inside the box.
I created two Crumb Cake cards.......
And as you can see the little Whisper White insert card just pulls out of the top of the card and makes the perfect spot to write your message.
And I also made two Early Espresso versions of this card.
 
Each card had a pretty stacking flower created for the front and I topped each flower off with a coordinating button that was topped off with a pretty Linen Thread bow.
Just love the way this box turned out........And the best part......The instructions for this box just couldn't be any easier.

Thanks for joining me today!  I'll be back tomorrow to share a Wine Down Wednesday card with you ........ Hope you can make plans to stop back and join me for that share.  Keep Living Your Dream!

Monday, May 02, 2016

Mix-It-UP! Monday

Happy Monday My Blogger Friends!
Today is Mix It UP! Monday and I have an upgraded version of the card I shared with you yesterday.  I used the exact same product that was used to create yesterday's card ....... but added a couple additional products (found in the 2015-2016 Stampin' UP! Annual Catalog) to bring this card up to the next stamping level.
Here's my Spot Light Sunday card on the left.....
And my Mix-It-UP! Monday card on the right....
My Mix-It-UP! Monday card has a couple extra layers added to it.
I also added a couple extra balloons to the mix.
The balloons were framed onto a Whisper White panel that was run through my Big Shot using the 'Lucky Stars' Textured Impressions Embossing Folder.
All five balloons had the same Burlap Ribbon that I used on my original card ....... But the five strands of Burlap Ribbon really makes this cluster of balloons a party on a card.
So there you have it my friends ........ A perfectly dreamy card when done with three balloons ...... But what do you think of the upgraded version?

Thanks for joining me today!  I'll be back tomorrow to share a 3-D Tuesday project with you ........ Hope you can make plans to stop back and join me for that share.  Keep Living Your Dream!

Sunday, May 01, 2016

Spot Light Sunday

Happy Sunday My Blogger Friends!
Today is Spotlight Sunday ....... And I have a card I created using product from the 2016 Stampin' UP! Occasions Catalog.  This card uses several products from that catalog ...... So let me jump right in with my card share for today.........
This quick and easy birthday card came together in a SUPER JIFFY!
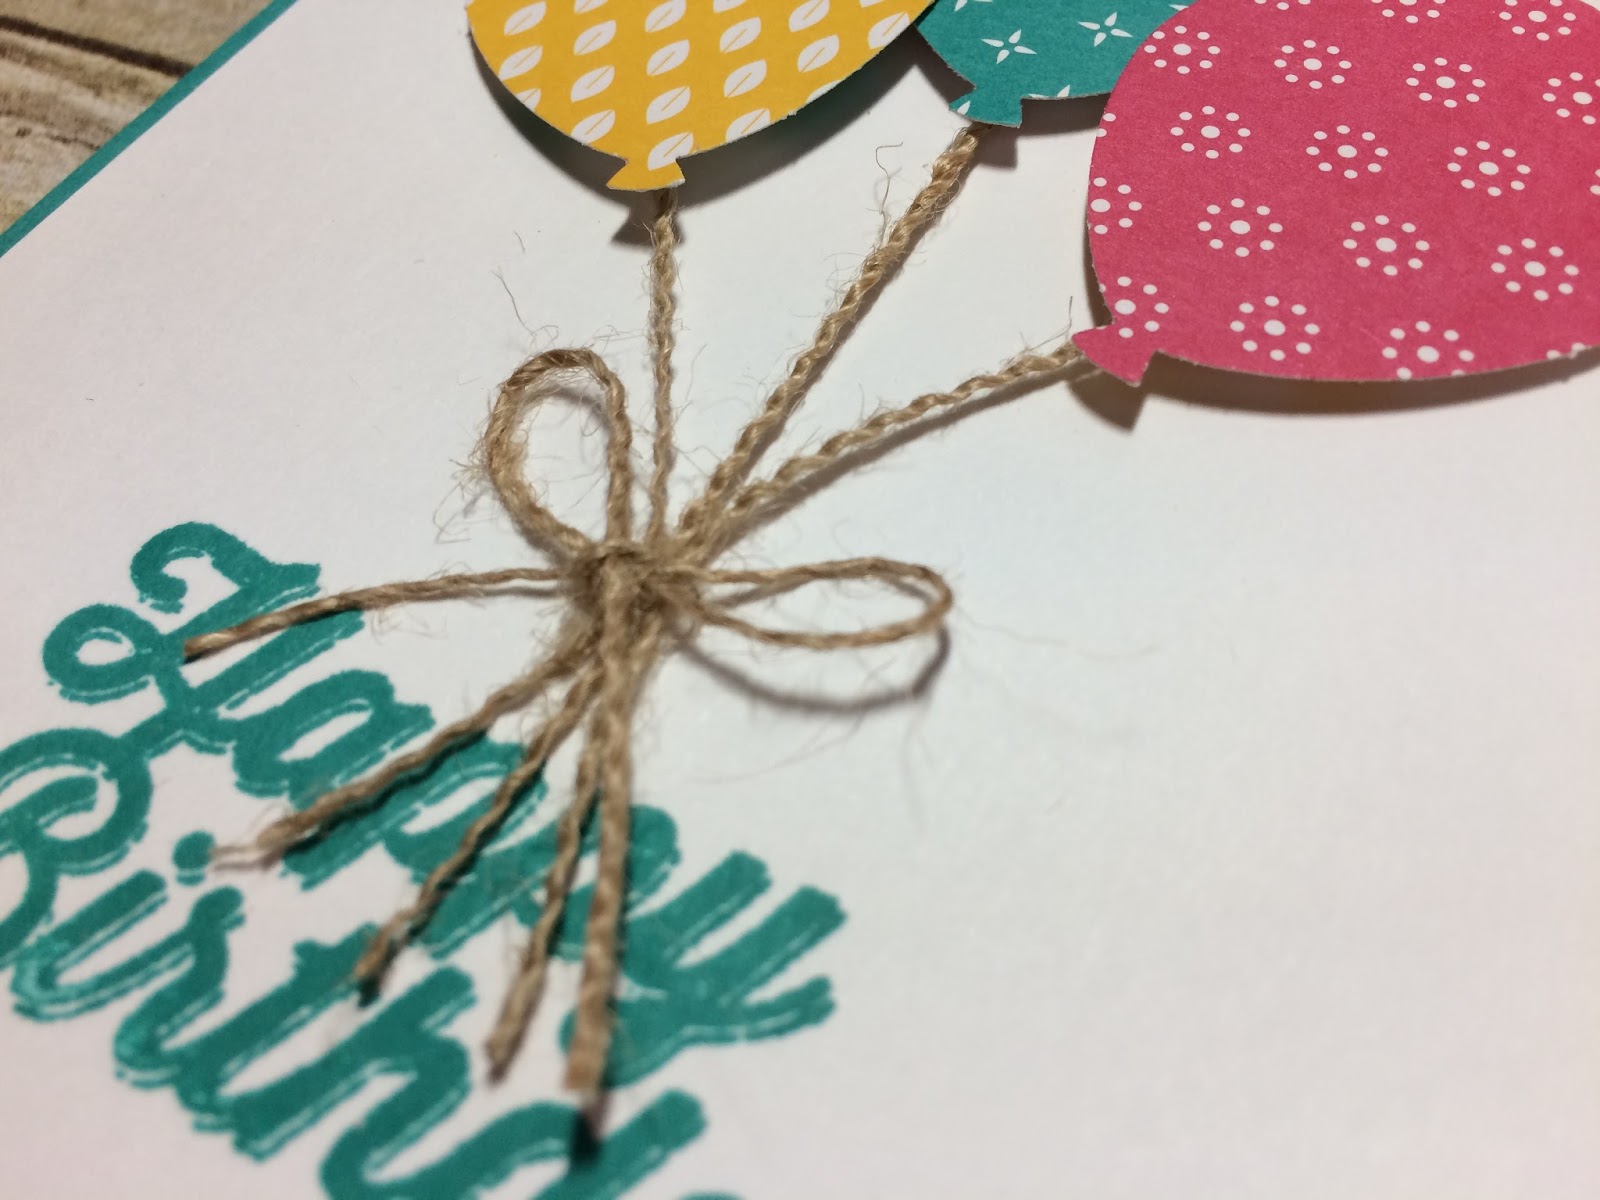
I began by stamping my 'happy birthday' sentiment with the now retired SAB 'Perfect Pairings' set.  I used Bermuda Bay ink to stamp my sentiment.
My three balloons were punched out using the Balloon Bouquet Punch and the 'Have a Cuppa' Designer Series Paper Stack.
I attached a strand of the 1-1/4" Burlap Ribbon to each of the balloons and joined all three strands together and tied it all up in a pretty bow.
A fun card to make ....... and even more fun when you have lots of scraps left over and you just can't bring yourself to throwing them out.
 
Thanks for joining me today!  I'll be back tomorrow to share with you a Mix-It-UP! Monday version of this very same card ......... Hope you can make plans to stop back and join me for that share.  Keep Living Your Dream!