Friday, December 06, 2013

Jack's Count-down To Christmas Gift

Happy Friday My Blogger Friends!
Today I have a special little post for you.  It's one that I have been doing for Jack over the last couple of years.  It's his count-down to Christmas gift.  This year I didn't make a calendar.....but instead, I made a count-down to Christmas Jar.  Let me share that project with you right now......


 Here is the jar of countdown to Christmas treats that I made for Jack.
I decorated the entire outside of the jar with some Season of Style Designer Washi Tape.....
And I made a simple decorative label for the top of my jar!
Once the lid to the jar is removed........Here's what is tucked inside.
I made 25-gift holders for the inside.
Each of the sour cream style gift holders have a date on them......
 And I added a special little gift to the inside of each holder.
 Here's what the first 6 holders looks like......
 And a sampling of the gifts that I added inside the holders.
 This just happens to be one of Jack's FAVORITES!
I also created a storage box for Jack to store his opened gift holders.  I simply decorated one of the large SU boxes and it the perfect size to hold all 25 of Jack's gift holders.
 After Jack has opened his gift up for that particular day.....He can tuck them inside this box and it makes for a cute holiday decoration next to his chair in the living room.
So there you have it friends......Jack's Countdown to Christmas gift for 2013.
 
Thanks for joining me today!  I'll be back tomorrow to share with you a fun little Christmas Eve project that I made for my grandkids............Hope you can make plans to stop back and join me for that share.  Keep Living Your Dream!

Thursday, December 05, 2013

Gingerbread House Invite

Happy Thursday My Blogger Friends!
Today I have a special little post to share with you.  It's the invitation I sent to my Grandkids for this years Annual Gingerbread House Decorating Party.  Here's what went out to them......
 
Every year (for the past 12 years.....) I host a gingerbread house decorating party for my grandkids.  Even though I am not able to fly back to Wisconsin this December......I didn't let that stop the tradition.  My daughters are going to carry on the tradition and the PARTY IS SET for December 14th at the "White House".
Each of the kids received an invitation in the mail and included in their invitation is a coloring page copy of the gingerbread house invite.  That coloring page is what they will sit down and color before the party and they will bring their colored page with them and use that as their "ticket" for admission to the party.  This is the inside of their invitation.
 Here's my coloring page for our 12th Annual Gingerbread House Decorating Party!
 I colored my invitation with colorful gumdrops and glossed up candy canes......
And got pretty creative with my two tones of gingerbread color on my house.
I even gave my gingerbread house a fun frosting edge on the roof. 
Each of the kids will bring with them on the day of the party their colored gingerbread house coloring page..........And that acts as their admission to the party.  Waiting for them at the party will be a place setting with a naked gingerbread house and ALL the candy fixings to create their own "take home" gingerbread house.  It tradition and honestly........the kids look forward to this once a year event.
 
I have saved all the coloring pages they have colored and will be creating each of them a Holiday Gingerbread House Decorating Party Album.  It's a total scream to look back at their early years of coloring.....and even more amazing to see what great artist they have become over the years.
 
Thanks for joining me today!  I'll be back tomorrow to share with you the Countdown to Christmas Gift I made for Jack.......Hope you can make plans to stop back and join me for that share.  Keep Living Your Dream!

Wednesday, December 04, 2013

Birthday Card for Trinity

Happy Wednesday My Blogger Friends!
Today I have a special little birthday card to share with you.  It's a card that I made for my Grand-Dog Trinity.  She turned 13 years old last week and I wanted to make her a special little birthday card.  Here is what I made for her.......
I created this GIANT fire hydrant for my Trinity Girl. 
I die-cut out the grass with a grass die that I had in my stash...... 
 And the puppy.......is the same color as my Trinity Girl.
I added a chocolate chip ribbon across the top of the hydrant..... 
And used the Word Window and Key Punch for my accent pieces.
Just know that my daughter is going to SMILE BIG when she sees a card in their mailbox addressed to Trinity White.  Happy Birthday Trinity Girl.
 
Thanks for joining me today!  I'll be back tomorrow to share the Gingerbread invite I made for our 12th Annual Gingerbread House Party on December 14th.  Hope you can make plans to stop back tomorrow and join me for that share.   

Tuesday, December 03, 2013

Holiday Trio Tree

Happy Tuesday My Blogger Friends!
Today I have a fun little paper crafting project hat I made for the holidays.  It's a trio of holiday trees......That is made from curled paper and Styrofoam Trees.  Let's jump right in with this share......


I created these Holiday Trees with a small, medium and large Styrofoam Trees that I bought at Michael's ...... And covered each of them with some retired DSP. 
 Here's a close-up of what all three trees look like!
And a close-up of what the largest tree looks like!
All I needed to do for each of these trees was to curl 1/2" stripes of DSP and then used a straight pin to secure the DSP into the tree.
I topped all three of my trees with a snowflake die that was made from a piece of Window Sheet and then embossed with white embossing powder and decorated with a punched out blue snowflake. 
It turned out to be one of those SPECIAL SURPRISE projects that looks PERFECT in our home this holiday season.
 
Thanks for joining me today!  I'll be back tomorrow to share a special little birthday card I made ........ Hope you can make plans to stop back and join me for that share.  Keep Living Your Dream!

Monday, December 02, 2013

Christmas Decorations

Happy Monday My Blogger Friends!
Today I have a few of my Christmas decorations to share with you.  Let's jump right in.....

Here's our fireplace...... 
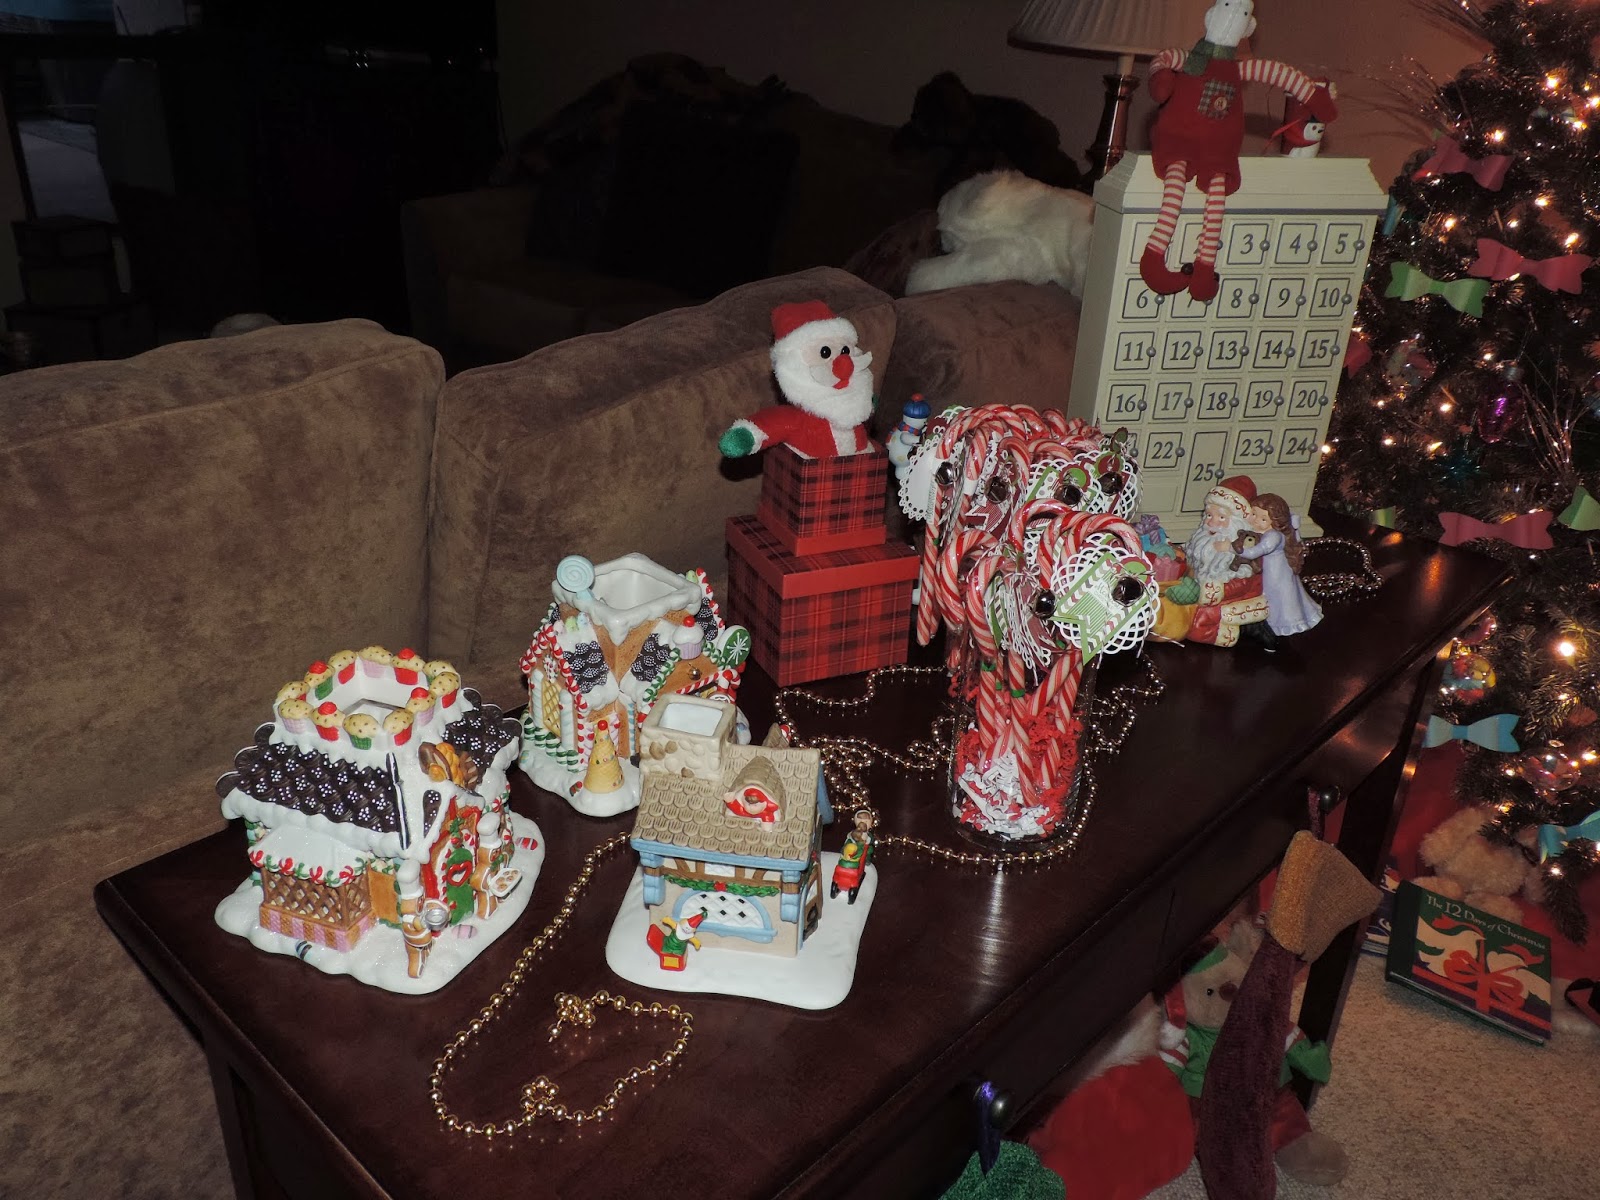
 And the table behind our sofa (when you first walk into our house).  This is where I keep our Advent Calendar.....Some Candy Cane Treats and a gingerbread village.
And under the table.....where there's some holiday critters, holiday books and two of the grandkids stocking hanging.
This is my favorite Reindeer......
His legs have extenders in them......
Which means he can be any height I want! 
 Our wooden Christmas Train filled with my holiday ornaments......
 And here's where all 13 of the grandkids stockings are hung.
 They also have holiday critters above their stockings!
And each of those holiday critters represent a different holiday memory that Jack and I have had over the years!
 You just gotta' LOVE the holidays.
 
Thanks for joining me today!  I'll be back tomorrow to share the trio of trees that I made for my home this holiday season.  Hope you can make plans to stop back and join me for that share.  Keep Living Your Dream!

Sunday, December 01, 2013

Holiday Decorations

Happy Sunday My Blogger Friends!
Today I'm going to share with you the holiday decorations that I've been busy putting up around our house.  Let's jump right in with my Christmas Tree......
Living in Arizona........We opted to forego the real tree and went out and bought a BEAUTIFUL artificial tree.  It comes together in a SNAP!  All we need to do is connect three sections and all that is left to do is decorate it. 
 Our decorations change EVERY YEAR.........
That means I come up with a theme....and then I go crazy hand-making the ornaments to fill our tree!  This year......I was going to decorate our tree with "BOW's".  I used the new Stampin' UP!  bow die to create Pink, Lime Green and Turquoise bows.
Here's the Pink Bow.....
The Lime Green Bow.....
And the Turquoise Bow.....
 I also took some glass ornaments and filled them with designer series paper in those same colors.  All I did was curl the 1/2" stripes of DSP and then stuffed them into the ornaments.
The only ornaments I bought were these fun Christmas Bulb ornaments in all three colors......
And this ornament too in all three colors!
Here's one last look at the ornaments hanging on our tree this year. 
And the final touch is ALWAYS the little wooden train that sits under our tree.  I added several of the glass ornaments that were filled with the curled DSP stripes to the last two cars of my train. 
 
Thanks for joining me today!  I'll be back tomorrow to share with you more of my Christmas decorations with you......Hope you can make plans to stop back and join me for that share.  Keep Living Your Dream!