Saturday, June 21, 2014

Flower Patch Card

Happy Saturday My Blogger Friends!
Today's card is using one of my favorite stamp sets from the new catalog.  The Flower Patch stamp set.  Let's jump right in with this SERIOUSLY FUN CARD....... 
The inspiration for my card was from a card I saw on Stampin' Connection that was done by Nicole Eckenhaussen.  I changed up the colors and dsp....and created this AWESOME card.
I started out by stamping my flowers from this set and using some white embossing powder to add a little WOW FACTOR to my flowers.
Here's a close-up of the two flowers that I created.
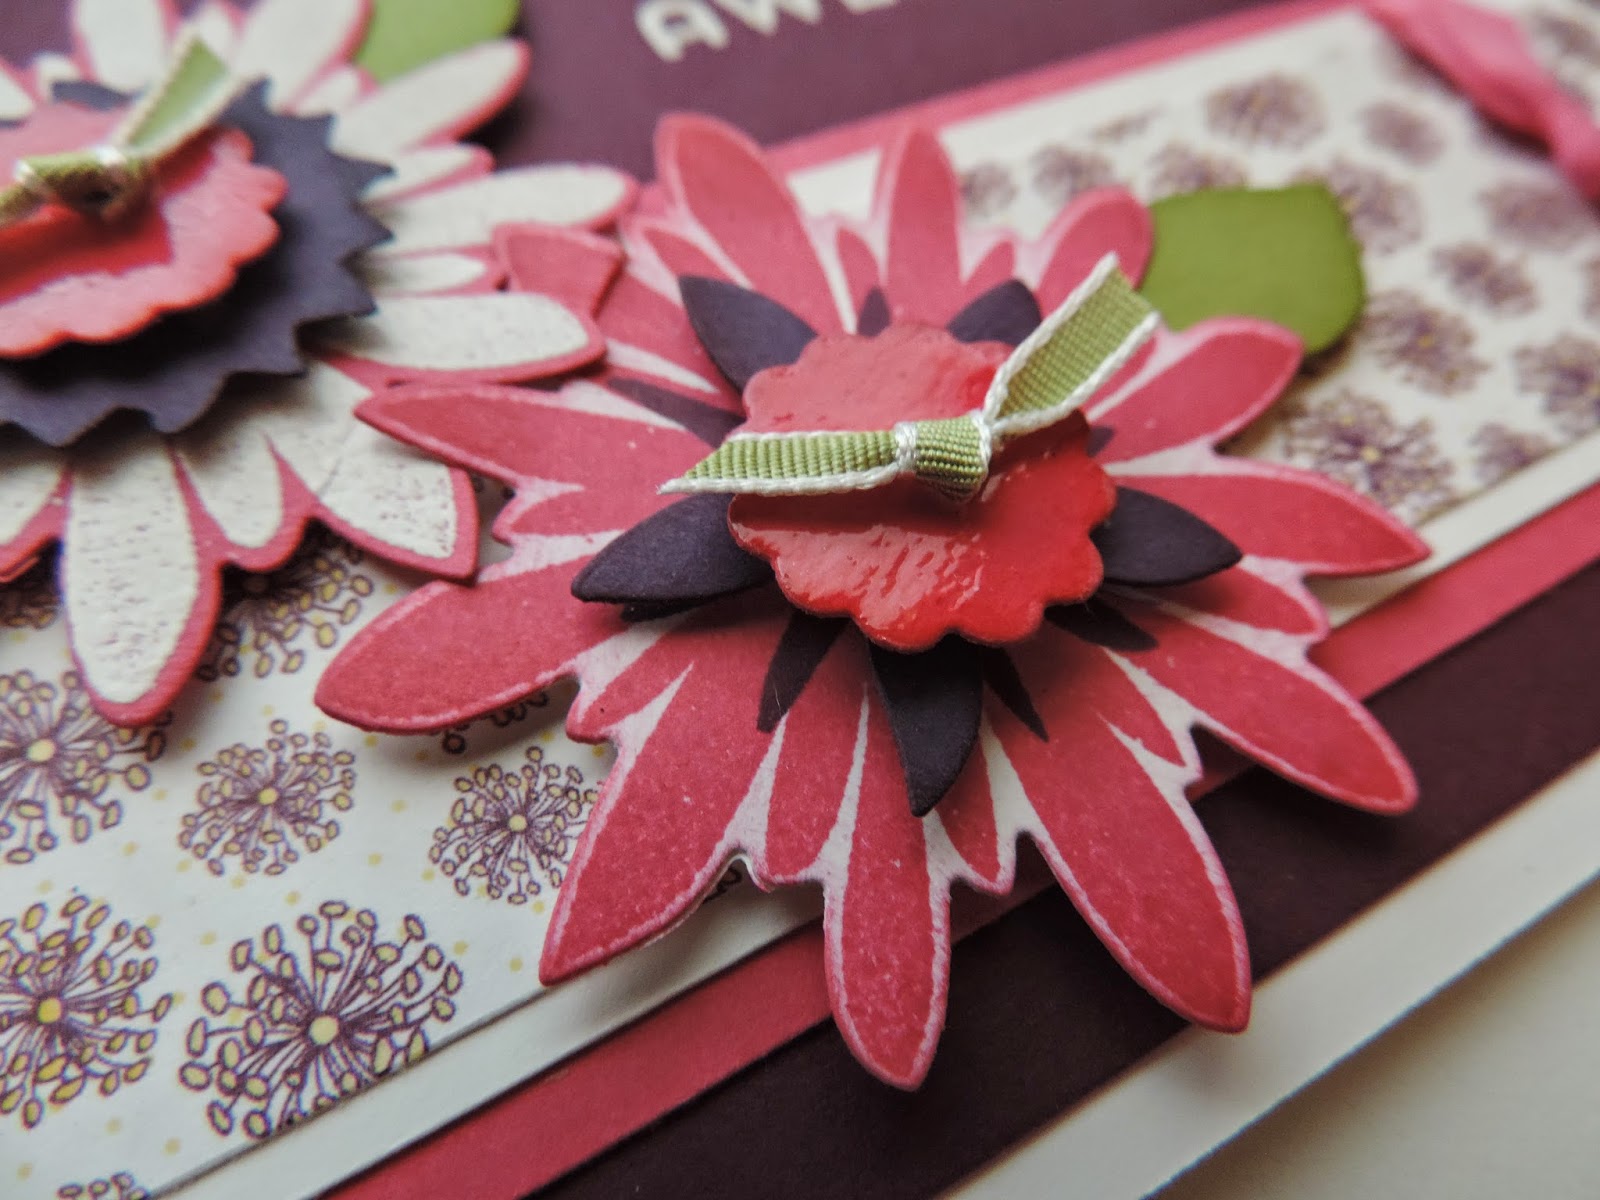
And I used several layers for the center of each flower.....and finishing it off with a tiny piece of 1/8" Taffeta Ribbon for the center.
I also used some Crystal Effects on the center 7/8" Scallop Circle punch......and that just gave my flowers a nice balance of SHINE and WOW!
 My sentiment was stamped with VersaMark and then White Embossing Powder was use to really help the sentiment POP!
 My DSP was from the Park Avenue DSP pack and I added some 1/4" Cotton Ribbon in Melon Mambo around one end f my DSP panel.
 LOVE how this card came together.......and will be making more of this card layout.
 
Thanks for joining me today!  I'll be back tomorrow to share with you a pretty card that I made with the new Tag Talk set ................. Hope you can make plans to stop back and join me for that share.  Keep Living Your Dream!

Friday, June 20, 2014

WOW Card

Happy Friday My Blogger Friends!
My card today is using the new "Draw the Line......Bravo....and Borderettes" stamp sets.  Let's jump right in with today's share....... 
 I used the Sweet Taffy DSP for my background panel......
 And punched out five pennant flags from the Triangle punch.
The lines on my Whisper White panel was stamped in Memento ink and then the "WOW you did it!" was stamped in Rich Razzleberry!
I used my Stampin' Write Markers to color in the banner border.....and then after I had all the flags colored......I gave it a huff of hot air and that remoistened the ink so I could stamp it at the top of my Whisper White panel.
I think my favorite thing about our new photopolymer stamp sets is......we can bend the photopolymer image into whatever shape you want (in this case....I curved the banner stamp) and stamp it directly onto your project. 
This is one of those SERIOUSLY HAPPY cards that will just make someone feel SO GREAT when they open it.  Going to be sending this to someone extra special in Wisconsin!
 
Thanks for joining me today!  I'll be back tomorrow to share with you a pretty Flower Patch card that I made .............. Hope you can make plans to stop back and join me for that share.  Keep Living Your Dream!

Thursday, June 19, 2014

Congrats Card

Happy Thursday My Blogger Friends!
Today's card uses one of my favorite stamp sets from the new SU Catalog.  Check out this SUPER FUN card........ 
 The 'con grat you la tions' stamp is from the new Bravo set.
 I used the Chevron Border punch to create a fun little element in the upper right hand corner of my card.  I used my primary colors to add a wee bit of WOW factor to my card.
 The three primary color banners are from the new "Banner Banter" stamp set.
 And I used VersaMark ink and White Embossing Powder to capture my sentiment!
 The DSP is from the new 'Back to Black" pack.
 I'm thinking this will be one of my "go to" sets this next year.
 
Thanks for joining me today!  I'll be back tomorrow to share with you a fun WOW card ........ Hope you can make plans to stop back and join me for that share.  Keep Living Your Dream!

Wednesday, June 18, 2014

Thanks CASE

Happy Wednesday My Blogger Friends!
Today's card is a CASE that Justin Krieger had posted on Stampin' Connection......and the minute I saw it......I knew I was going to CASE it.  Here's my version of his card....... 
This card uses all kinds of new Stampin' UP! product. 
First up is the new Large Polka Dot embossing folder.......TRULY AMAZING! 
This card uses the "A Happy Hooray" stamp set...... 
 And was inked up in Pear Pizzazz ink.
 I added a Calypso Coral tag and used the Pear Pizzazz Ribbon on the end.
 The DSP is the new All Abloom DSP Stack.  Many Thanks to Justin for sharing this SUPER AWESOME card. It has to be one of my favorite CASE cards for this new catalog.
 
Thanks for joining me today!  I'll be back tomorrow to share with you a fun Congrats card ............ Hope you can make plans to stop back and join me for that share.  Keep Living Your Dream!

Tuesday, June 17, 2014

Guys Happy Birthday Card

Happy Tuesday My Blogger Friends!
Today I have another new card creation to share with you.  This one uses the adorable Baby's First Framelits dies.  Check this great "guy" card out.......
The new Baby's First Framelits die (the Onsie) works PERFECTLY to create a guys shirt.......When you cut it down.
I die-cut out a Tempting Turquoise shirt and added a Back to Black tie.
I used my White Signo Gel Pen to stitch around an extra large circle......and then used dimensional adhesives to mount both pieces onto a panel of Real Red.
 
I stamped my "happy birthday" sentiment from the new stamp set "Age Awareness".  I stamped it onto a Real Red panel and then used some Crystal Effects to color in the circles on each of the letters.
 One final touch.......A shiny rhinestone for the tie!
 The only other thing I added was three stars from the new In-Color Sequin Assortments.
  
Thanks for joining me today!  I'll be back tomorrow to share with you another new card creation ........... Hope you can make plans to stop back and join me for that share.  Keep Living Your Dream!

Monday, June 16, 2014

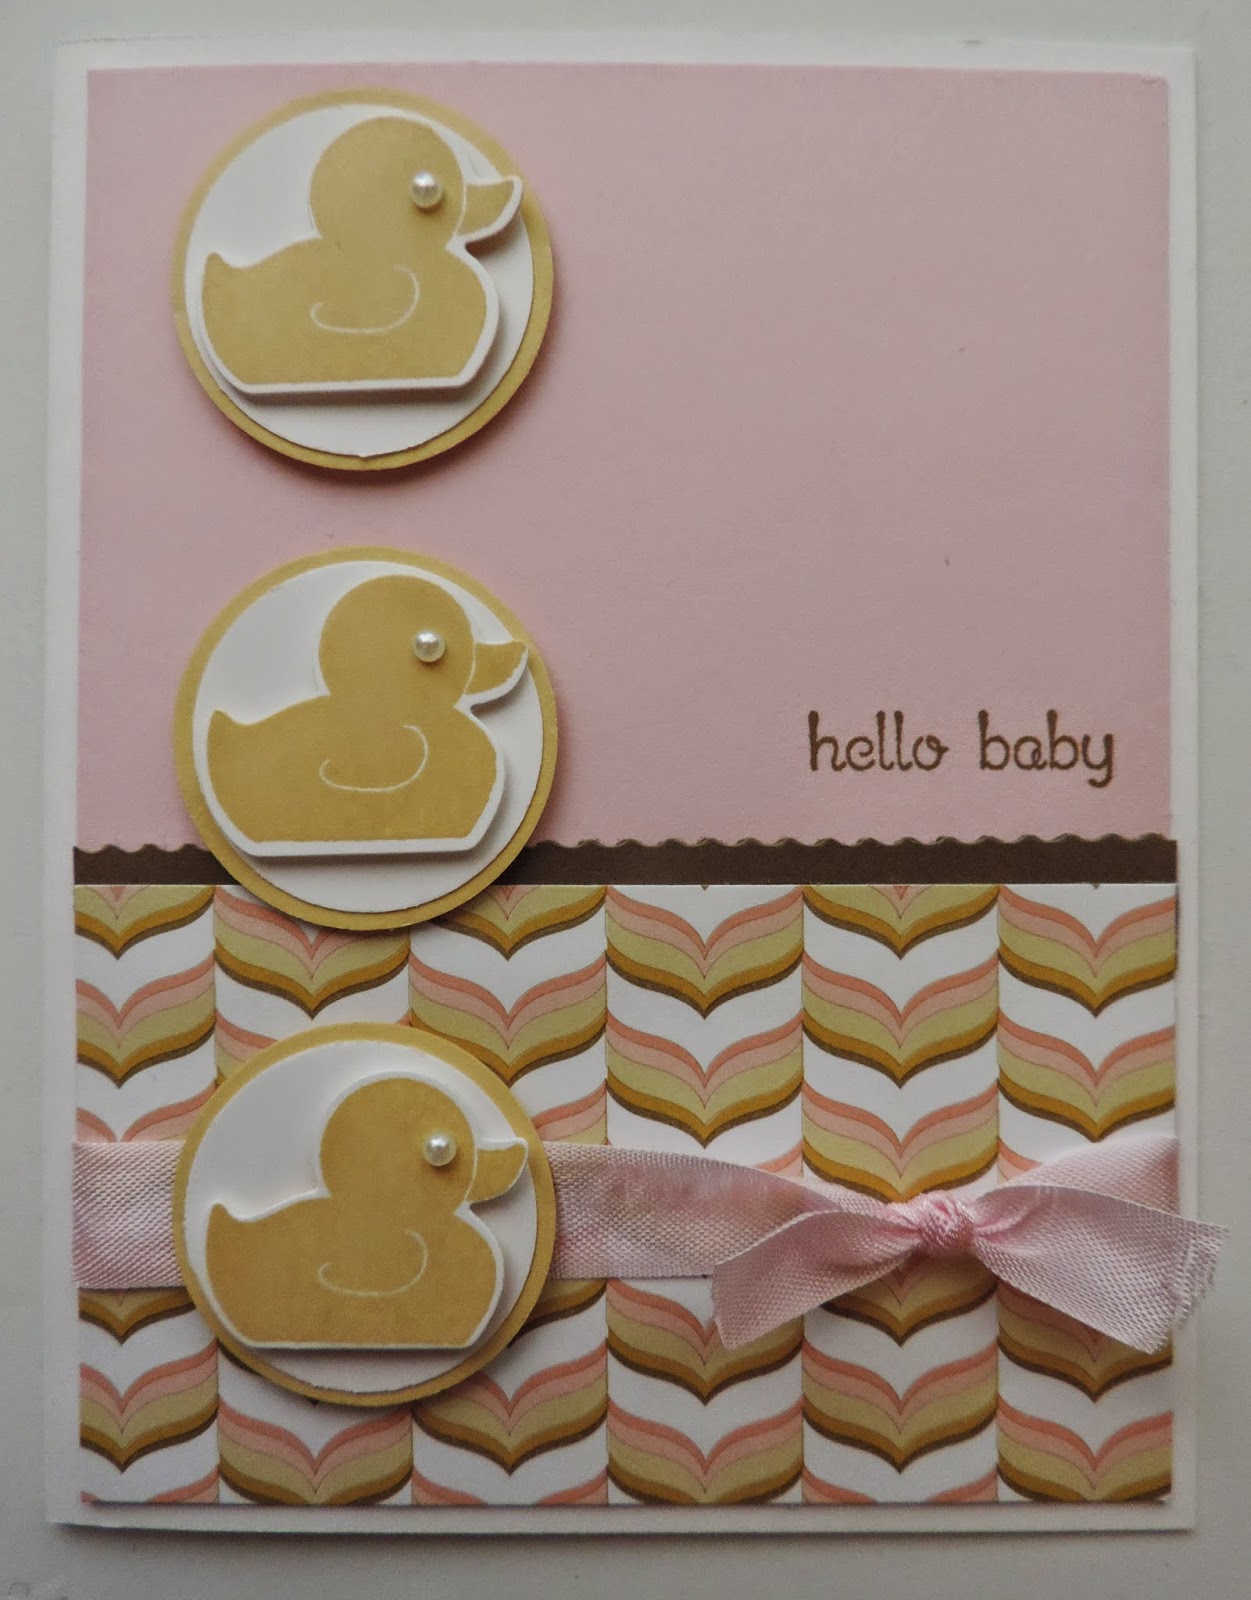
Hello Baby Card

Happy Monday My Blogger Friends!
Today I have a cute little baby girl card to share with you.  It's one of those cards that would look perfect in blues......yellow's and pale greens.  Check this little cutie out.......
This baby card uses the new stamp set "Something for Baby". 
I used the new Stampin' UP! Designer Series Paper......Lullaby for the bottom panel of my card. 
I stamped three ducks in So Saffron Ink and then used the Baby's First Framelits to die-cut out the three ducks.  I added a stampin' dimensional to the back of each duck and then mounted it to a 1-1/4" Whisper White Circle and a 1-3/8" So Saffron Circle.
I used Finishing Touches Edgelits for a ruffled edge at the top of my Lullaby DSP.  And also added a piece of 1/2" Pink Pirouette Seam Binding around the center of the Lullaby DSP and tied it off in a pretty knot at the right hand edge. 
 My "hello baby" was stamped from the "Teenie Tiny Wishes" set and made the perfect sentiment for this card. 
 
Thanks for joining me today!  I'll be back tomorrow to share with you a fun guy card ............. Hope you can make plans to stop back and join me for that share.  Keep Living Your Dream!

Sunday, June 15, 2014

Thanks for Being You!

Happy Sunday My Blogger Friends!
 Today I have a card to share with you that I made with the new "Oh My Goodies" stamp set.  Let's jump right in with my card share for today.........
This great thanks card was stamped in Real Red ink and embossed with clear embossing powder.  I then used the Deco Framelits die to cut it out.
The base card is Whisper White and my panel is Real Red.  I used the new ZigZag embossing folder on the Real Red panel to create LOTS of amazing texture.
Here's a close-up of the "Oh My Goodies" image stamped in Real Red and then embossed with some Crystal Clear Embossing Powder.  I also added two small Rhinestones to my embossed sentiment....for a tad-bit of FUN!
My sentiment was then mounted onto an extra large banner.....which I made with Tempting Turquoise and Pumpkin Pie cardstock.
My final touch to this extra large banner was to wrap some Cherry Cobbler Baker's Twine around the top portion of the banner and tie it all up with a pretty bow.
One final touch was adding three Rhinestones to the bottom right hand corner of my embossed Real Red panel......and to the top edge of my extra large banner piece.
 
Thanks for joining me today!  I'll be back tomorrow to share with you a cute little baby card ........ Hope you can make plans to stop back and join me for that share.  Keep Living Your Dream!