Happy Tuesday My Blogger Friends!
My blog post for today is 'CASE IT TUESDAY'.
That means today I have a fun little 3-D project that I found on the
internet ....... And I created a CASE of that project to share with
you today. This project was SUPER FUN to create and I want to jump right in and share that project with you now.

I used the 'Ice Cream Corner Designer Series Paper' for the entire front of my gift card holder.


I stamped the inside sentiment with the 'Sweet Ice Cream' set.....
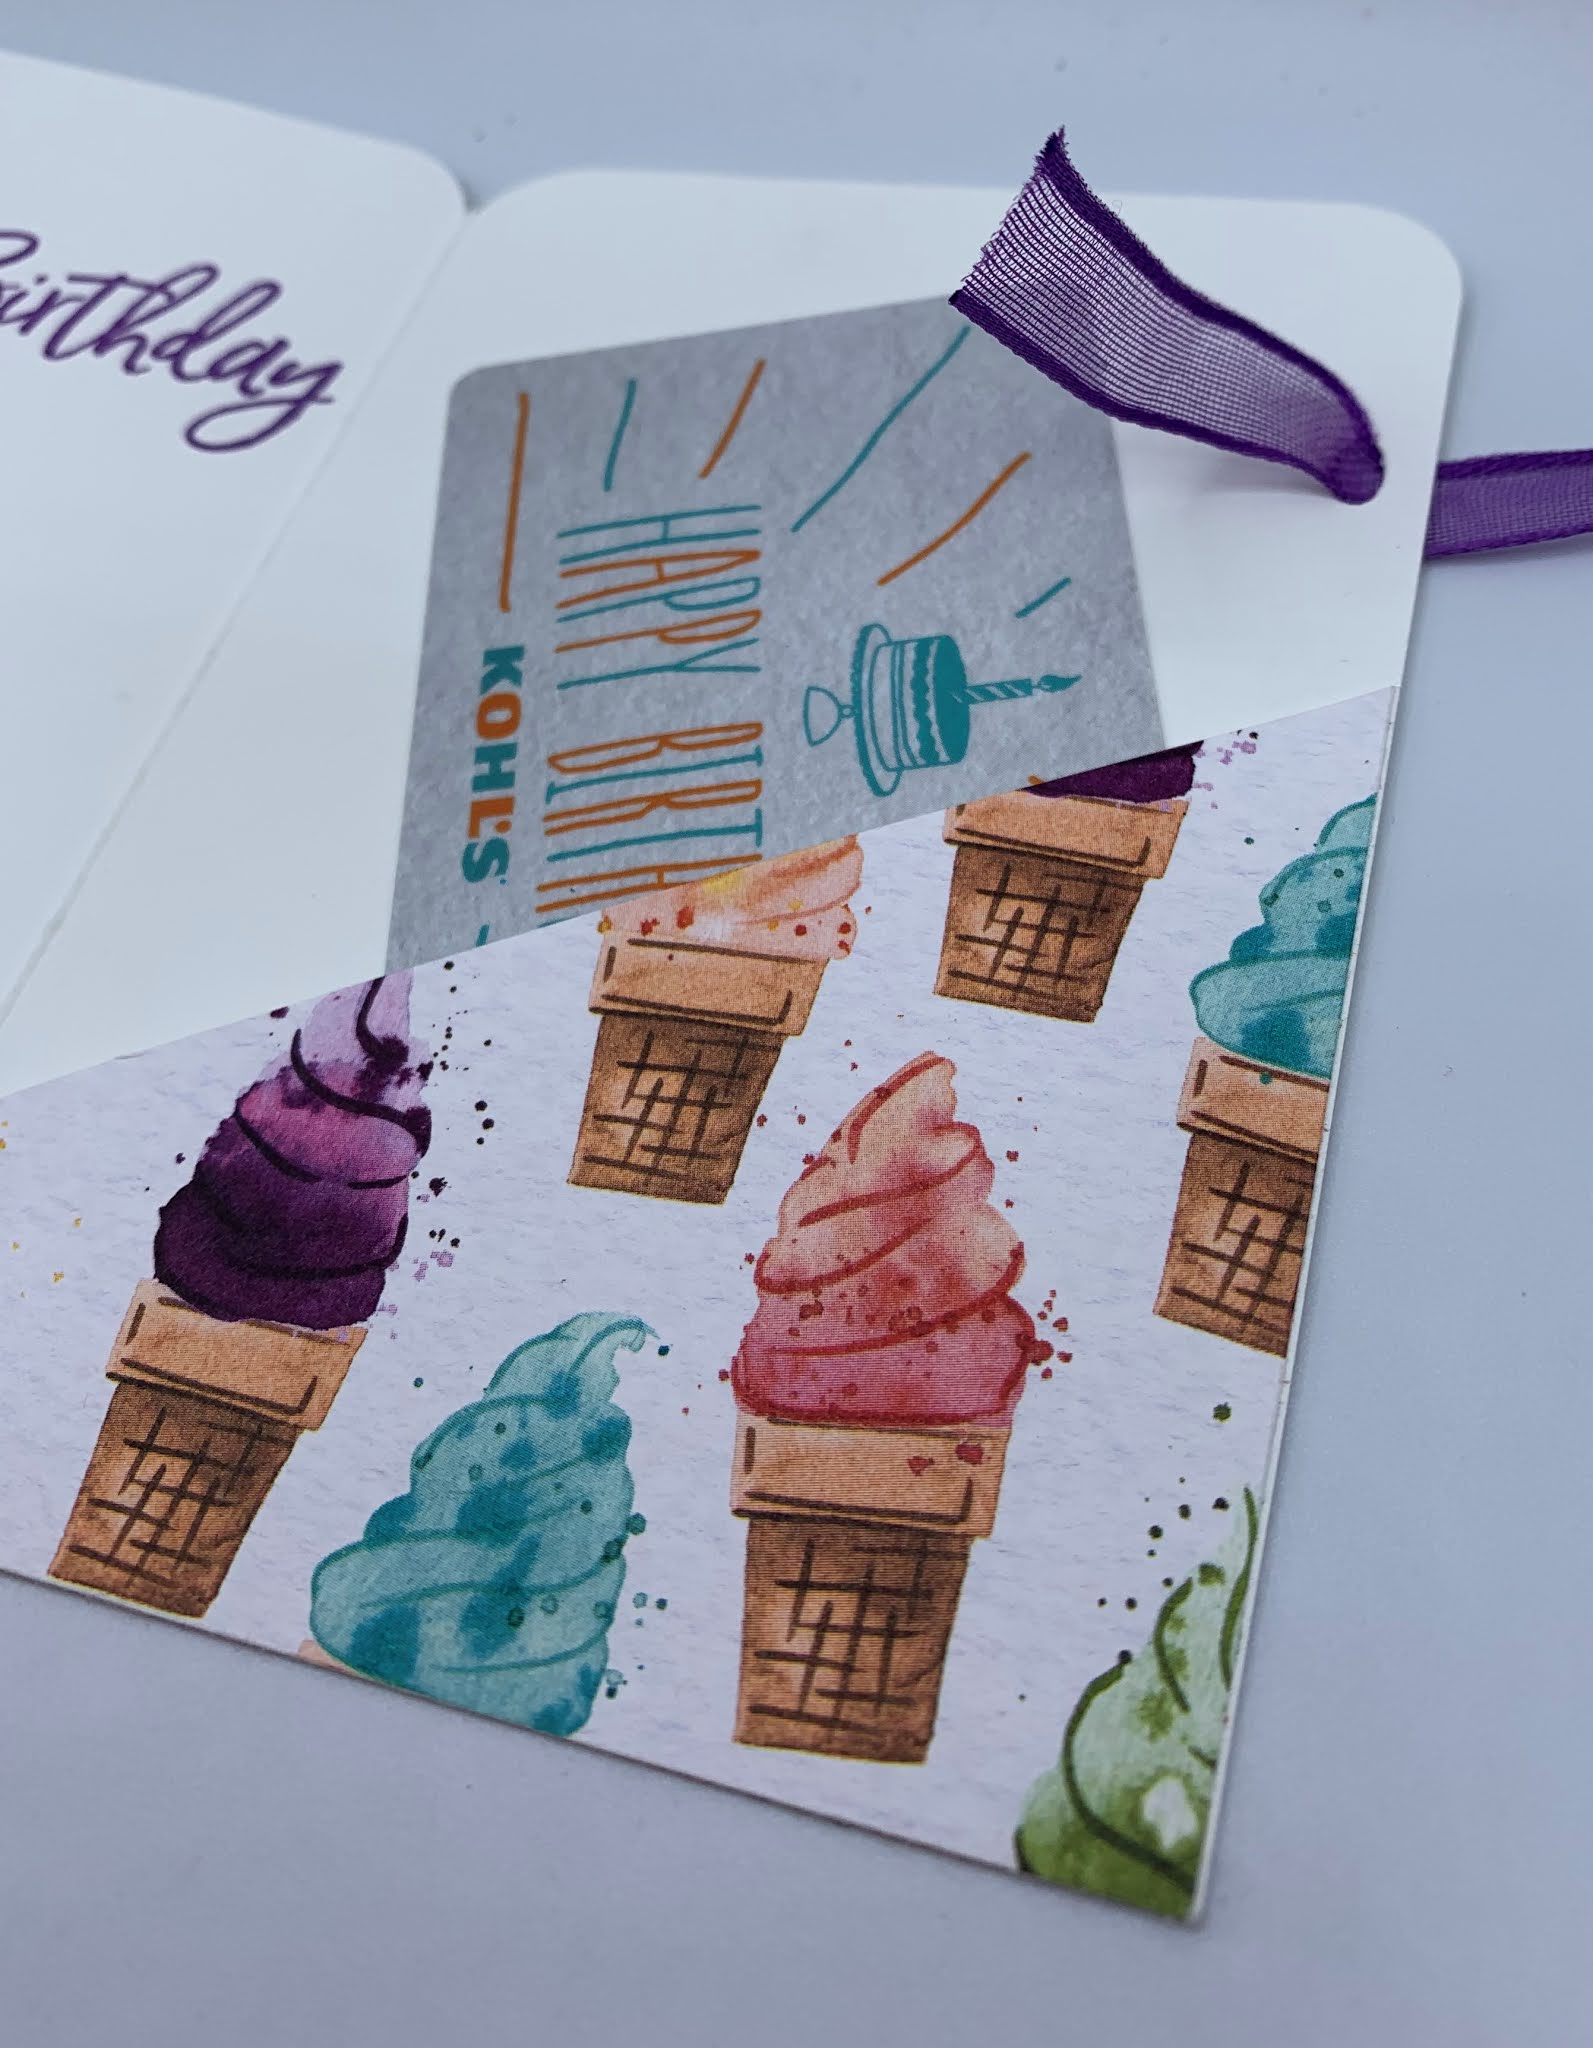
And tucked my gift card right inside the litle pocket.

To decorate the front of my gift card holder ..... I cut a piece of White cardstock that measures 1" x 2-3/4". I punched both ends of this cardstock piece with the 'Treasured Tags Pick-A-Punch' to create a fun little sentiment banner.
All that was left to do was punch a hole in the right hand side of my gift card holder ....... And I used 'Gorgeous Grape 3/8" Sheer Ribbon' to secure my gift card holder closed.
And there you have it friends .......These little gift card holders are PERFECT for any kind of occasion.
Thanks for joining me today! I'll be back tomorrow to share a Wine Down Wednesday card with you ........ Hope you can make plans to stop back and join me for that share. Keep Living Your Dream!
Such sweetness and I love your decision to tuck the scalloped circle behind for a little more Gorgeous Grape pop!
ReplyDeleteThanks my friend......Sometimes, it's the little things that bring it all together.
Delete