We made this wonderful Pin Cushion Container at used just a plain old canning jar along with some batting and "Twitterpated Designer Fabric" which is in the Occasions Mini Catalog.
We trimmed the lide with a piece of ther 3/8" Pleated Satin Ribbon in Blushing Bride and added several "Hat Pins" and buttons to the top of our cushion for a little SOMETHING SOMETHING kind of decoration. GORGEOUS
We also had been given one of the "Simply Adorned Baubles" for one of our other projects and we used the beautiful box that our black Crystal came in to make this prety gift giving box.
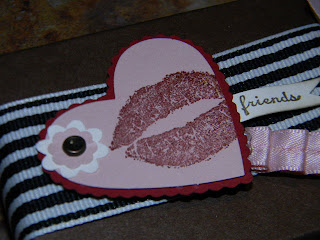
We simply wrapped a piece of the 1-1/4" Striped Grossgrain Ribbon around our box and dded a wonderful LIP heart tag to the top. HOW FUN WILL THIS BE TO GIVE TO THAT SOMEONE SPECIAL? LOVE IT!
This next project is one of my FAVORITE items we made that day......We used the "Chalkboard Decor Elements Sheets" and with the help of the Big Shot and the Oval Die.....we were able to not only die cut out an oval chalkboard piece but our Aluminum flashing piece was also die cut out with this same oval die.
The flashing cuts fairly easily and the Simply Adorned Baubles just punched right through with our Crop-a-Dial along with the daisy that was attached with a SAB brad. FABULOUS PROJECT!
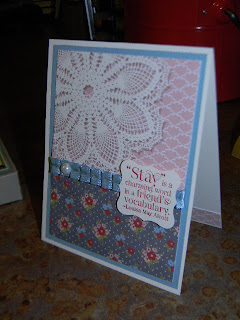
Next up we made this charming little card with the help of MDS (My Digital Studio). We added the Ruffled Ribbon and the Sentiment to the front of our card ....... and everything else on the front was already printed up for us with the help of MDS......
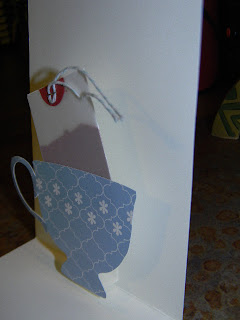
And then on the inside we cut out the teacup and made a tea bag with some vellum and cherry cobbler cardstock........but the real WOW FACTOR came when we made a little pop-up device for our tea cup to rest on and would spring our tea cup up and out every single time you opened your card.
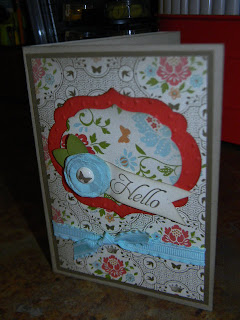
And my last project for today is this GORGEOUS.....and I do mean GORGEOUS 3D card. If the front of the card wasn't beautiful enough....you open the card up and it reveals a framed-out center with a special little message within that portion of this card. Check this out.......
Di taught us how to special score our card so that when we open and close our card it creates this awesome little fold ...... which allows you to create a 3D type of image on the inside of your card. TOTALLY FUN way to add a little SURPRISE to your card. FUN FUN FUN!
Many THANKS for joining me today! I'm off to the airport to go pick up my son who will be visiting till next Wednesday. I just know the time is going to FLY BY and before you know it ....... I'll be taking him to the airport for him to return back to the St Louis area. BUT FOR NOW ..... I'M GOING TO ENJOY THE TIME I HAVE WITH HIM AND PACK LOTS OF "GOOD TIMES" INTO THOSE 6 DAYS.
I'll be back tomorrow to share more Spring Fling Projects with you. Keep Living Your Dream!


Love your 3D projects - the pin cushion and name stake are awesome. TFS!
ReplyDeletelove these projects . . . the first one has me on pins and needles :) i think my favorite is the chalkboard elements, too! hugs, m
ReplyDelete