Friday, March 24, 2023

Nothing Fancy

Happy Friday My Blogger Friends!
Today is Fun Fold Friday and that means I have a special little Fun Fold Card to share with you. Let's kick off this Fun Fold Friday share right now.........
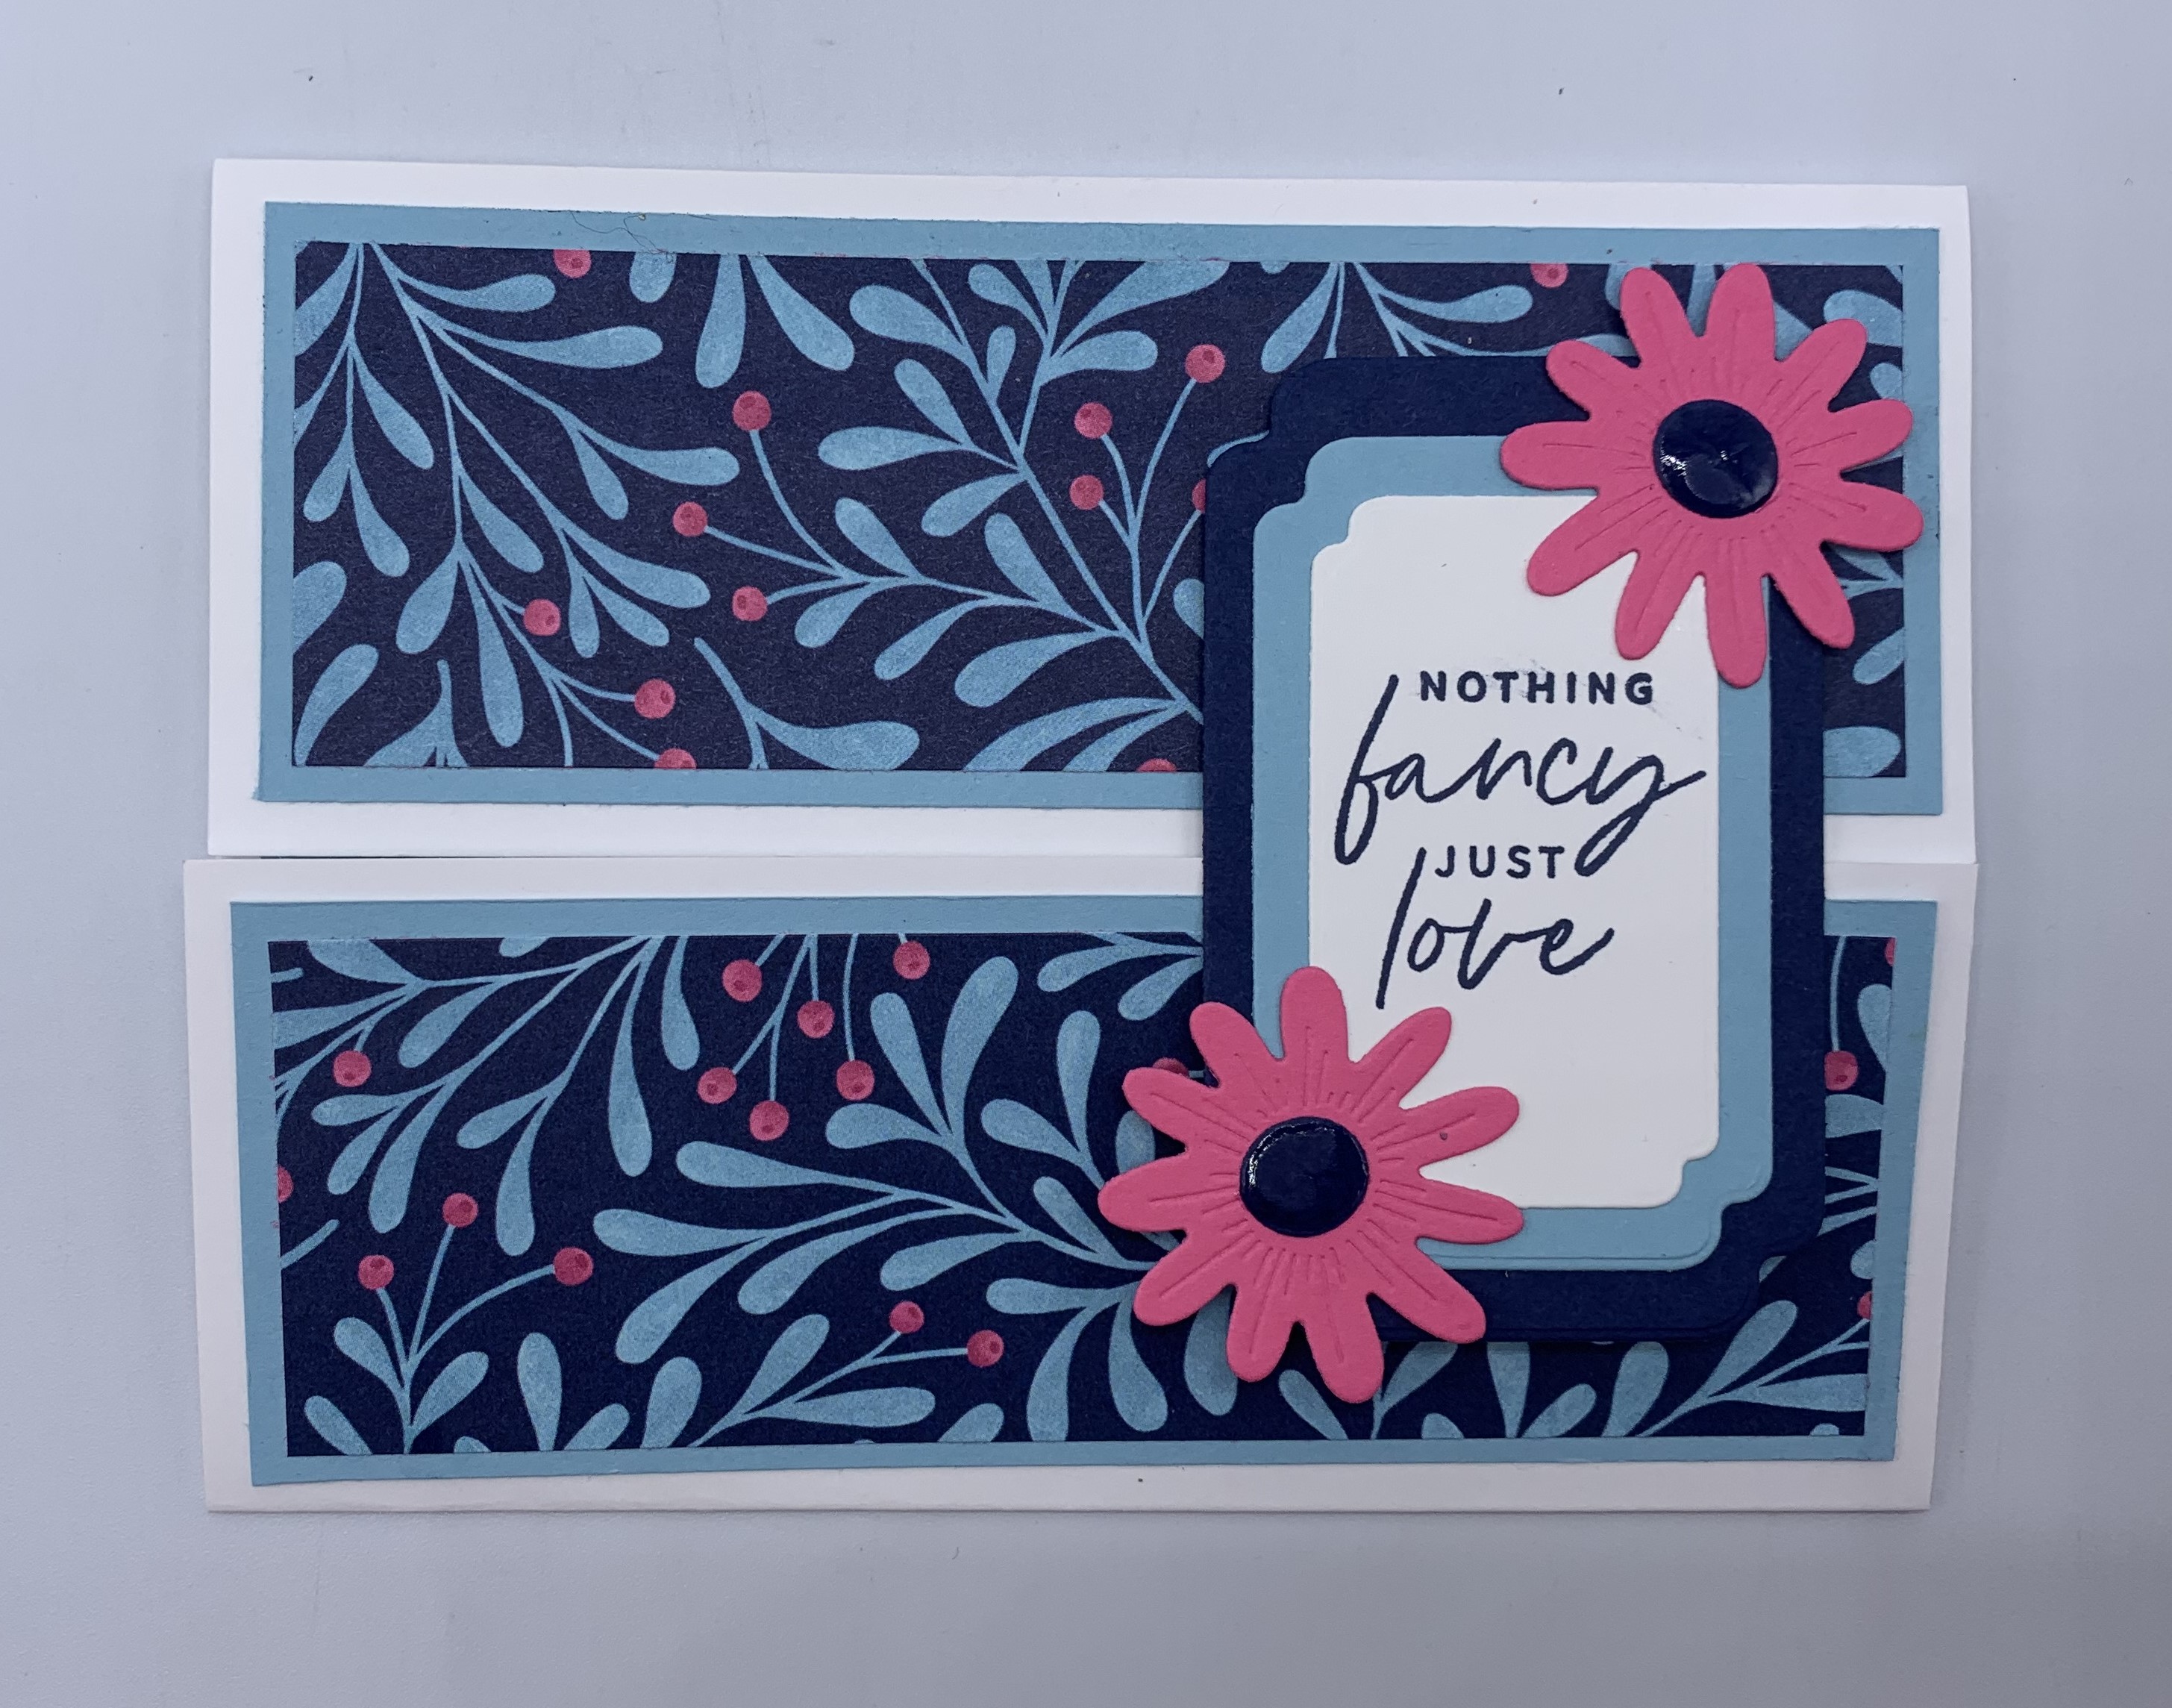
My Fun Fold card for today is this "Split Center" card.  I started off with a piece of White cardstock that measured 5-1/2" x 8-1/2".  It is scored on both ends at 2-1/8".
Next, I added two panels of Balmy Blue cardstock that were both 5-1/4" x 1-7/8" and topped both of those panels off with a 'Fitting Florets Designer Series Paper' that were each 5" x 1-5/8".
My sentiment piece was created with a 'Something Fancy Die' piece and I used the 'Something Fancy' set to stamp my sentiment.
To open this card ...... You lift up the top flap and that begins the REVEAL!!!!
This is what the card looks like when you open both front flaps.
I decorated the inside with a panel of Balmy Blue cardstock ...... And more of the 'Fitting Florets Designer Series Paper'.  I used the 'Around The Bend Dies' to embellish my card with those YUMMY Petall Pink Flowers on both the inside and front of my card.
Just doesn't get any EASIER.
Hope you have fun making this card!!!

Thanks for joining me today!  I'll be back tomorrow to sharing a special new Sweet Treat Saturday release with you ........Hope you can make plans to stop back and join me for that share.  Keep Living Your Dream!

Thursday, March 23, 2023

Thank You

Happy Thursday My Blogger Friends!
My blog post for today is Tag Thursday.  Today, I will feature a tag I created and show you how easy it is to use minimal supplies to create a SUPER PRETTY TAG.  Now that you have the details for my Tag Thursday creation for this week ........ Let's jump right in with my tag share for today........
Talk about a QUICK & EASY kind of tag.....
This tag has it ALL.
I started off with a White base tag that is 2-1/2" x 4-1/4".
Next, I cropped out two pieces of the 'Enjoy The Journey Designer Series Paper.  Those pieces each measured 2-1/2" x 2".  I layered each piece with a tip of the DDP meeting in the center .... And then I cropped off the ends that were hanging off the sides.
Next, I got busy and created my sentiment piece.  That was created with the help of both the 'Layering Circles Dies' and the 'Stylish Shapes Dies'.
My sentiment was stamped from the 'Happy Labels' set and I used Evening Evergreen ink to stamp that senitment.  Before I adhered that piece down to my tag ..... I added some 'Evening Evergreen 3/8" Open Weave Ribbon' behind it and secured it with some Stampin' Dimensionals.  The finishing touch for my sentiment piece was adding two 'Solid Faceted Gems' that were colored with my Stampin' Blends.
The last thing I did was add some Garden Green 'Three Twine Combo Pack' Baker's Twine to the top of my tag ...... And called this tag DONE!!!
So ...... There you have it friends......
Don't you just LOVE IT!!!!!

Thanks for joining me today!  I'll be back tomorrow to share a Fun Fold Friday creation with you ........ Hope you can make plans to stop back and join me for that share.  Keep Living Your Dream!
Wednesday, March 22, 2023

Beauty in Everything

Happy Wednesday My Blogger Friends!
My blog post for today is Wine-Down Wednesday.  My middle of the week card feature for today will hopefully offer you some inspiration and provide you with some motivation to keep you moving through your busy week.  Let's jump right in with my card share for today........
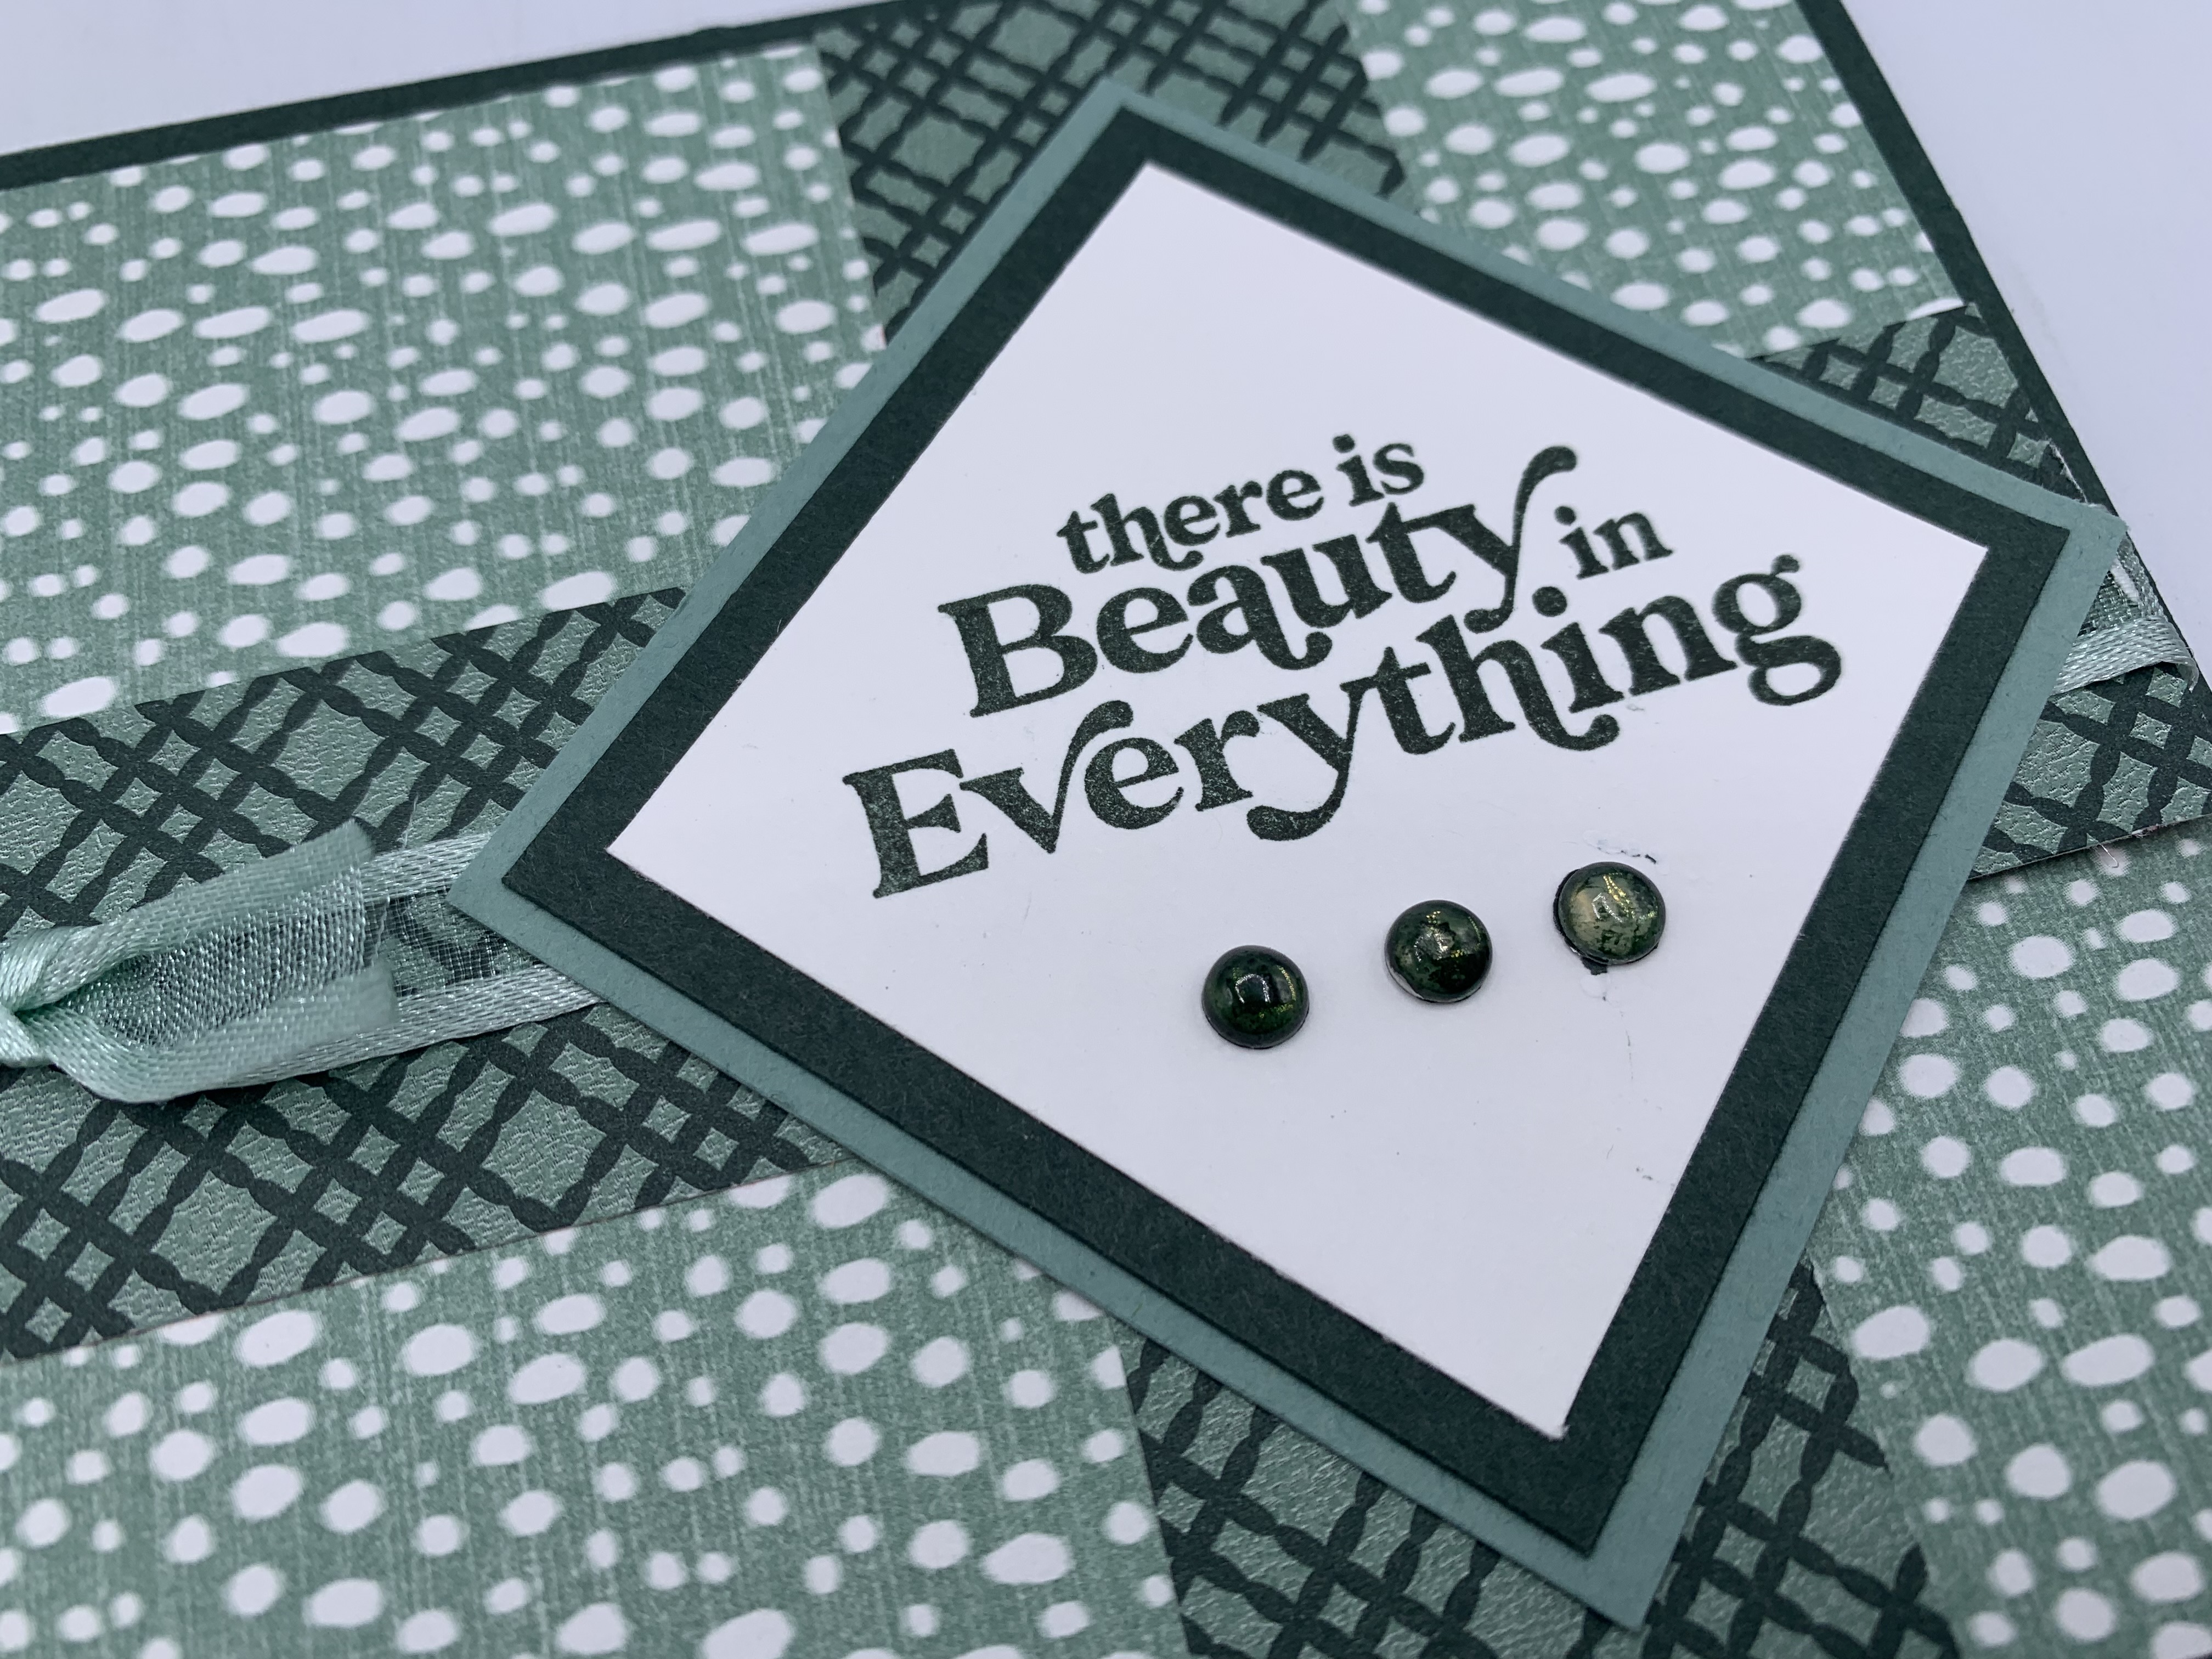
I'll start off by saying ..... I'm not a real "Green Lover"HOWEVER ..... This card just helped change my mind on that statement.
I started this card off with an Evening Evergreen base card.  I used the 'Lovely In Linen Designer Series Paper' and added a panel of that DSP to the top of my card.
Next, I got busy and created two coordinating panel of that same DSP.  Those panels measure 1-1/4" x 5-1/4" and 1-1/4" x 4".
Before I adhered both of those DSP panels down .... I wrapped some 'Soft Succulent 3/8" Open Weave Ribbon' around the larger panel and tied it off into a pretty knot.
My sentiment is from the 'Simply Fabulous' stamp set ..... And I created a triple square layering for that piece.
And the finishing touch was adding three 'Adhesive-Backed Milky Dots to my sentiment piece.  Those three dots were colored with my Evening Evergreen Stampin' Blends.
And this card was called DONE!!!!
What do you think my friends.

Thanks for joining me today!  I'll be back tomorrow with a Tag Thursday creation to share with you ........ Hope you can make plans to stop back and join me for that share.  Keep Living Your Dream! 

Tuesday, March 21, 2023

EOS Lip Holder

Happy Tuesday My Blogger Friends!
My blog post for today is '3D TUESDAY'.  That means today I have a fun little 3-D project that I created and want to share with you.  This project was SUPER FUN to create and I want to jump right in and share that project with you now.
This DARLING EOS Lip Balm Holder was inspired by Sam at Pootles.  Here is a link to her video:  https://youtu.be/_vuUGoekqjo
I started with a 6" x 6" piece of Petal Pink card stock.  It is scored at 4" on all four sides.
The lid is a piece of Petal Pink cardstock and that measures 4" x 4" and is scored at 1" on all four sides.
I covered all the sides of my holder with White cardstock panels ..... And panels of the 'Country Gingham Designer Series Paper'.
I used some 'Petal Pink 3/8" Soft Polyester Ribbon' to secure my holder.....
And used the 'Charming Sentiments' for the sentiment at the top of my holder.
And when you pull off the top ..... The four sides fold down....
And INSTANT WOW FACTOR happens.
The EOS Lip Balm that I used ..... pops right into the 'Layering Circles' hole I created.
Here is what the holder looks like when empty.
I used the 'Layering Circles' to crop out the center of my holder so my lip balm would tuck nicely inside that circle.  
Just couldn't be HAPPIER
with the way this project turned out....
WHAT DO YOU THINK MY FRIENDS!!!

Thanks for joining me today!  I'll be back tomorrow to share a Wine Down Wednesday card with you ........ Hope you can make plans to stop back and join me for that share.  Keep Living Your Dream!

Monday, March 20, 2023

Little Moments Upgrade

Happy Monday My Blogger Friends! 
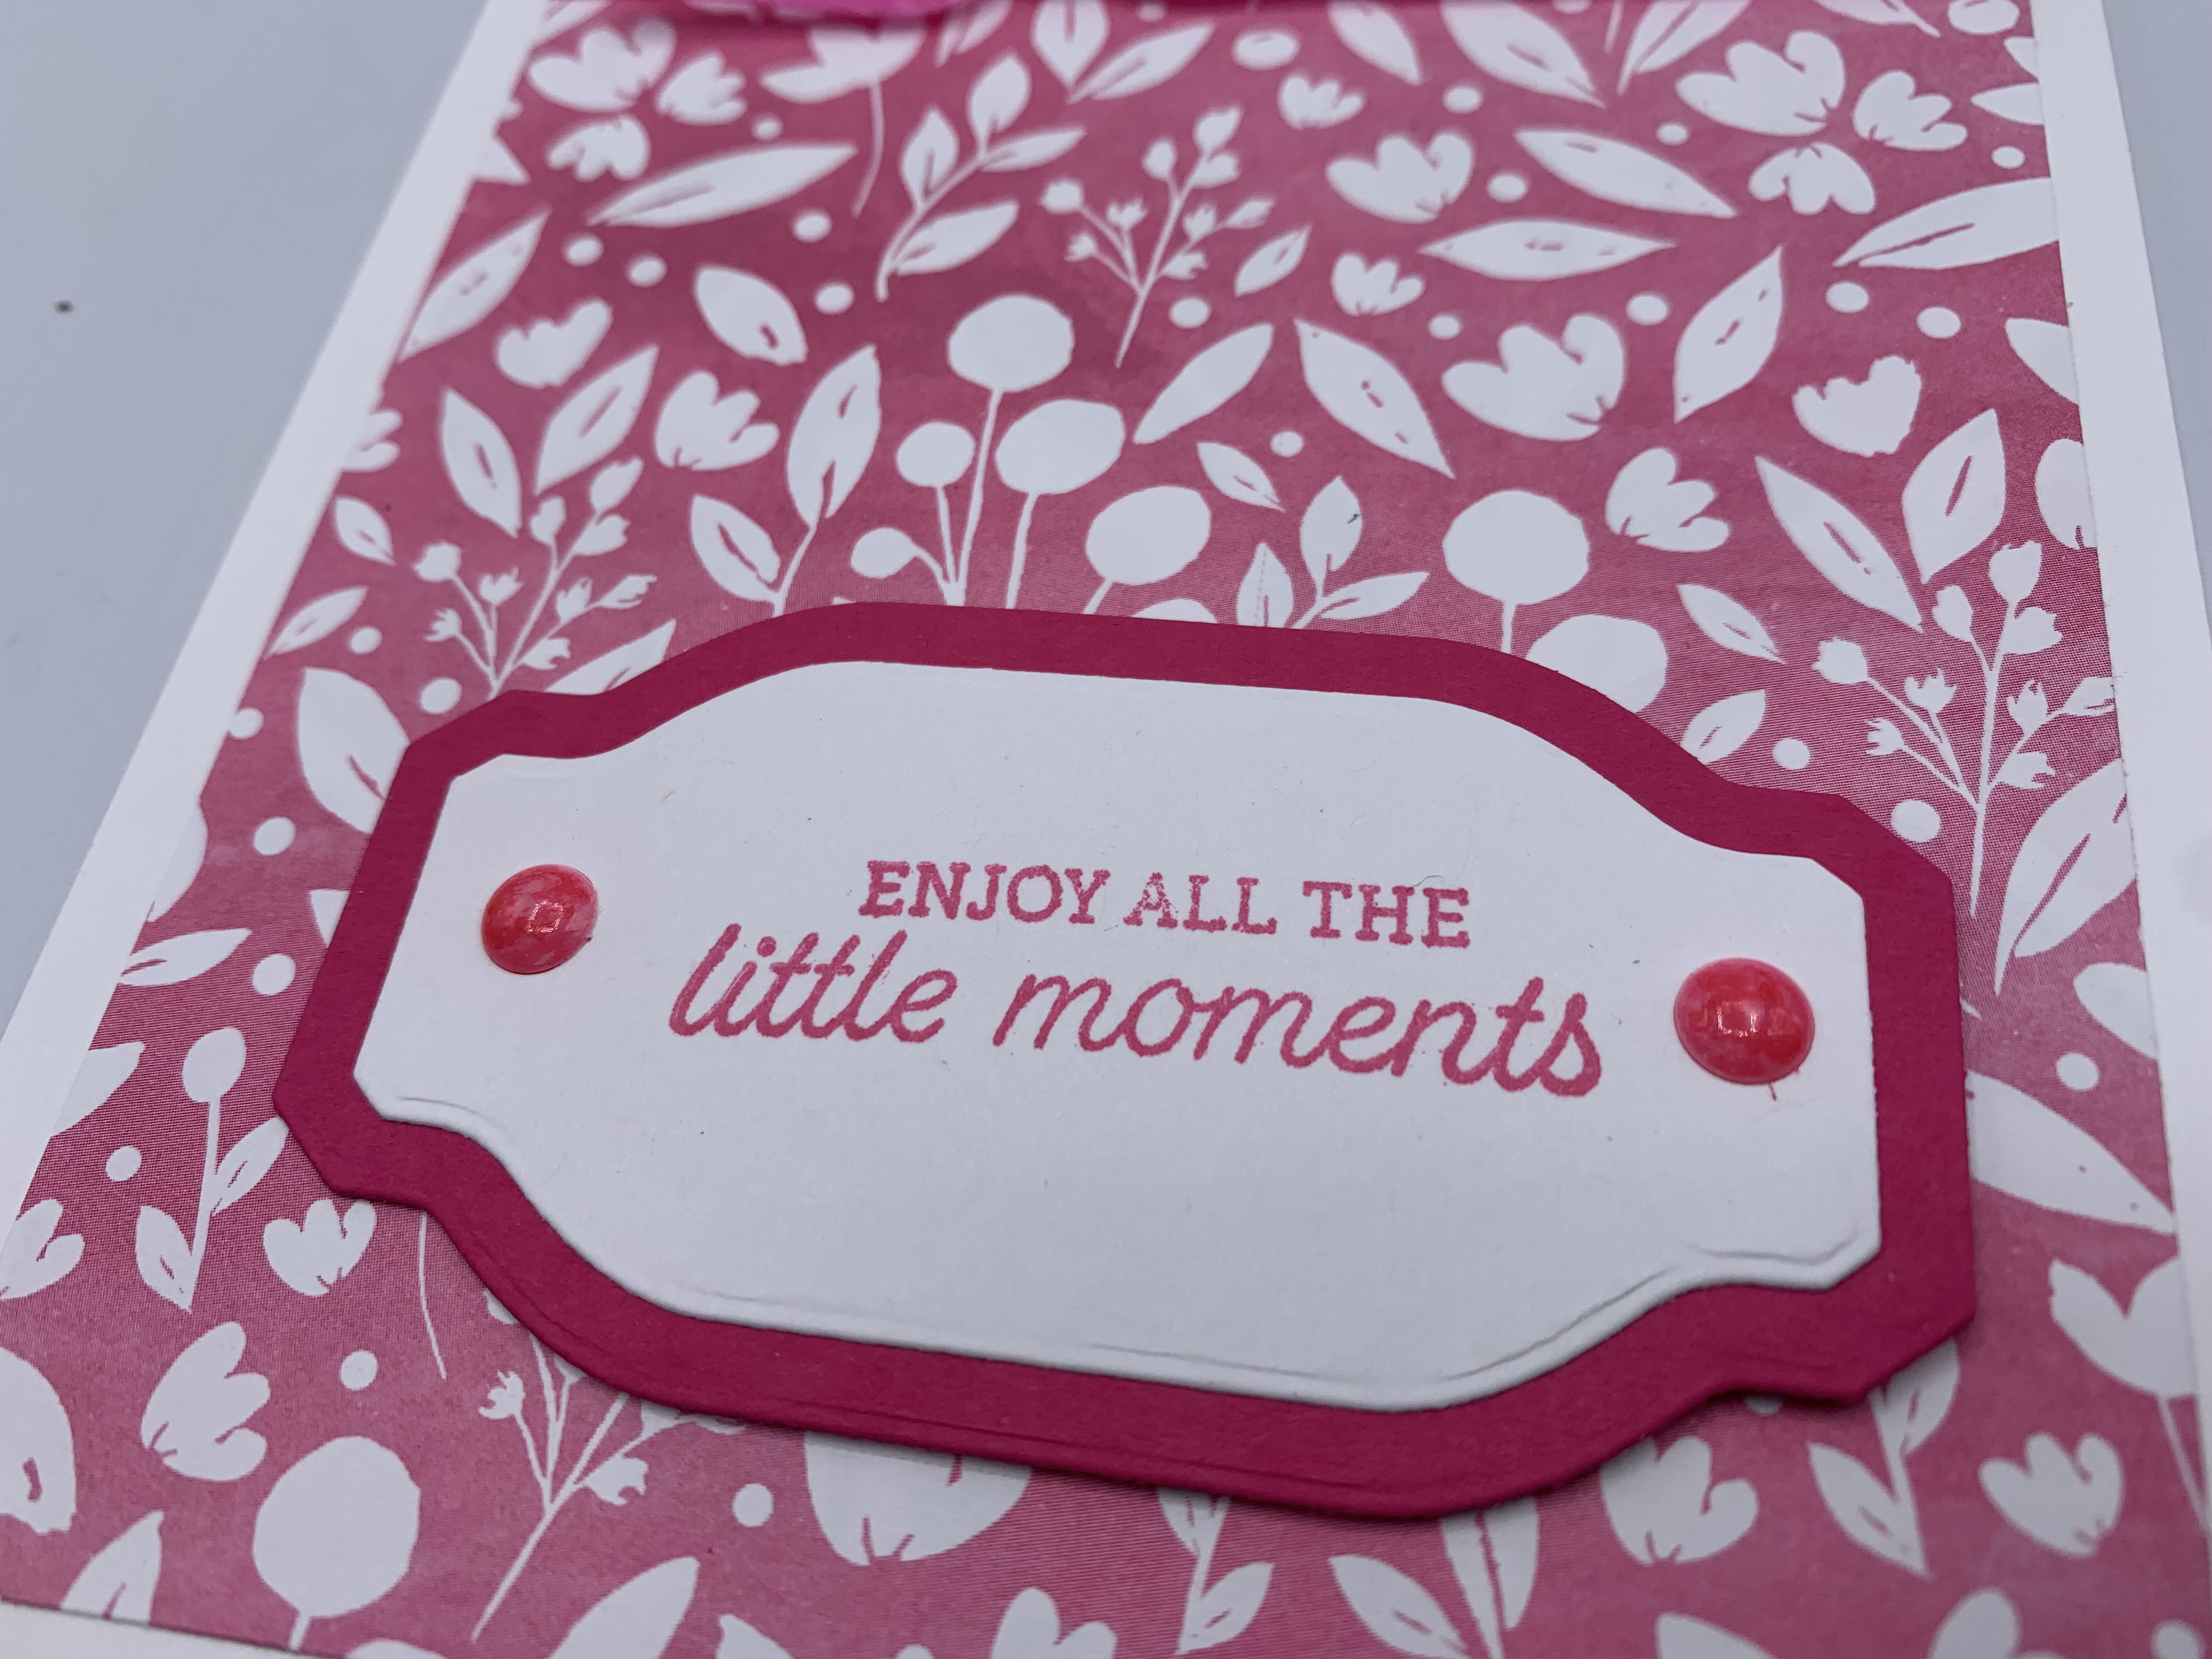
Today is Mix-It-UP! Monday, and I have an upgraded version of the card I shared with you yesterday.  I used the exact same product that was used to create yesterday's card ..... But I changed things up to bring this card up to the next stamping level.
Here's my Spotlight Sunday card from yesterday on the TOP....
And my Mix-It-UP! Monday upgraded card for today on the BOTTOM....
The first upgrade I made to my card for today was changing the orientation from a Portrait style card .... To a Landscape style card.
I also wanted to kick up my upgraded card a tiny bit .... So I created a book binding style card.
I used Polish Pink cardstock for my base .... And that piece measure 4-1/4" x 11" and is scored at 4-1/4" and 5-1/2".
I used the same 'Awash in Beauty Designer Series Paper' for both the front and binding section of my card .... But for this upgraded version, I added a panel of White cardstock behind each DSP panel.
My sentiment is from the same 'Easter Bunny' set and the 'Something Fancy Dies' but for my upgraded card .... I added a Polished Pink large 'Stylish Shapes Circle Die' to that layering piece.
And here's a look at how the binding piece of this card used some 'Polished Pink 3/8" Open Weave Ribbon' to add some CHARM to that section of my card.
So, what do you think my friends....
Do you have a favorite???

Thanks for joining me today!  I'll be back tomorrow to share a Wine Down Wednesday card with you ........ Hope you can make plans to stop back and join me for that share.  Keep Living Your Dream!

Sunday, March 19, 2023

Little Moments

Happy Sunday My Blogger Friends
Today is Spotlight Sunday ....... And I have a card I created using product from the 2023 Stampin' UP! Mini Catalog.  This card uses several products from that catalog ........ And I'm thrilled with the way it turned out.  Let's jump right in with my card share for today..........
I started my card off today with a 4-1/4" x 11" White base .... And that piece was scored at 5-1/2".
Next, I added a panel of the 'Awash in Beauty Designer Series Paper' to the front of my card.
Before I adhered that panel down .... I wrapped some 'Polished Pink 3/8" Open Weave Ribbon' around the top of that DSP and tied it up into a pretty knot.
Next, I got busy and stamped my sentiment.  That is from the 'Easter Bunny' set and it is stamped onto a layering piece of the 'Something Fancy Dies'.
The finishing touch for this card was adding two 'Enamel Dot Essentials' that were colored with my Polish Pink Stampin' Blends.
So, there you have it friends.....
What do you think???

Thanks for joining me today!  I'll be back tomorrow to share an upgraded version of this very card with you ...... Hope you can make plans to stop back and join me for that share.  Keep Living Your Dream!


Saturday, March 18, 2023

Mini Ghirardelli Treat Holder

Happy Saturday My Blogger Friends!
Today I have another Saturday Sweet Treat packaging idea to share with you.  This project is a SUPER YUMMY, sweet treat packaging.  Let me jump right in with my share.
I spotted this treat holder on 'Stampin' Anne' and changed it up to be my version.  I started off with a 4" x 6" piece of Cherry Cobbler cardstock.  That piece is scored on the 4" side at 1/2" on both ends.  I then scored the 6" side at 1", 1-1/2" and 3-3/4".
Here is a template of what my holder looked like.  And I shared in that template how you trim off the center sections to make the sides of my holder .... And also which tabs you add your adhesive to.
I covered the front and inside panels with some Cherry Cobbler Regals Collection DSP.
And wrapped some 'White 1/4" Crinkled Seam Binding Ribbon' around my holder.
My sentiment is from the 'Simply Fabulous' stamp set .... And that is stamped onto a tag that was cropped out using the 'Cracker & Treat Box Dies'.
I was able to tuck two YUMMY Ghirardelli chocolates inside my treat holder.....
And here is how the inside section of my treat holder looks.
So ..... There you have it friends.
Who wouldn't LOVE receiving one of these
YUMMY treat holders.

Thanks for joining me today!  I'll be back tomorrow to share a Spotlight Sunday creation with you ........ Hope you can make plans to stop back and join me for that share.  Keep Living Your Dream!