Monday, October 24, 2022

Thinking of You Upgrade

Happy Monday My Blogger Friends! 
Today is Mix-It-UP! Monday, and I have an upgraded version of the card I shared with you yesterday.  I used the exact same product that was used to create yesterday's card ..... But I added a couple additional products to bring this card up to the next stamping level.
Here's my Spotlight Sunday card from yesterday on the TOP....
And my Mix-It-UP! Monday upgraded card for today on the BOTTOM....
I kept the same Crumb Cake base card for my upgraded version ..... But added a panel of Early Espresso before I adhered down my Very Vanilla panel.
I used my Simply Score Board to add a 1/4" embossed edge around  that Very Vanilla panel before I stamped my sentiment.
My sentiment is from the same set (Ringed With Nature) but for my upgraded version .... I embossed that sentiment to give it an added POP!
The upgrade I made to the leaves is that I cropped out all four leafs and then adhered a small square of colored  cardstock behind each. 
The finishing touch was adding a 'Rustic Metallic Dot' in the center of each leaf ..... And this card was done in a JIFFY.

So, there you have it friends.....
Do you have a favorite???

Thanks for joining me today!  I'll be back tomorrow to share a 3-D Tuesday creation with you ...... Hope you can make plans to stop back and join me for that share.  Keep Living Your Dream!

Sunday, October 23, 2022

Thinking of You

Happy Sunday My Blogger Friends
Today is Spotlight Sunday ....... And I have a card I created using product from the 2022 Stampin' UP! Mini Catalog and Annual Catalog.  This card uses several products from both of those catalogs ...... And I'm thrilled with the way it turned out.  Let's jump right in with my card share for today..........
My card share for today is a Crumb Cake base card ...... And I added a panel of Very Vanilla cardstock to the top.
I used the 'Ringed With Nature' stamp set to stamp my sentiment on my Very Vanilla panel in the lower left-hand corner.
Then I got busy and cropped out four leaves from the 'Aspen Tree Dies'.  I'm just crazy about the way that die cuts and does the embossing in one easy step.
Here's a close-up of how wonderful the embossing is on these leafs.
The finishing touch was adding five 'Rustic Metallic Dots' around the front of my card ...... And this card was done in no time flat.
And that's all it took to create this lovely looking card.

Thanks for joining me today!  I'll be back tomorrow to share an upgraded version of this very card with you ...... Hope you can make plans to stop back and join me for that share.  Keep Living Your Dream!

Saturday, October 22, 2022

Slider Treat Box

Happy Saturday My Blogger Friends!
I'm starting something NEW for my Saturday share and will continue sharing my Saturday Sweet Treat packaging idea with you until the end of the year.  These Saturday projects will be some form of a YUMMY sweet treat packaging.  Here is what I created to kick this new blog posting off.
This project was inspired by Sally at Sally Stampers.  Here is a link to her blog post ..... And she also has a video on how to create this DARLING little treat box.  Small Chocolate Slider Box - Sallystampers
This little treat box holds SO MANY different treats ..... But mine was designed for my daughter in mind.  She ADORES Kit Kat Bars and LIVES for Pumpkin Spice time.  I had this sitting on the nightstand when she arrived for a visit earlier this week.
I created my treat box with a piece of Black cardstock.  That measures 3-3/4" x 3-3/4".  It is scored at 1/2" all four sides.  The slider portion of my treat box is 2-13/16" x 7-1/8" .... And I scored that on the long side at 2-3/4", 3-5/16", 6-1/8" and 6-5/8".  And the only other thing you need is a piece of Window Sheet that is 2-5/8" x 2-5/8".  I used the 'Rustic Harvest Designer Series Paper' for my Slider Box.
I did add some 'Silver 3/8" Metallic Edge Cotton Ribbon' around the top of my treat box and tied it up into a PRETTY bow.
My sentiment is from the ' Charming Sentiments' set and I stamped that onto a 'Stylish Shapes' square.
So PLEASED with how this little treat box turned out....
Hope you will give it a try.

Thanks for joining me today!  I'll be back tomorrow to share a Spotlight Sunday creation with you ........ Hope you can make plans to stop back and join me for that share.  Keep Living Your Dream!

Friday, October 21, 2022

Bare Midriff Fun Fold

Happy Friday My Blogger Friends!
Today is Fun Fold Friday and that means I have a special little Fun Fold card to share with you. Let's kick off this Fun Fold Friday share right now.........
This little bare midriff card is made from a 4-1/4" x 5-1/2" piece of White cardstock.  You will CUT at 3-1/2" and then with the small piece you cut away ..... Cut that to 2-1/2".    This 2-1/2" piece will now be the bottom portion of your card.
Here is how your card will look when you have completed making the front midriff section.
I decorated my two front flaps with the 'Rustic Harvest Designer Series Paper'....
And created the sentiment bridge that goes between the two DSP flaps ....... That sentiment panel is created from a 4" x 2-1/2" piece of Mossy Meadow cardstock.  Then I added a panel of White cardstock that measures 3-3/4" x 2-1/4".
I used that White panel to stamp my sentiment.  The sentiment is from the 'Cottage Wreaths' set.
All that was left to do was add some leaves from the 'Aspen Trees Dies' to my sentiment panel ..... And the finishing touch was adding some 'Solid Faceted Gems' (that were colored with my Mossy Meadow Stampin' Blends) into both corners of my sentiment panel.

Thanks for joining me today!  I'll be back tomorrow to begin sharing a special new Sweet Treat Saturday release with you ........Hope you can make plans to stop back and join me for that share.  Keep Living Your Dream!

Thursday, October 20, 2022

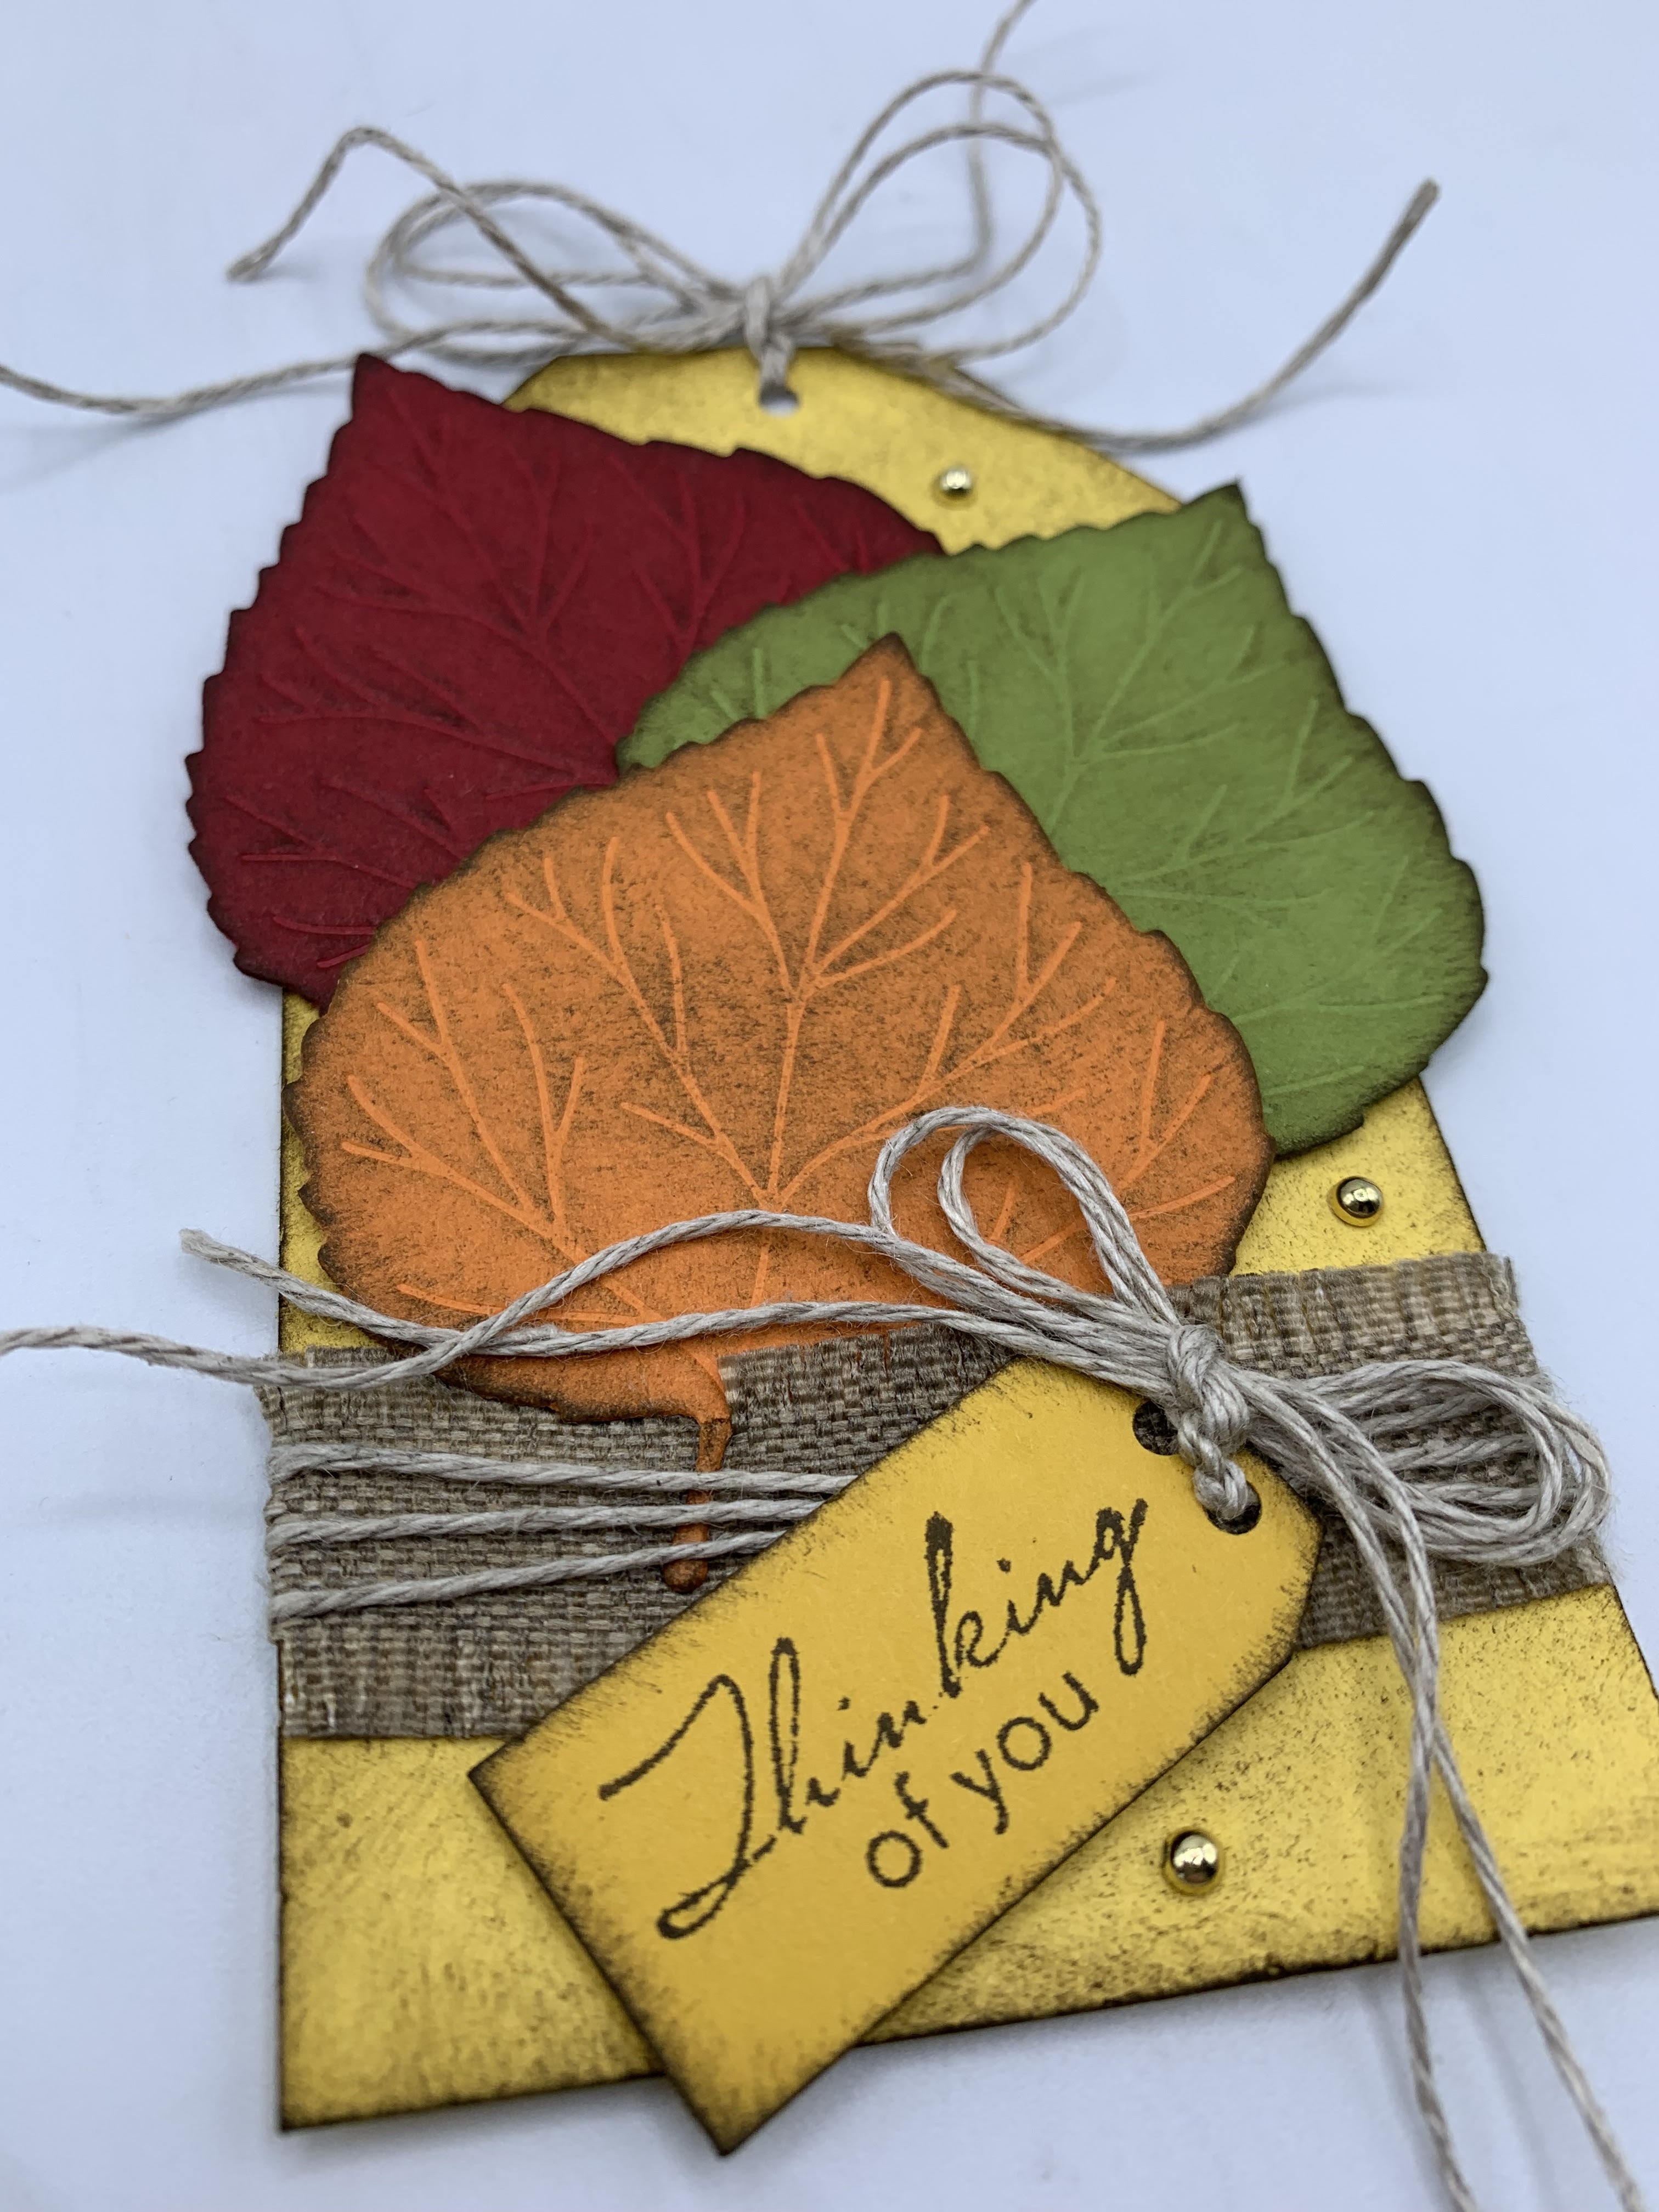
Thinking of You

Happy Thursday My Blogger Friends!
My blog post for today is Tag Thursday.  Today, I will feature a tag I created and show you how easy it is to use minimal supplies to create a SUPER PRETTY TAG.  Now that you have the details for my Tag Thursday creation for this week ........ Let's jump right in with my tag share for today........
I started this tag off with a 2-1/2" x 4-1/4" piece of Daffodil Delight.  I did distress the entire tag before I went on to the next step.
That next step was to wrap some 'Natural Finish Ribbon' around the bottom of my tag and add some 'Linen Thread' around that too.  I tied it up into a pretty bow and then got busy with my sentiment tag.
My sentiment tag was created from the 'Tailor Made Tags' and I stamped my sentiment from the 'Very Best Occasions' into the center.
I then added three leaves from the 'Aspen Trees Dies' ..... And each of those were distress with some Early Espresso Ink and popped up on my tag with 'Stampin' Dimensionals'.
The finishing touch was adding some 'Linen Thread' to the top of my tag ..... And adding 3-Gold Pearls around the front of my tag.

Thanks for joining me today!  I'll be back tomorrow to share Fun Fold Friday creations with you ........ Hope you can make plans to stop back and join me for that share.  Keep Living Your Dream!


Wednesday, October 19, 2022

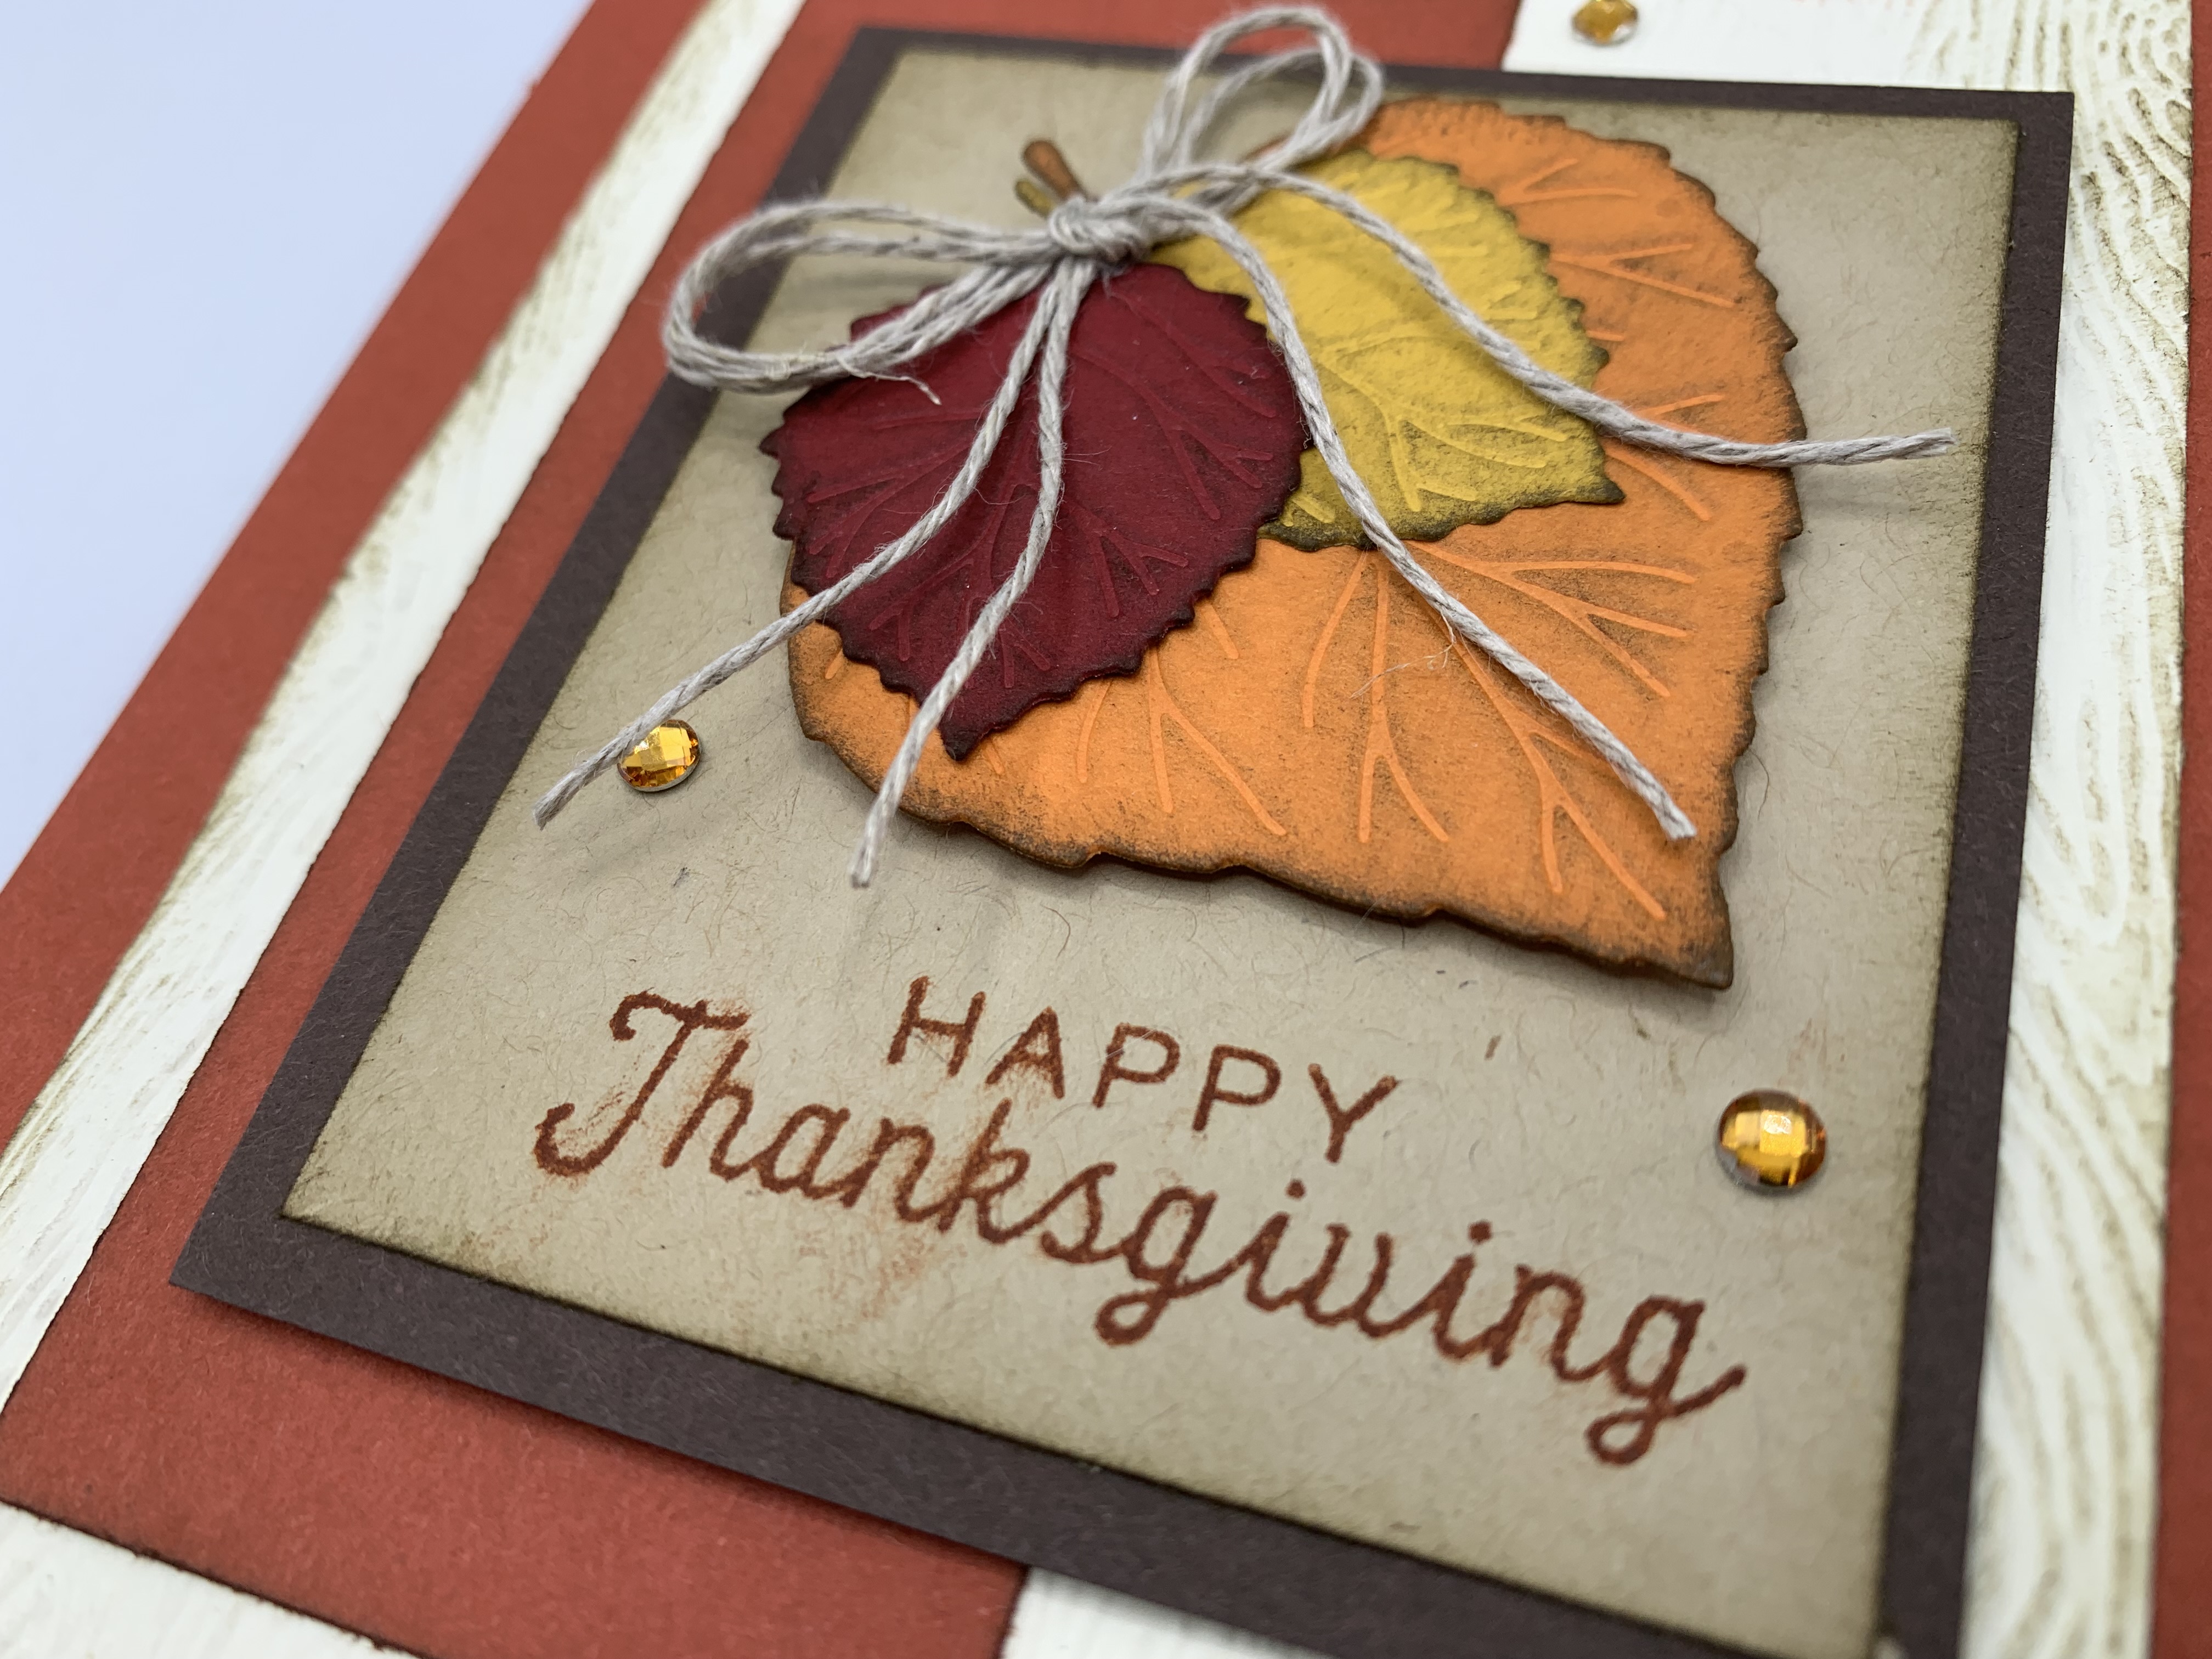
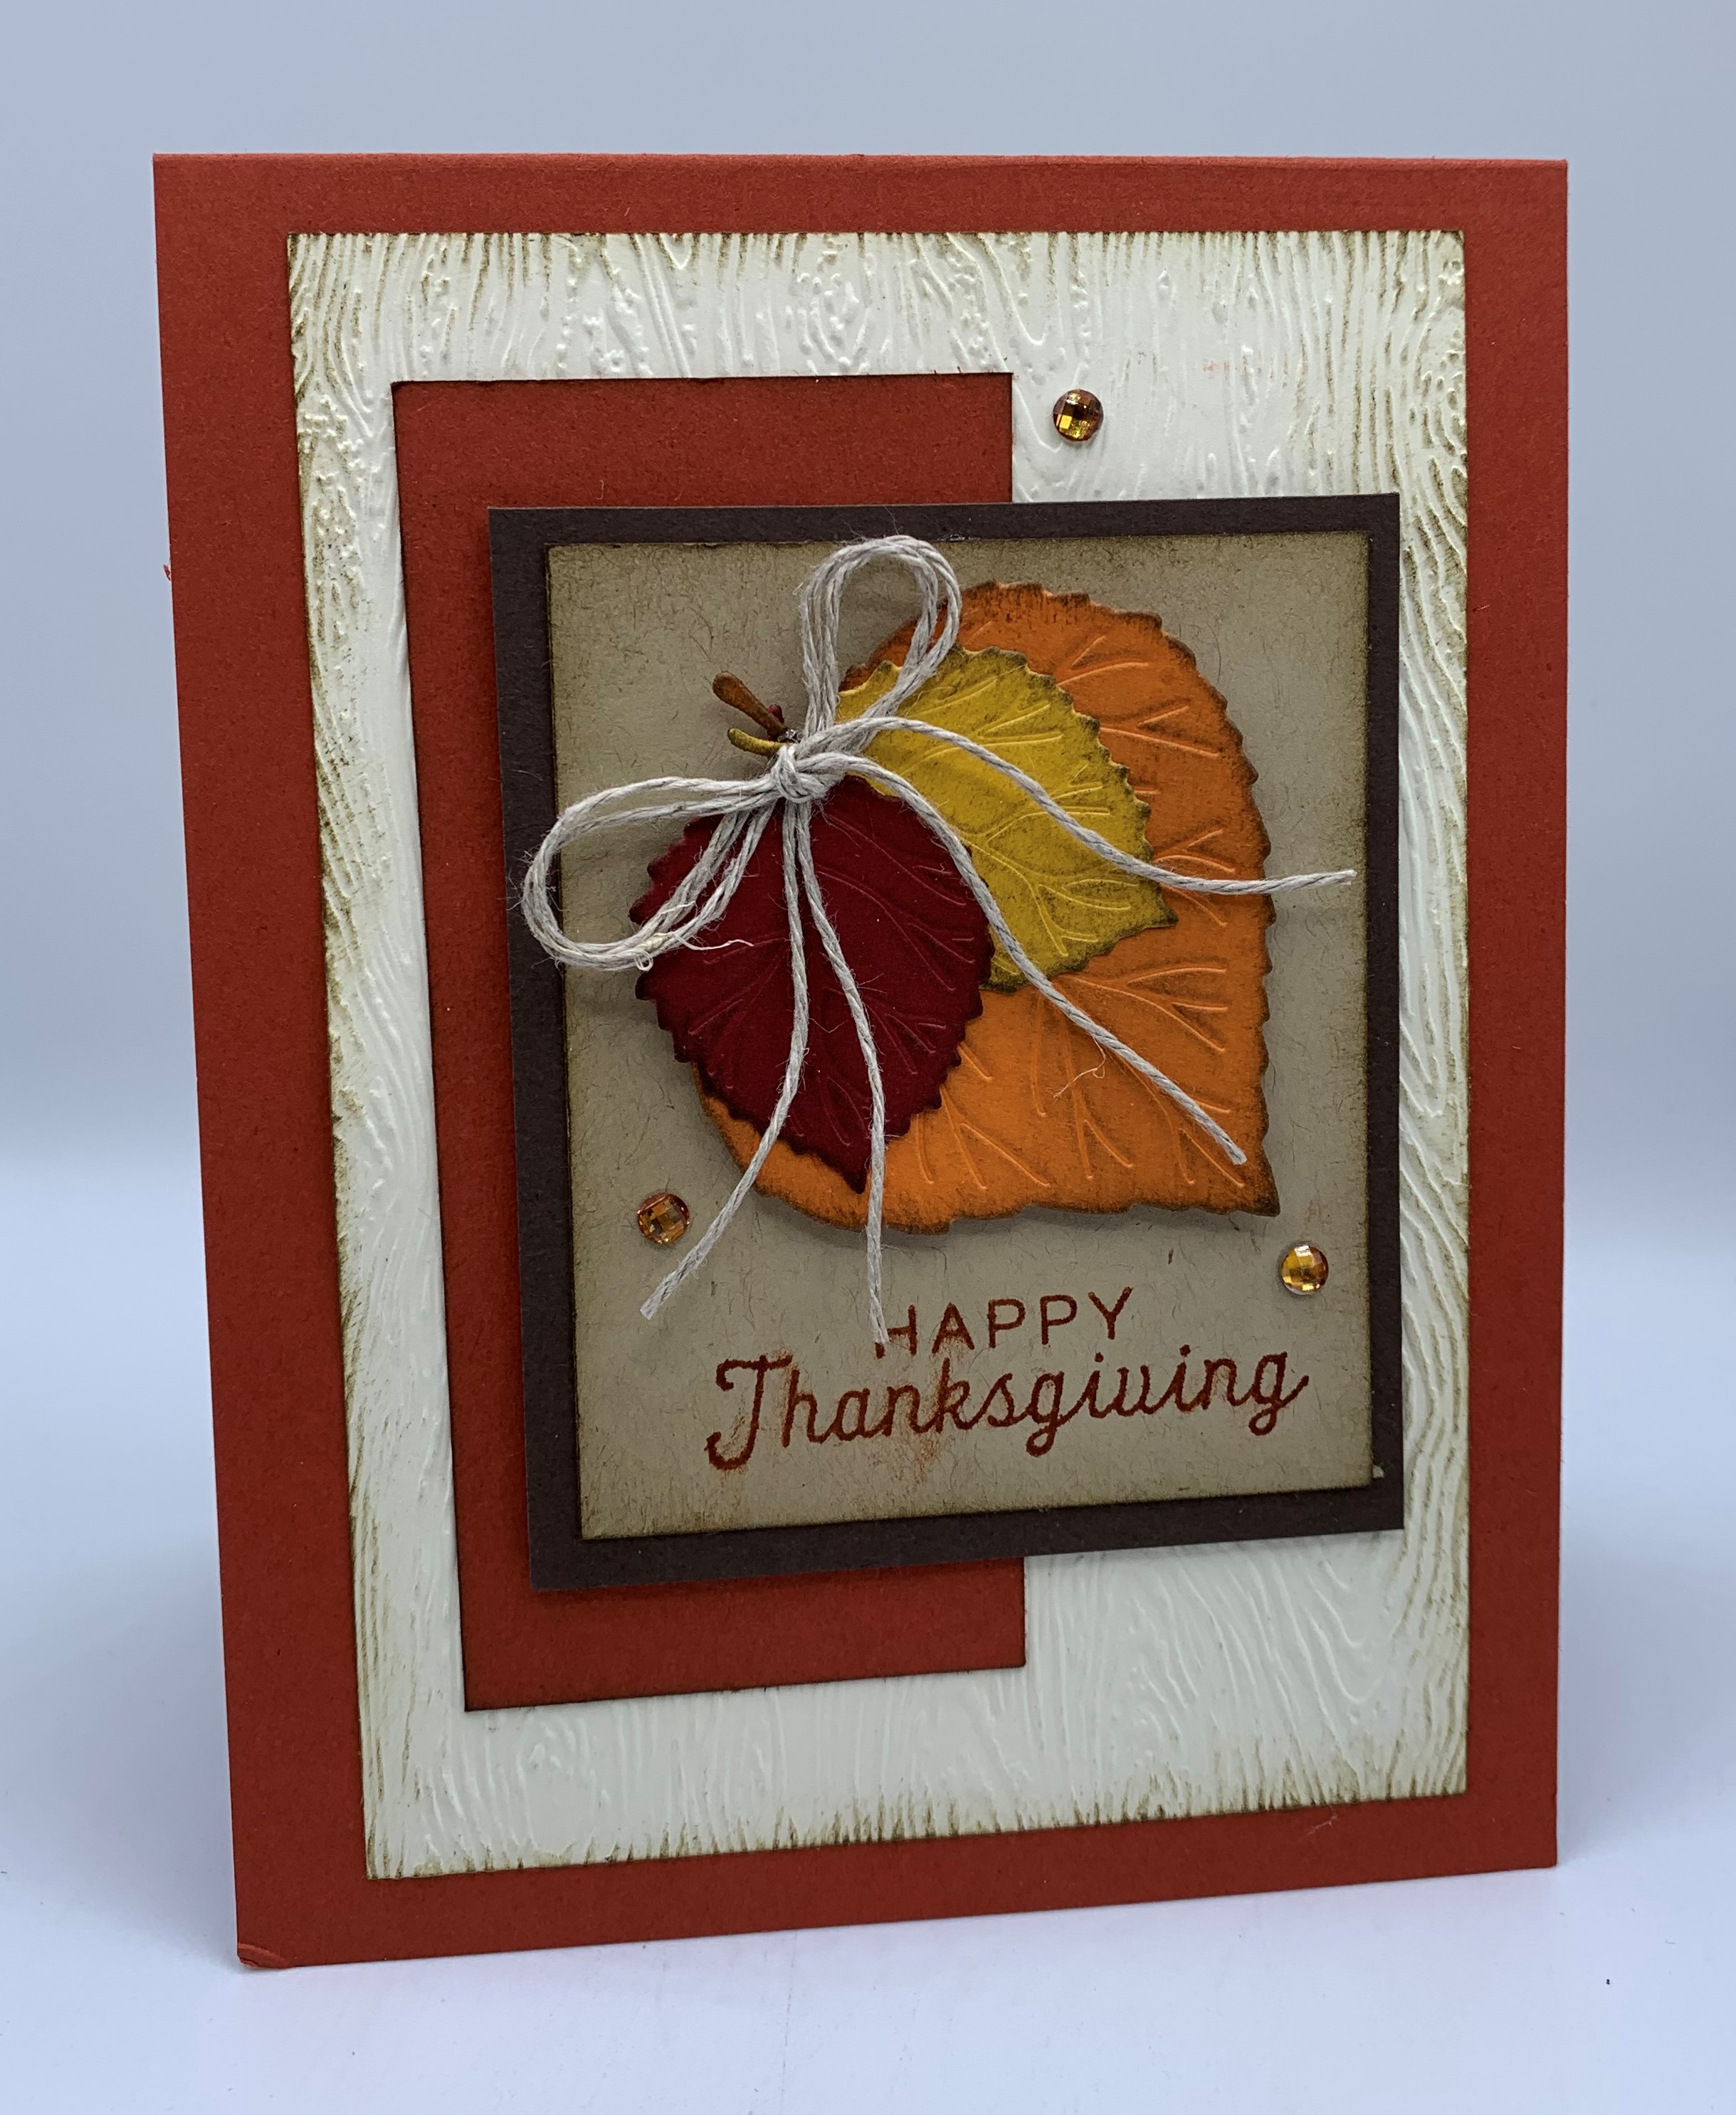
Happy Thanksgiving

Happy Wednesday My Blogger Friends!
My blog post for today is Wine-Down Wednesday.  My middle of the week card feature for today will hopefully offer you some inspiration and provide you with some motivation to keep you moving through your busy week.  Let's jump right in with my card share for today........
Here's a FUN layout to help you create the PERFECT Thanksgiving card.
I started off with a Cajun Craze base card.  To the top of that ...... I added a Very Vanilla panel that was run through my 'Cut & Emboss Machine' using the 'Timber Embossing Folder'.  Before I adhered that panel down to my base card ..... I distressed the front with some Early Epresso ink.
Next, I added a panel of Cajun Craze cardstock down the left-hand side of my distressed Very Vanilla panel.....
And then got busy creating my sentiment panel.
My sentiment was stamped from the 'Painted Pheasant' set....
And I added three leaves from the 'Aspen Trees Dies' right above my stamped sentiment.
The finishing touch was topping my leaves off with a pretty 'Linen Thread' bow and adding a couple Amber Gems from the 'Leaf Label Amber Gems'.

Thanks for joining me today!  I'll be back tomorrow with a Tag Thursday creation to share with you ........ Hope you can make plans to stop back and join me for that share.  Keep Living Your Dream! 

Tuesday, October 18, 2022

Thanksgiving Napkin/Silverware Holder

Happy Tuesday My Blogger Friends!
My blog post for today is '3D TUESDAY'.  That means today I have a fun little 3-D project that I created and want to share with you.   This project was SO MUCH FUN to create and I want to jump right in and share that with you now.
As I mentioned in my Thanksgiving Table Treat Box post a week ago ..... I will be heading back to Wisconsin to celebrate Thanksgiving with my family.  One of the other table favors I am making are these DARLING napkin and silverware holders.  It will make it easier for everyone to just grab one and start piling on the chow.  (I hate to say it but ...... It gets down to FULL BLOWN CRAZY with my family when the food comes out ..... But, I must admit ...... I LOVE IT!!!)
These napkin/silverware holders are made from a piece of Black cardstock.  It measures 7-1/2" x 7-1/4".  With the 7-1/4" side across the top of your 'Simply Score Board' you will score at 3/4".  Then turn your cardstock to the 7-1/2" side and score at 2", 2-3/4", 4-1/4" and 5-1/2".
Here is how your holder will look after you have scored and cut away a large section at the top of your holder.
I decorated the holder with the 'Rustic Harvest Designer Series Paper'.  You will need 2-pcs for the sides and those are 1/2" x 2-1/2" ..... 1-pc for the front that measures 2-1/2" x 1-3/4" and for the inside of the holder you will need a piece that measures 1-3/4" x 3-3/4".
My label piece is from the 'Stylish Shapes Dies' and the sentiment is from the 'Painted Pheasant' set.
I did add three leaves to the sentiment label.  Those were cropped out from the 'Aspen Trees Dies'.
Here's a close-up of how the label turned out.
And the finishing touch was adding some 'Lien Thread' around the top of my holder ..... And dropping in my silverware that is wrapped up inside a pretty orange napkin.
And that's all it took to create this CHARMING 
little Thanksgiving table holder.

Thanks for joining me today!  I'll be back tomorrow to share a Wine Down Wednesday card with you ........ Hope you can make plans to stop back and join me for that share.  Keep Living Your Dream!