Sunday, October 24, 2021

You're Such A Blessing

 Happy Sunday My Blogger Friends
Today is Spotlight Sunday ....... And I have a card I created using product from the 2020-2021 Stampin' UP! Annual Catalog and 2021 Mini Stampin' UP! Catalog.  This card uses several products from both of those catalog ........ And I'm thrilled with the way it turned out.  Let's jump right in with my card share for today..........
I'm SO PLEASED with how this card turned out.
It's such a SUPER ELEGANT kind of card.
I started out with a White base card ..... And added a panel of the 'Blackberry Beauty Designer Series Paper' to the top.  I did add one additional panel of the 'Blackberry Beautfy DSP' down the left hand side of my card for some added WOW FACTOR.
Before I adhered that panel down to the front of my card ...... I added some 'Gold 1/4" Shimmer Ribbon' to the top and tied it off into a pretty knot.
My sentiment is from the 'Little Delights' set ....... And I stamped that onto a 2-1/4" White circle that is matted with a 'Gold Shimmer Vellum' scallop piece.
So there you have it friends.......
I truly don't think it gets much more BEAUTIFUL!!!!

Thanks for joining me today!  I'll be back tomorrow to share an upgraded version of this very card with you ...... Hope you can make plans to stop back and join me for that share.  Keep Living Your Dream!

Saturday, October 23, 2021

Hey Pumpkin

Happy Saturday My Blogger Friends!
My blog post for today is Paper Pumpkin Saturday ........... And I would like to share with you the project I created using the September Harvest Haunts Paper Pumpkin kit.   Here's that project.......
This alternate Paper Pumpkin project uses several pieces that were included in the September kit ...... And the only addtional product I used was some card stock and the 'Whimsy Dies'.
I started out with a Pumpkin Pie base card ........ I used the 'Whimsy Dies' to create a fun little border frame around the outside edges of my base card.
My sentiment was an Early Espresso panel that framed out several pieces of card stock from this kit and worked a pretty pattern on the front of that panel.
I did use the 'Intricate Leaves Dies' to crop out my three pumpkins and three little leaves.
And here's a close-up of how those pieces all came together for the front of my card.
So what do you think my friends.......
Dont' you just LOVE it!!!

Thanks for joining me today!  I'll be back tomorrow to share a Spot Light Sunday creation with you ........ Hope you can make plans to stop back and join me for that share.  Keep Living Your Dream!

Friday, October 22, 2021

Friends Friday Pics

 Happy Friday My Blogger Friends!

My blog post for today is Friends Friday.  On Friday's, I have the honor of spot-lighting some of the fabulous cards and projects that I received from Friends ....... Fellow Demonstrators ........ and Family.  Each of these creations are works of art........and it is with great pleasure that I share with you today some AMAZING projects that five very special friends made for me.
First up today.......Is this DARLING card from my friend Judy Gummo.  I had to laugh because she included a note inside that said.....I know your not sick.....but I thought you would enjoy this packaging.
Well the funny thing (NOT REALLY) ....... was a few days after I received this get well card ..... I got Shingles and thought......How PERFECT was this little gift.  Thank You Judy!
Next up.......This AMAZING card from my OH SO TALENTED friend Kathy King.
How HILARIOUS is the message inside her card!
Next......I have this FABULOUS and OH SO FUN card from my good friend Donna Fritz.  
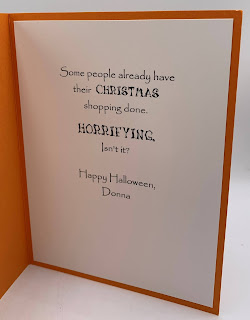
And knowing Donna the way I know her ....... The inside of her cards ALWAYS gives me a good laugh!  Thanks Donna for not disappointing me.
Next, is a HILARIOUS card that my sweet friend Terry Olsen created for me.
I actually burst out laughing when I opened her card.
And my final card share for today is this BEAUTIFUL card that my SouthWest Stamper friend Sue Smedley created for me.  

Thanks for joining me today!  I'll be back tomorrow to share a special Paper Pumpkin Saturday creation with you ........ Hope you can make plans to stop back and join me for that share.  Keep Living Your Dream!

Thursday, October 21, 2021

Gather Together

 Happy Thursday My Blogger Friends!
My blog post for today is Tag Thursday.  Today, I will feature a tag I created and show you how easy it is to use minimal supplies to create a SUPER PRETTY TAG.  Now that you have the details for my Tag Thursday creation for this week ........ Let's jump right in with my tag share for today........
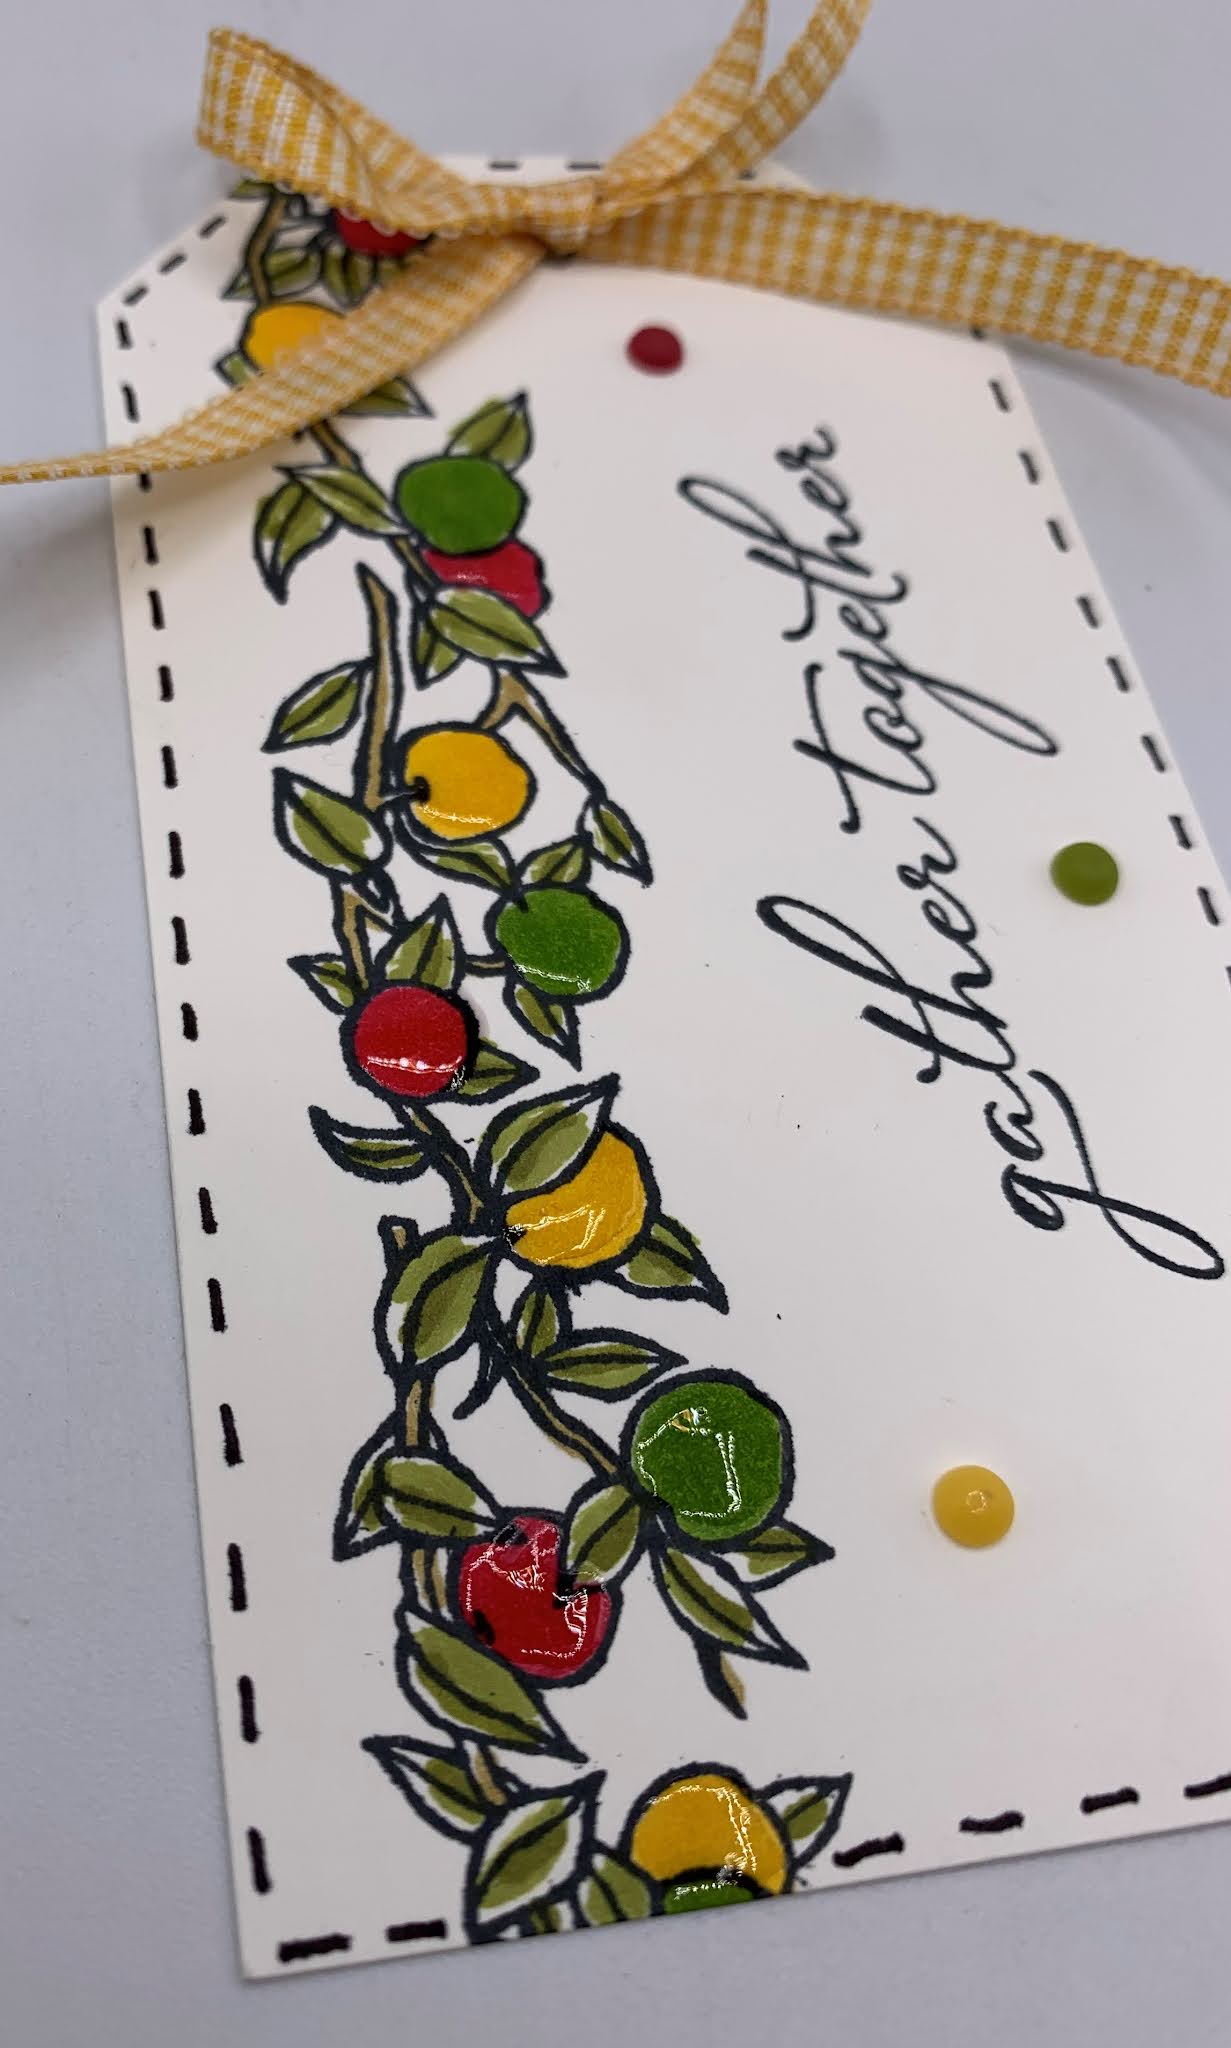
I wanted to create a fast and easy tag ....... but still wanted to make a tag that had LOTS of WOW FACTOR to it.  I think my tag fit all of the above.
I started off with a White base tag that measures 2-1/2" x 4-1/4".  I used the 'Pretty Pumpkin' set to stamp my sentiment on the right-hand edge of my tag.
Next, I stamped my apple images from the 'Festive & Bright' set to the left-hand edge of my base tag.
I used my 'Stampin' Blends' to color in my image and then got busy creating some black stitching lines around the entire border of my tag.
And topped my tag off with some 'Bumblebee 1/4" Gingham Ribbon' and tied it up into a pretty bow.
The finishing touch was adding three 'Matte Decorative Dots' to the front of my tag......
And this tag was done in NO TIME FLAT!!!!
So what do you think my friends????

Thanks for joining me today!  I'll be back tomorrow to share some Friends Friday creations with you ........ Hope you can make plans to stop back and join me for that share.  Keep Living Your Dream!

Wednesday, October 20, 2021

2-Pumpkin Hello

 Happy Wednesday My Blogger Friends!
My blog post for today is Wine-Down Wednesday.  My middle of the week card feature for today will hopefully offer you some inspiration and provide you with some motivation to keep you moving through your busy week.  Let's jump right in with my card share for today........
Check out this fun fall card we created at my last Mystery Stamping event.
We started out with a White base card and added a 4" x 5-1/4" panel of Cajun Craze card stock to the top.
Then we added a 3-3/4" x 5" panel of the 'Beauty of the Earth Designer Series Paper' to the top.
Before I adhered that DSP panel down ...... I added 'Flowers for Every Season Ribbon' to the top ...... And I colored that ribbon with my Cajun Craze Stampin' Blends.
I cut three Cinnamon Cider Squares that measured 1-1/4" x 1-1/4" and added a White 1" x 1" square to each of those 1-1/4" squares.  I used the 'Love of Leaves' stamp set and stamped my sentiment onto one of those squares ...... and the other two squares I added pumpkin die-cut from the 'Festive Finishes Dies' to the center.
So there you have it friends.......
What do you think?????

Thanks for joining me today!  I'll be back tomorrow with a Tag Thursday creation to share with you ........ Hope you can make plans to stop back and join me for that share.  Keep Living Your Dream! 

Tuesday, October 19, 2021

K-Cup Holder

 Happy Tuesday My Blogger Friends!
My blog post for today is 'CASE IT TUESDAY'.  That means today I have a fun little 3-D project that I found on the internet ....... And I created a CASE of that project to share with you today.  This project was SUPER FUN to create and I want to jump right in and share that project with you now.
This DARLING project was inspired by a project that Glenda Calkins shared back on October 12, 2020.  Here is the link to the video Glenda did for this project.  https://fb.watch/8JTWp2nCSE/
I made several changes to my verson of this DARLING K-Cup Holder ....... But the project still reflects the hard work that Glenda put into designing this project.
I used Blackberry Bliss card stock to create my holder.  And the biggest change I made was the front and back portions of my holder.  I used the 'Scallop Contours Dies' to create the front and back panels for my holder.
I did use the 'Pretty Pumpkins' set to stamp my sentiment.  And I used Gold Embossing Powder to help my sentiment really pop.
I used the 'Blackberry Beauty Designer Series Paper' to cover my holder ........ And wrapped the 'Gold 1/4" Shimmer Ribbon' around my entire holder.
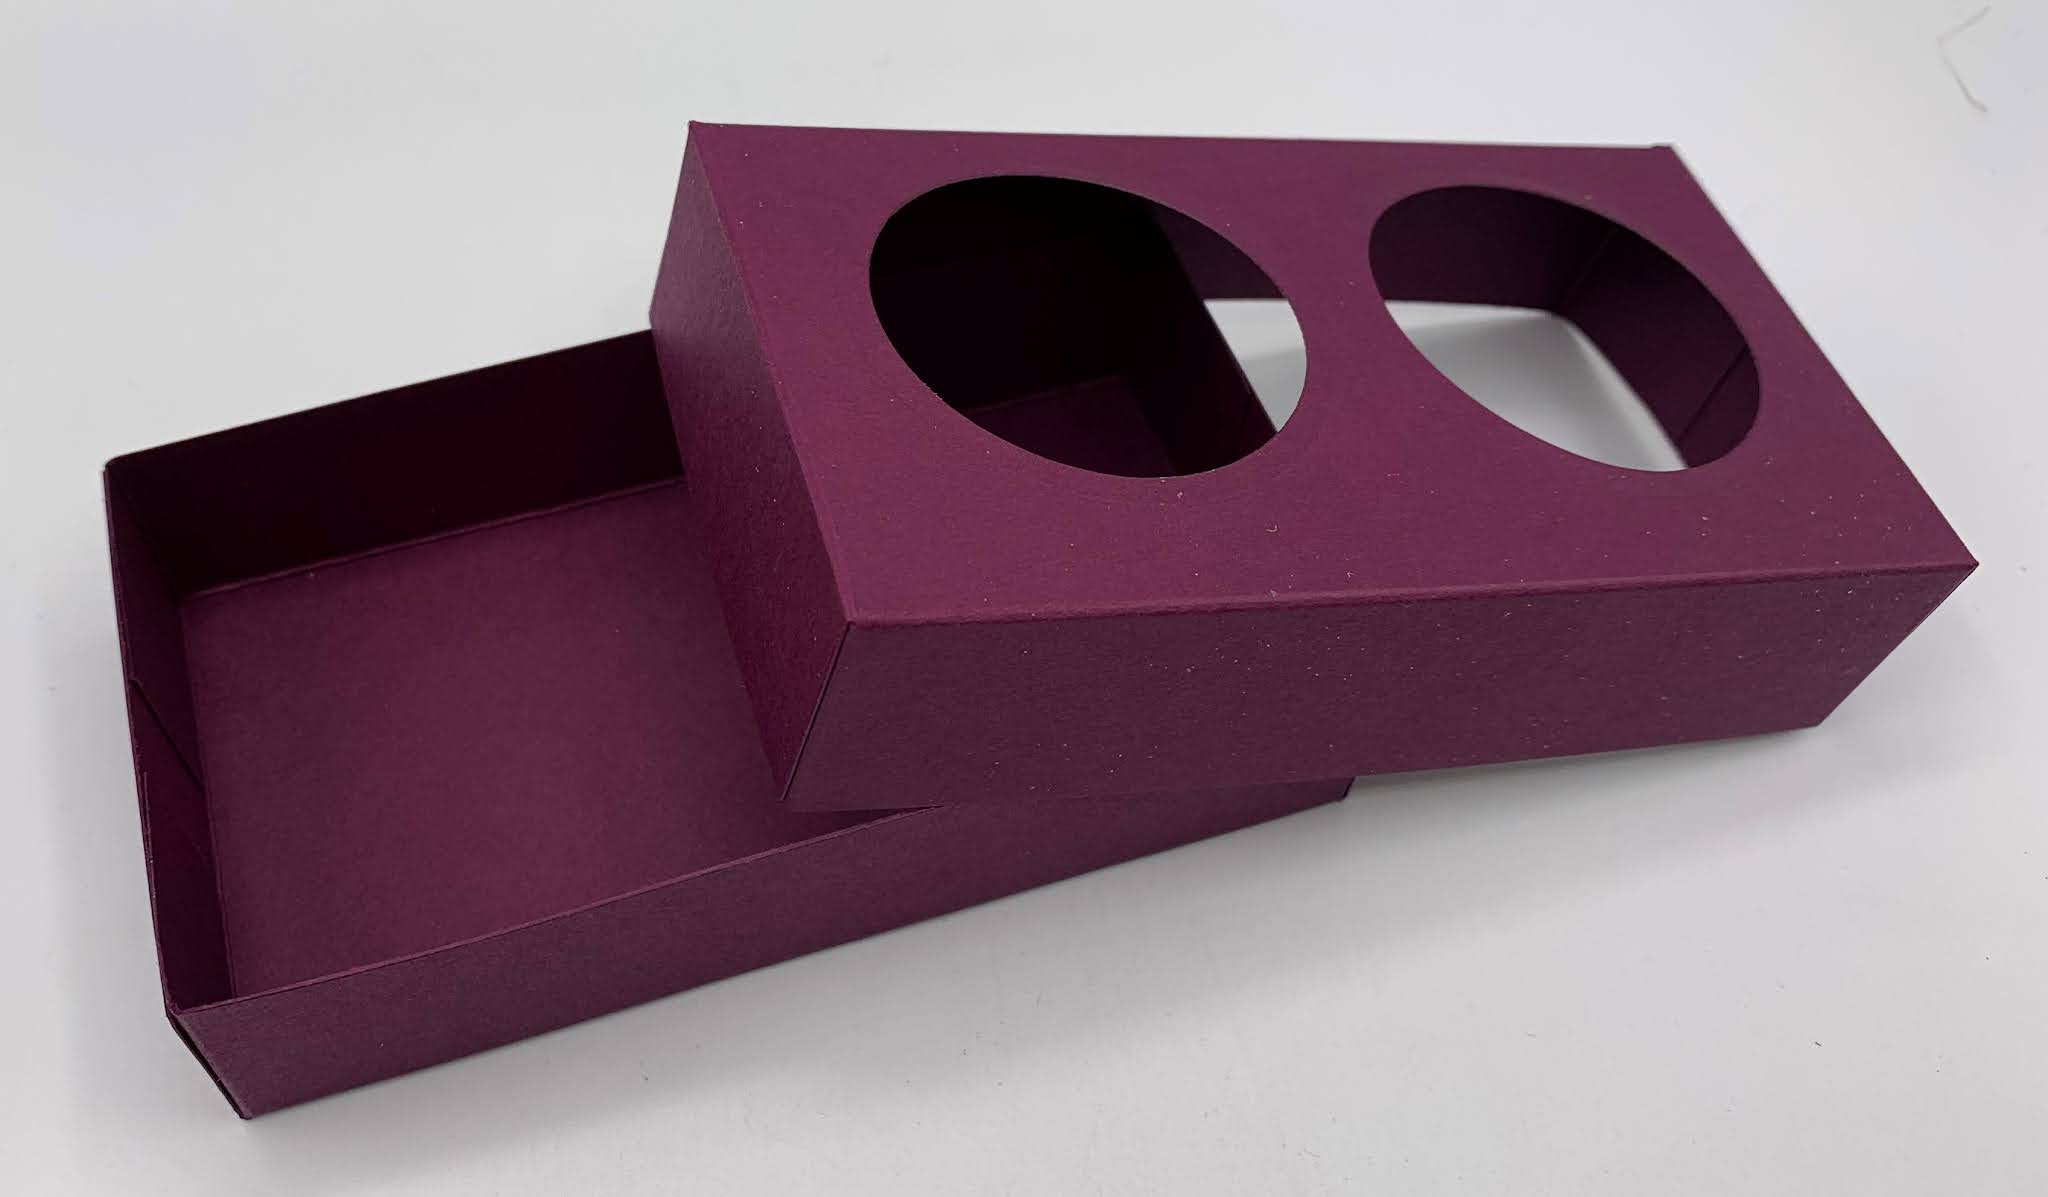
I'm just crazy about the way the holder crops out two little holes for my K-Cups to sit in......
And it's amazing how well constructed this holder really is.
After I had my base and K-Cup Holder section cut and scored (head over to Glenda's video for all the measurements) ...... I used a sample circle template to position the two holes for my K-Cups to sit in. 
I used my 'Layering Circles Dies' and cropped out two small holes.....
And then constructed those two pieces of my holder together.
All that was left to do was join the two pieces together.....
And pop my K-Cups inside the two holes.
Here's how I cut down the two 'Scallop Contours Dies' to fit my holder.


After I had the front and back portions of my holder cut ...... I used my 'Blackberry Beauty Designers Series Paper' to cover both of those pieces.


Here's the front and back pieces covered and ready to be added to my project.
Both pieces were adhered to the base of my holder.
And this is a view of what the back looks like.
All that is left to do is wrap your ribbon around the holder and add your sentiment.
And there you have it friends......
Don't you just LOVE this little project.

Thanks for joining me today!  I'll be back tomorrow to share a Wine Down Wednesday card with you ........ Hope you can make plans to stop back and join me for that share.  Keep Living Your Dream!