Saturday, September 23, 2017

Hooray Card

Happy Saturday My Blogger Friends!
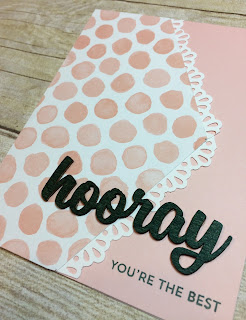
My blog post for today is Paper Pumpkin Saturday ........... And do I have a SERIOUSLY FUN CARD to share with you!  This card was created with the July Paper Pumpkin kit.  I added some extra cardstock and a stamped image to create this card ........ And I'm just thrilled with the way it turned out.  Let me share that card with you now.
I just couldn't be happier with the way this alternate card turned out.
I cut a panel of the 'Whole Lot of Lovely Designer Series Paper' for the front of my card ........ But before I adhered it down ....... I used some Whisper White cardstock and the 'Decorative Ribbon Border Punch' to add a pretty scallop edge to my Designer Series Paper.
This kit had some wooden elements included in the kit and I wanted to change up the wood color and make it black.  So I pulled out my Black ink pad and a Sponge Dauber and just covered the front of my "hooray" element with ink.  I allowed it to completely dry and then adhered it down onto my card with 'Mono Liquid Glue'.  To complete my sentiment .... I used the stamp set that was included in this kit and added 'You're The Best' at the bottom of my card.
Such a PRETTY & HAPPY card that will be fun to send out to someone special.
 
Thanks for joining me today!  I'll be back tomorrow to share a Spot Light Sunday card with you ...... Hope you can make plans to stop back and join me for that share.  Keep Living Your Dream!

Friday, September 22, 2017

Friends Friday Picks

Happy Friday My Blogger Friends!
My blog post for today is Friends Friday.  On Friday's, I have the honor of spot-lighting some of the fabulous cards that I received from Friends ....... Fellow Demonstrators ........ and Family.  Each of these card creations are works of art........and it is with great pleasure that I share some of the beautiful cards I received from fellow demonstrators at a recent Stampin' UP! event.  
First up is this VERY PRETTY card from Jackie Cooley.
This OH SO LOVELY card was created by Jennifer Valeri.
This DARLING card was swapped by Terri Green.
And this AWESOME card was created by Elaine Schader.
 
Thanks for joining me today!  I'll be back tomorrow to share a special Paper Pumpkin Saturday creation with you ........ Hope you can make plans to stop back and join me for that share.  Keep Living Your Dream!

Thursday, September 21, 2017

Witches Hat Tag

Happy Thursday My Blogger Friends!
My blog post for today is Tag Thursday.  Today, I will feature a tag I created and show you how easy it is to use minimal supplies to create a SUPER PRETTY HALLOWEEN TAG.  Now that you have the details for this weeks Tag Thursday ....... Let's jump right in with my tag share for today.......
I had a WHOLE LOT OF FUN creating this fun tag!
I started out by stamping my witches hat from the 'Spooky Cat' set onto a piece of Very Vanilla cardstock with VersaMark ink.  Next I sprinkling it with Black Embossing Powder and quickly heat set my witches hat.  Then I grabbed my 'Paper Snips' and fussy cut out my image.
Next, I created this DARLING layer of circles and scallops with the help of the 'Layering Circles Framelits' and the 'Spooky Night Designer Series Paper'.
For my sentiment ...... I used the 'Spooky Cat' set and stamped that "Trick or Treat" sentiment directly onto my Pumpkin Pie tag.  And to pretty up the sentiment a tad ....... I stamped and embossed it the same way as I did the witches hat.
My finishing touch was adding some 'Basic Black 3/8" Shimmer Ribbon' to the top of my tag and tied it up with a pretty 'Very Vanilla Solid Baker's Twine' bow.
 
Thanks for joining me today!  I'll be back tomorrow to share some Friends Friday creations with you ........ Hope you can make plans to stop back and join me for that share.  Keep Living Your Dream!

Wednesday, September 20, 2017

Peace On Earth Card

Happy Wednesday My Blogger Friends!
My blog post for today is Wine-Down Wednesday.  My middle of the week card feature for today will hopefully offer you some inspiration and provide you with some motivation to keep you moving through your busy week.  Let's jump right in with my card share for today........
How GORGEOUS is this card!
This card started out with the 'Softly Falling' Textured Impression Embossing Folder on my Whisper White panel.
Next I used my Big Shot and die-cut out the largest star from the 'Starlight Thinlits' using the BEAUTIFUL 'Foil Sheets'.  I just LOVE the embossing this dies does to this big star.
Then I grabbed my 'Silver Stampin' Emboss Powder', my 'Heat Tool' and the 'Carols of Christmas' set and created this STUNNING sentiment piece.  I have to say that HANDS DOWN ........ there is NO SILVER EMBOSSING POWDER on the market that matches up to the Stampin' UP! Silver Embossing Powder.
And one final touch was adding a panel of the 'Be Merry Designer Series Paper' to the front of my card.
And that was it my friends.......
For the record......I'm calling this card
DONE & GORGEOUS!
 
Thanks for joining me today!  I'll be back tomorrow to share a fun Tag Thursday creation with you ........ Hope you can make plans to stop back and join me for that share.  Keep Living Your Dream!

Tuesday, September 19, 2017

Two Note Card Holders

Happy Tuesday My Blogger Friends!
My blog post for today is 3-D Tuesday.  That means today I have a fun little 3-D project to share with you.  This project is SUPER FUN to create and most of the product is featured in the 2017-2018 Stampin' UP! Annual Catalog.  Let's jump right in with my project share for today........
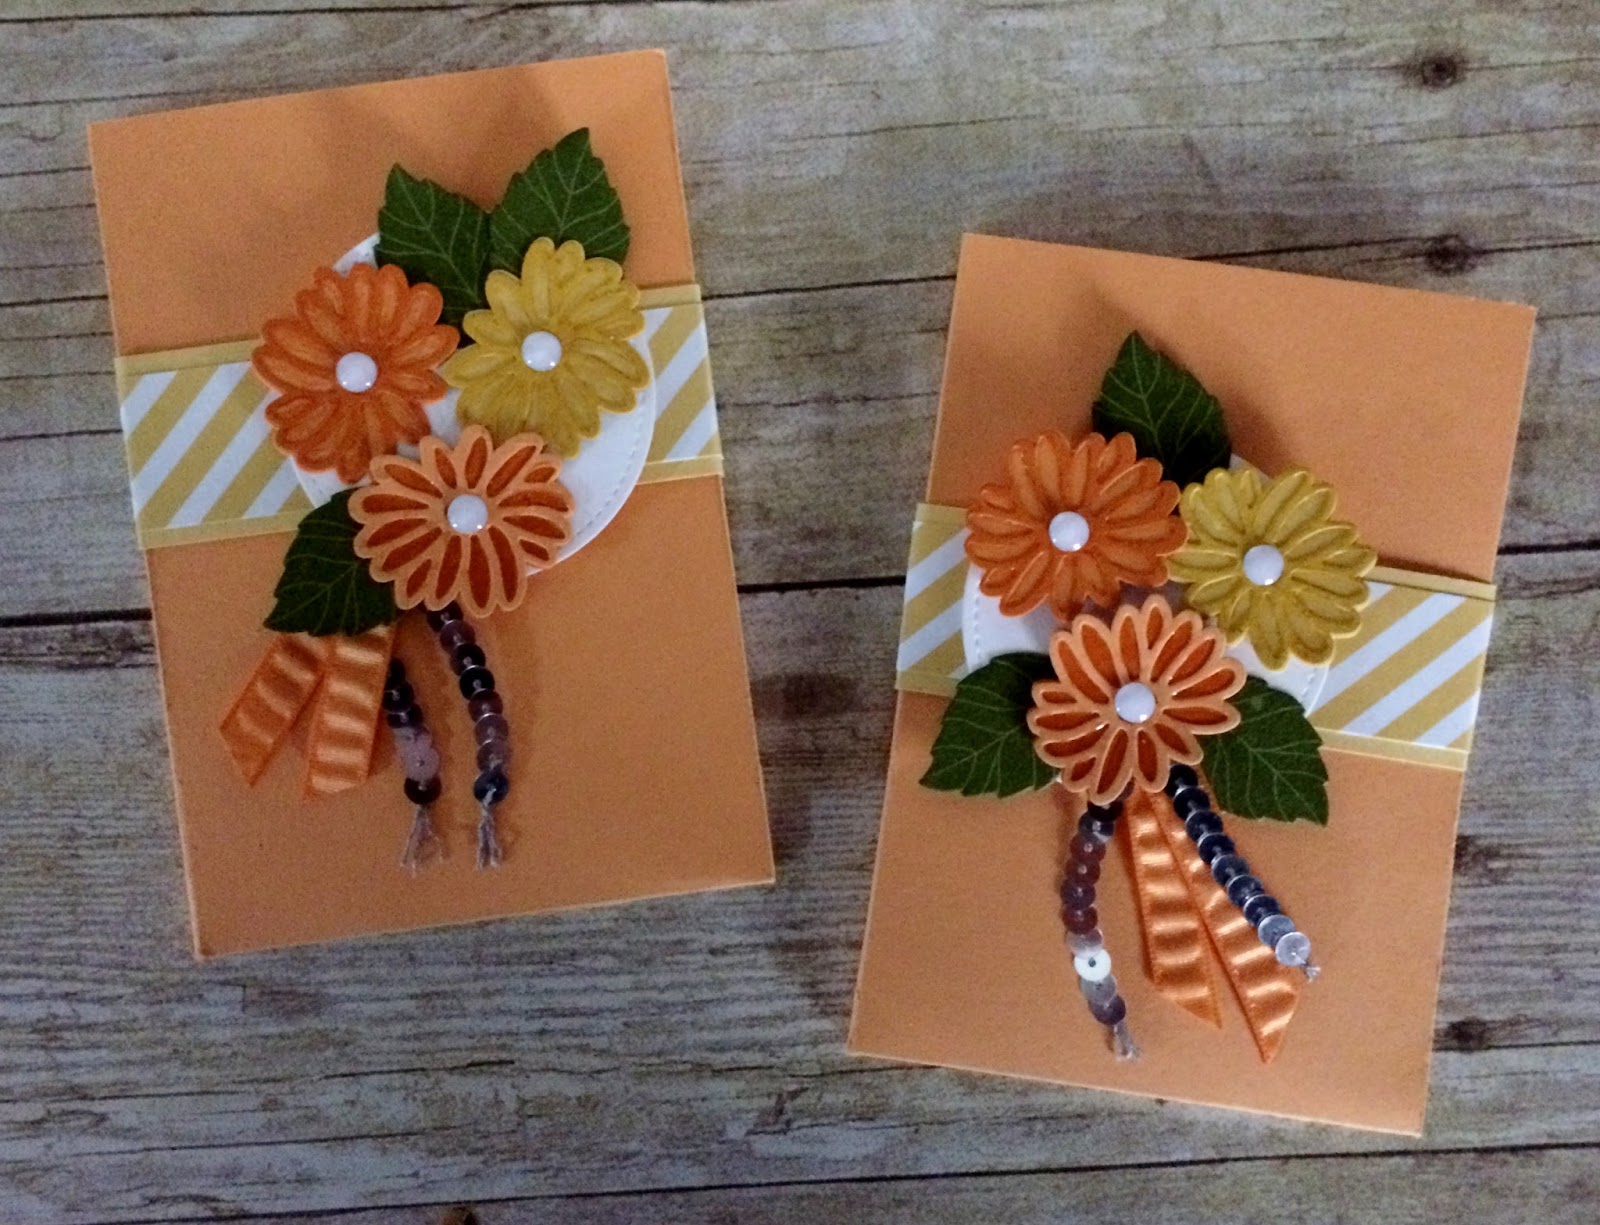
Check out these adorable note card holders I created.
Each holder is secured closed with a darling little belly band ....... And on the inside there are two pocket sections that hold two Stampin' UP! notecards with coordinating envelopes. 
To create the holder I used a piece of Peekaboo Peach cardstock that measures 9-1/4" x 7-1/4".  I scored on the 7-1/4" side at 5-1/2" and then turned it to the 9-1/4" side and scored at 3/4", 4-1/2", 4-3/4" and 8-1/2".
For each of my note cards, I used the now retired 'Stylish Stems Framelits Dies' and created a stencil for my flower.  All I needed to do was position my die-cut stencil over my Whisper White panel and use my sponge dauber and Peekaboo ink to color in my flower.
I added some Designer Series Paper to the bottom portion of each pocket flap.....
And created a trio of flowers for the top of my belly band.
Just love the way these note card holders turned out ........ And I have a special plan to present them to someone very special in October.
 
Thanks for joining me today!  I'll be back tomorrow to share a Wine Down Wednesday card creation with you ........ Hope you can make plans to stop back and join me for that share.  Keep Living Your

Monday, September 18, 2017

A Season of Style

Coming in October & November.......
A Season of Style Paper Pumpkin Kits!!!


Adding a beautiful, handmade touch to Christmas will be fast and easy for Paper Pumpkin subscribers during our Season of Style promotion.  Subscribers in October and November will get ready to make perfectly coordinated cards and gifting projects with TWO STRAIGHT MONTHS of coordinated kits.  And the BEST PART ........ There will be plenty of time left over to enjoy the holiday's.
Here are some important details for the two kits:
  • Remember, the October and November kits coordinate but they also stand alone. You DO NOT need both kits to complete the projects.
  • To receive October’s kit, you must subscribe at paperpumpkin.com by 11:50 PM (MT) on October 10.
  • To receive November’s kit, you must subscribe at paperpumpkin.com by 11:50 PM (MT) on November 10.
And to give you a few more details on the Season of Style promotion ........ Stampin' Up! has created this amazing video that covers it ALL.  Click this link: https://youtu.be/B2yeTGx60lE
I'm here to assist you with any questions you might have on becoming a Paper Pumpkin subscriber.  Contact me at kadielabadie@live.com

Thankful Tulip Upgrade

Happy Monday My Blogger Friends!
Today is Mix It UP! Monday and I have an upgraded version of the card I shared with you yesterday.  I used the exact same product that was used to create yesterday's card ....... but added a couple additional products (found in the 2017-2018 Stampin' UP! Annual Catalog) to bring this card up to the next stamping level.
Here is my Spot Light Sunday card on the LEFT......
And today's Mix-It-UP! Monday card on the RIGHT...
The first thing I did to upgrade this card was change the base card from Sweet Sugarplum to Whisper White.  I added the Sweet Sugarplum as my layered panel and then topped this card off with a Whisper White top panel.  Just that little change in layering really gave today's Mix-It-UP! Monday card a real POP!
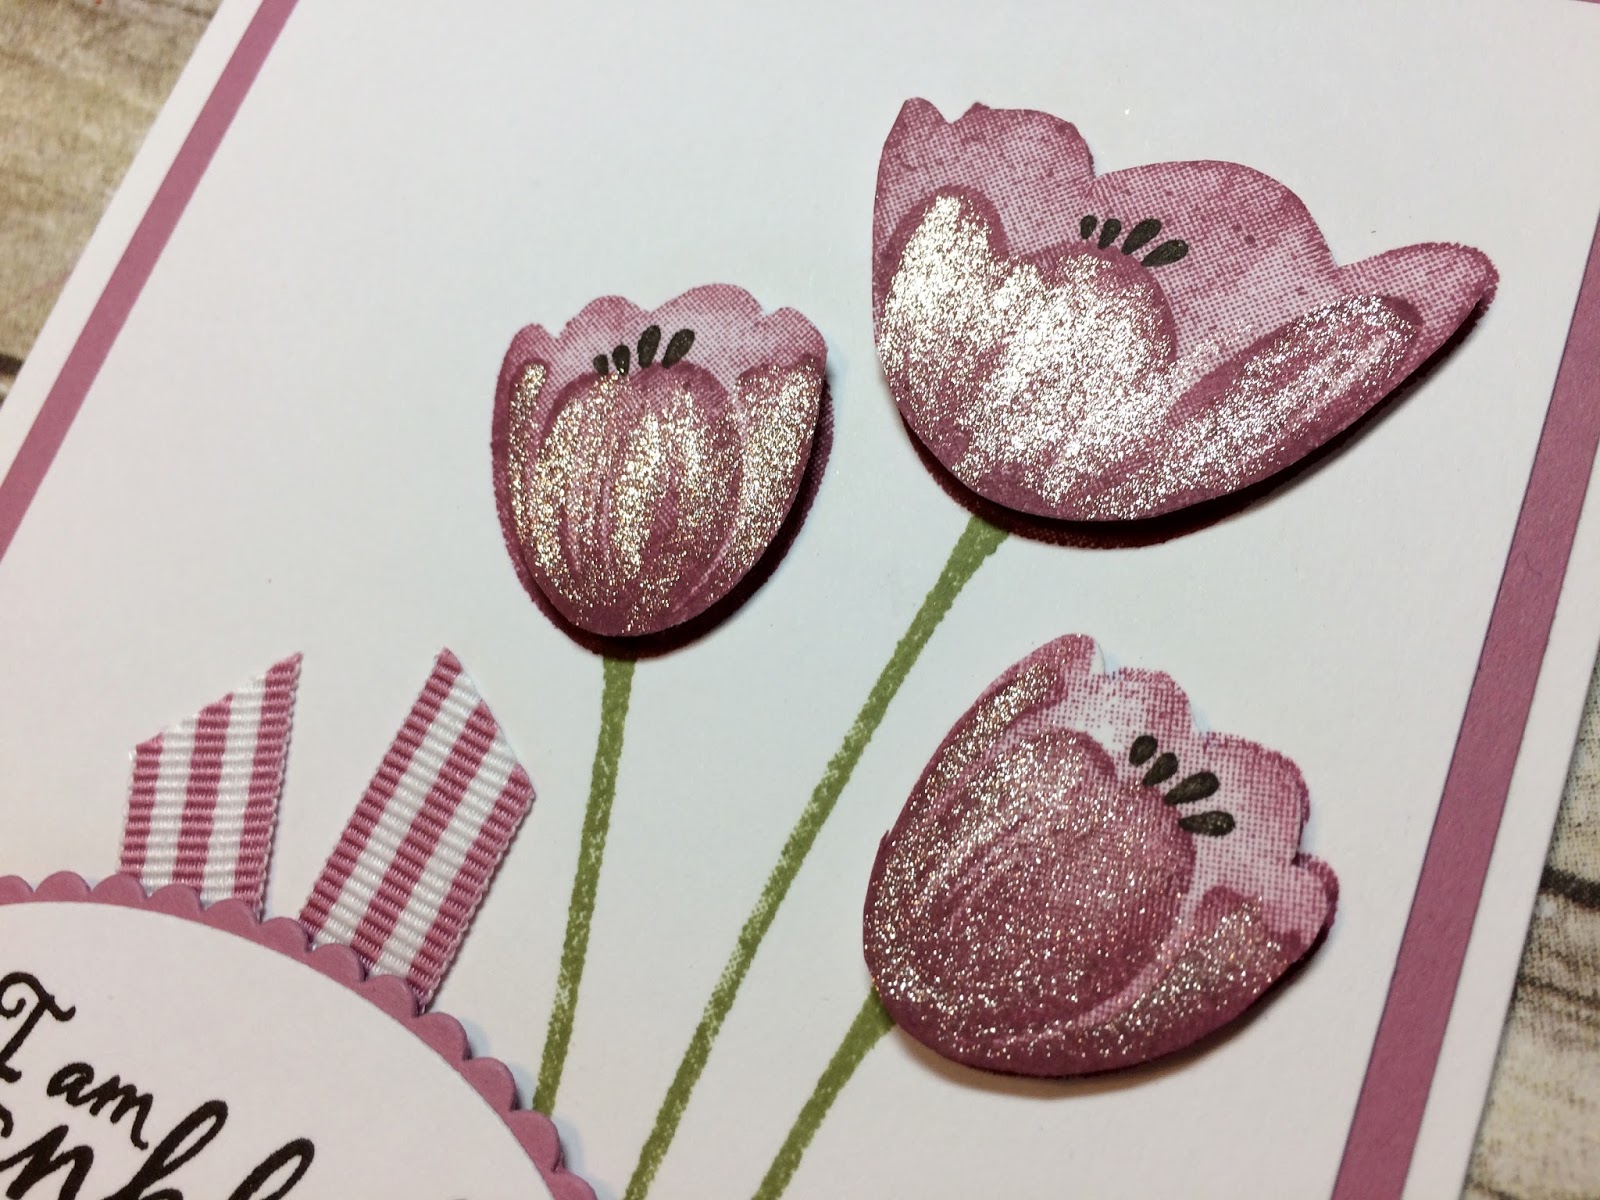
I stamped the three tulips directly onto the Whisper White panel and then stamped those images a second time onto a scrap piece of Whisper White cardstock.  I then grabbed my Paper Snips and trimmed out each of the three tulips.  Couldn't have been any easier!
I added Stampin' Dimensionals to the backside of the three tulips that I snipped out ........ and then adhered them directly down to the images I stamped on the Whisper White panel.  For an additional upgrade to each of my tulips ....... I grabbed my 'Clear Wink of Stella' pen and prettied up the front of each Sweet Sugarplum flower.
I kept with the 'Painted Harvest' sentiment but for my upgraded card, I used my 'Oval Layering Dies' to crop out the sentiment and the Sweet Sugarplum scallop oval.  The finishing touch was adding a small piece of the 3/8" Sweet Sugarplum Striped Grosgrain Ribbon to the top of my sentiment.
So tell me friends........
Which one do you like best????
 
Thanks for joining me today!  I'll be back tomorrow to share a 3-D Tuesday creation with you ...... Hope you can make plans to stop back and join me for that share.  Keep Living Your Dream!