Saturday, August 31, 2013

Spooky Halloween Decoration

Happy Saturday My Blogger Friends!
Before I get sharing on my spooky Halloween decoration for today....here's what I'm missing today.....
 My four little people back in Wisconsin.......
 
So......for today....I have a super fun and super easy Halloween hanging decoration to share with you.  Here is what I made.......... 
This project uses the Designer Rosette BigZ XL die from Stampin' UP!
I also used the retired scallop square die for the base of my project and ran that piece through the Big Shot using the Spider Web embossing folder.
I added a fun stamped spider web to the top of my rosette with a button and a punched bat........
And then created a loop holder from some retired 1-1/4" striped ribbon.  I frayed the edges to give a spooky little feeling to my little Halloween hanging decoration.
Will be making a couple more of these and displaying them in my studio this Halloween.  These spooky Halloween decorations will spooky up my room in a big hurry.
 
Thanks for joining me today!  I'll be back tomorrow with yet another Halloween share for you.  Hope you can make plans to stop back and join me for that share.  Keep Living Your Dream!

Friday, August 30, 2013

Cello Candy Corn Treats

Happy Friday My Blogger Friends!
I'll be heading into my weekend thinking of these LITTLE PIGGIES.....
 \
And these SWEET CHEEKS!
 

My Halloween share for today is one that was inspired by my good friend Kris.  She shared this project with me last year and I knew it would be the prefect little treat holder for at least one of my grandkids this year.  Check this fun project out........  

All there is to this project are a supply of the 1"x6" cello bags from SU and some scrap pieces of orange and yellow cardstock.  (and of course some CANDY CORN!)
Stamp your favorite Halloween image onto Whisper White cardstock....and then punch out your image with a circle punch.  Next add layers of orange and yellow circle and scallop punches and create a fun topper for your cello bag.
Fill your cello bag with candy corn and seal the cello bag closed.  All that is left to do is adhere the scallop topper that you created to the top of your bag and you are finished.  DONE and FINISHED in no time flat!
 
Thanks for joining me today!  I have another Halloween Treat to share with you tomorrow.....Hope you can come back and join me for that share.  Keep Living Your Dream!

Thursday, August 29, 2013

BOO and EEK Decorations!

Happy Thursday My Blogger Friends!
Things are slowly getting back to normal.....but here's the rest of what I'm missing today.....

Jenni (Brooke and Twoie's Mom) and Cheryl (Jared, Steven and Hailey's mom! 
 
Today I have a special little table top decoration that I made for my studio last year and just pulled it out today to begin decorating my studio for Halloween.  Check out these fun Halloween blocks........
Believe it  or not.....these blocks are from a stash of some old SU wood blocks that I had in the garage!
All I did was grab some acrylic paint (green, orange and purple) and painted each block and then used some black ink to distress up the edges.
I used my Cricut machine to die-cut out the letters for EEK......
(A close-up view of the EEK)........
And BOO......
The letters were die-cut using some chipboard and all I needed to do was paint the die-cut letters with the same acrylic paint that I used for the block.
 I also added some extra Fall decorations and called this project DONE!
LOVE LOVE LOVE how this project turned out....... 
 And will be able to enjoy this grouping the entire month of October.
 
Thanks for joining me today......I'll be back tomorrow to share more Halloween fun projects that I've made.....Hope you can make plans to stop back and join me for that share.  Keep Living Your Dream!

Wednesday, August 28, 2013

SKULL Card

Happy Wednesday My Blogger Friends!
Talk about going though some little people withdrawal..........Here's what I'm missing today.....

Not only Baby Twoie.....But Jared, Steven and Hailey too!

Before I start my card share for today......I want to share some information on what punch I used for the Halloween Mummy treat holder that I posted on Monday.  The punch is a retired SU punch from the 2011-2012 catalog.  It is the Petal Card Double Punch.  I'm sure if you goggle Petal Card Double Punch and it will come up with places you can purchase that punch.
 
My card share for today is a fun little punch art Halloween card that I created.  It's made with one current SU Punches and one retired SU Punch.  Check this fun project out...... 
This 3x3 card comes together in a FLASH and will be SUPER FUN to send out to that someone special for Halloween.
Here are the two punches that I used. 
All you need to do is round off the edges of both punches and distress all the edges of each piece.  I added dimensional adhesive to the back of all my pieces to raise the images off the front of my card.
And here is what I stamped on the inside of my little 3x3 card!
 
Can't wait to send these out again this year to my grandkids........Know they will get a big kick out of them.
 
Thanks for joining me today!  I still have more Halloween treasures to share with you......Hope you can make plans to stop back tomorrow to see what I have cooked up to share with you.  Keep Living Your Dream!
 

Tuesday, August 27, 2013

Halloween Treat Holders

Happy Tuesday My Blogger Friends!
Well it's back to reality for this old gal.  Arrived back in Tucson last night..........and even though I MISS my family (BIG TIME)...............
Who wouldn't miss this little peanut?  It's SOOOO nice to sleep in my own bed and be in my own home!
 
My post today is yet another blast from the past........This post is all about Halloween Treat Holders that I made for my Grandkids to share with their fellow classmates.
First up today are the Halloween Pencils I made......... 
All I did was wrap a piece of cardstock around a Halloween Pencil and then clip the ends to create a flag.  I also added some Halloween DSP right now the center to spooky up the flags. 
The last step was to stamp a Halloween spooky image onto Whisper White cardstock........and then punch that out and adhere it to a scallop circle.  I added a dimensional to the back of the scallop circle and attached the spooky image to the center of the flag I created for my pencil.  Next thing I knew ...... I had a couple dozen of these created!
 Next up I created a Twizzler Licorice holder.......
These holders were created with the Top Note BigZ die and the Owl Builder Punch.
All I did was die-cut out the Top Note die with Halloween DSP and then stamped the owl from a retired SU set and punched it out with the Owl Builder Punch.  I secured the Twizzler Licorice to the center of the Top Note diecut piece and then secured the top of the packaging closed with a small piece of coordinating ribbon.  SUPER EASY and SUPER FAST! 
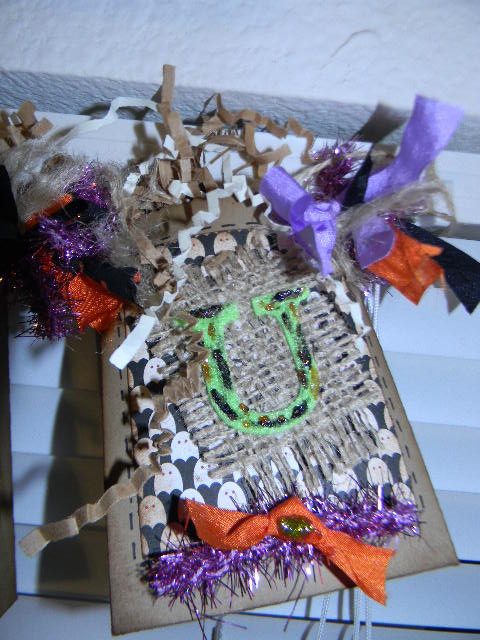
One of my grandkids schools ....... does not allow food treats to be shared in the classrooms.  So for that grandkid to be included in the holiday treat sharing FUN.......I created these special Halloween bookmarks.
 All that is needed to make these bookmarks are a couple scallop punches and some cardstock!
I used a retired SU stamp set to create this fun "Happy Halloween" message.....and then one afternoon ..... I colored all the images in and adhered them to black and orange cardstock that I created for the actual bookmark.  DONE IN A FLASH!
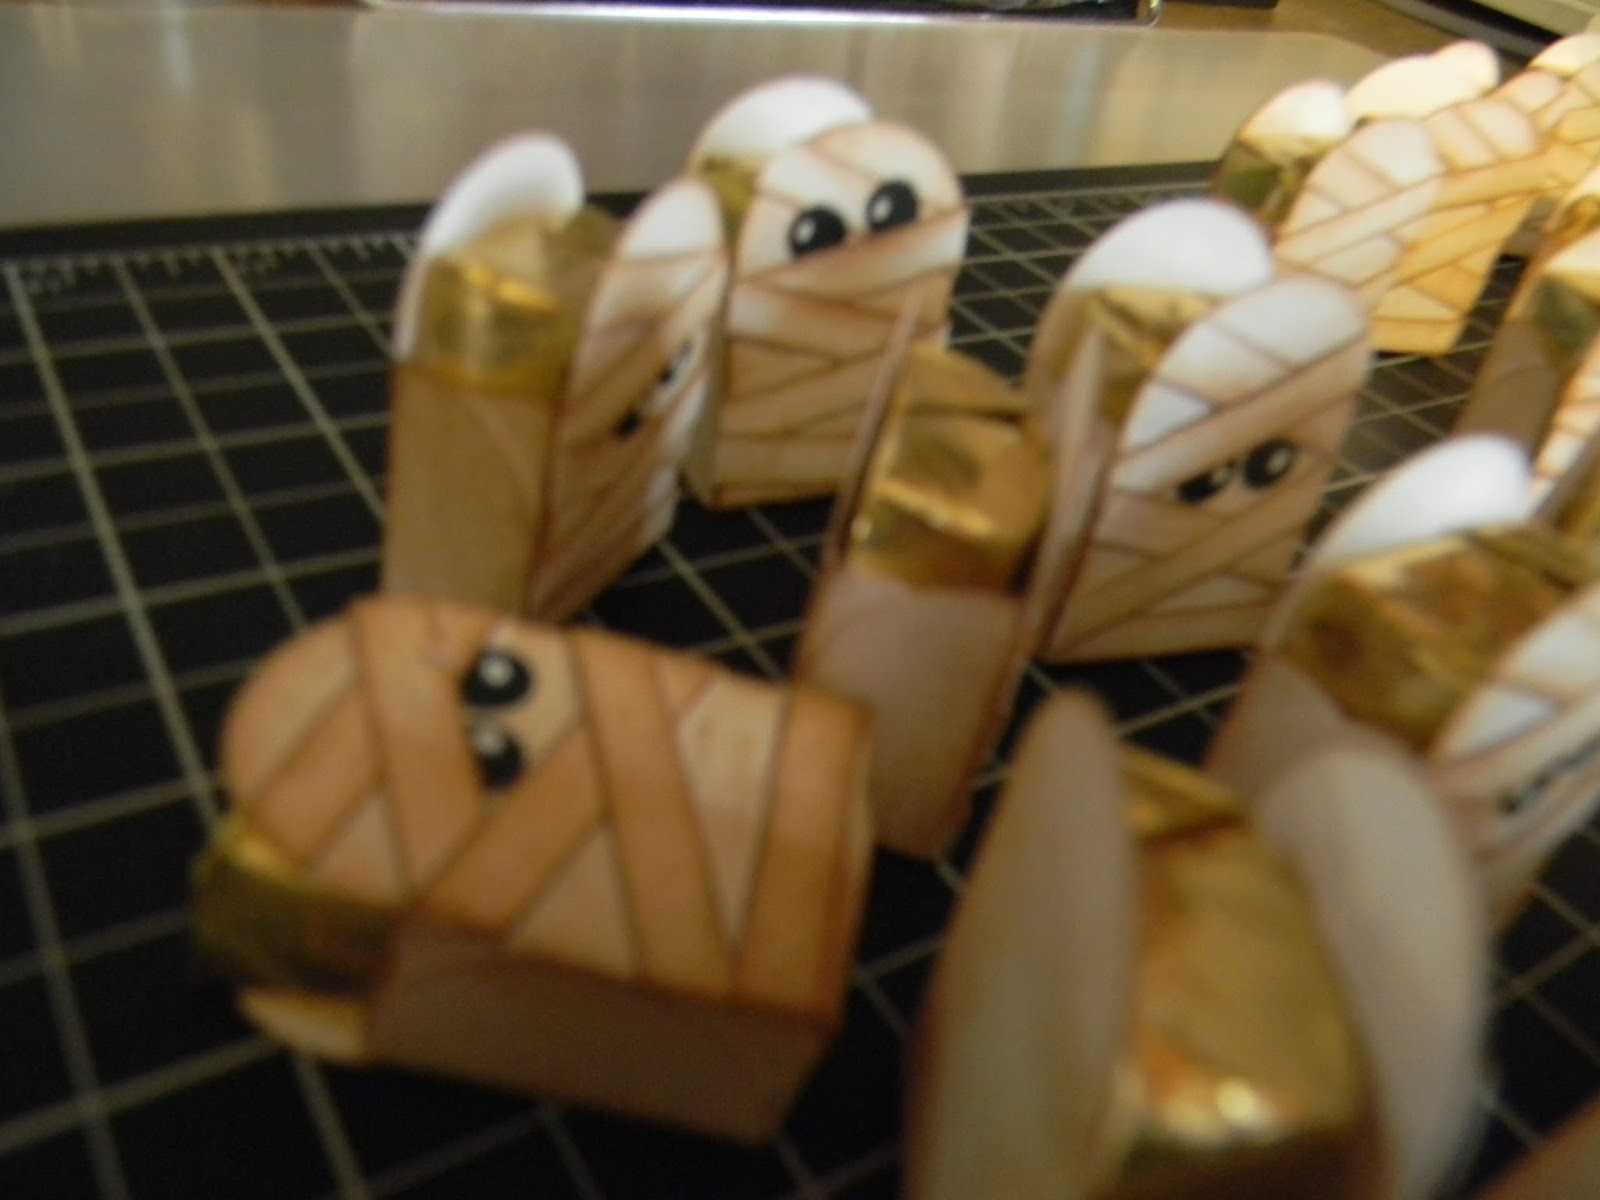
And my last Halloween share was yet another Twizzlers treat holder. 
 These were created from the retired Two Tags Die from SU.
I used some retired DSP for the front panel and added the Owl Builder Punch (turned upside down) to create the ghost.  Talk about coming together QUICKLY........
 
So there you have it friends......Four super cute and super easy treat holders you can make pretty darn fast for your spooky little one for Halloween.
 
Thanks for joining me today!  I'll be back tomorrow to share yet another Halloween treasure with you.......Hope you can make plans to stop back and join me for that share.  Keep Living Your Dream!


Monday, August 26, 2013

Halloween Mummies

Happy Monday My Blogger Friends!
I'm heading back to Arizona today so hopefully tonight I will be sleeping in my own bed......and waking up tomorrow to the SUN and BEAUTY of GORGEOUS Arizona.  I will truly miss my family (in Wisconsin) but enjoy being back with my friends in Arizona.
 
Today's share will be these darling little Mummies .........

I made these last year for a couple of my grandkids ....... so they could take them into their fellow classmates on Halloween. 
They were made with a now retired punch.........and all I need to do was punch two of them out and adhere them together!
 I then added stripes of white cardstock across the front of each.  (I made sure that I inked all the edges so it looked aged.)
Two 1/4" circles were added for the eyes and the centers were dotted in with the fabulous Signo Gel Pen.
And here's a display that my fellow SU Demo friend Sue made for her Mummies.........
And a close-up of Sue's little Mummies!  The only thing Sue did differently was add a pair of goggle eyes to her Mummies!  DARLING or WHAT!
 
Thanks for joining me today!  I'm heading back to Arizona today so my post tomorrow will be a short post....but yet another holiday surprise post is in store for you.  Keep Living Your Dream!

Sunday, August 25, 2013

Halloween Banner Take Two!

Happy Sunday My Blogger Friends!
Yesterday......We had a surprise 40th birthday party for my oldest daughter Cheryl.  We had a WONDERFUL time.  We were able to surprise her with about 30 of her closest friends and family members.....and even after she worked a full work week of 12 hour days......she was able to smile and enjoy herself BIG TIME (while all along she was probably thinking......I just want to sleep!).  Happy Birthday Cheryl!
 
As many of you are aware.......I've been experiencing LOTS of computer issues since I have been on vacation.....and have reached my "spent mode".  I'm giving it up and going to re-post some of my favorite holiday posts over the next couple of days.  When I return to Arizona.....the first stop will be my Computer Doctor...and hopefully.....he will be able to get whatever virus is eating up my computer FIXED and get me back on the FAST TRACK.  SO.....for today......I'm going to share with you the Halloween Banner I made last year for my studio.

Here is my Halloween Banner...... 
I hang it right across the front of my studio window.......and it's the first thing you see when you walk into my studio! 
I used a Sizzix box die-cut and cut out a total of 8-boxes and spelled out the Halloween message "Boo To You"............ 
 I added some retired DSP to the front of each of the 8-boxes.......
 And LOTS of ribbons and fibers!
Here's a close-up of each of the boxes.......The "B"......
One of the "O".........
The second "O".....
The "T".....
Another "O"......
The "Y"......
Yet another "O"......
And the "U".
The entire banner is just darling on my window and makes me smile every single time I walk into my studio.
 
Thanks for joining me today........I'll be back to share another walk down memory lane post with you.....Hope you can make plans to join me for that share.  Keep Living Your Dream!